
Social Login is a great tool that will allow your users to log in and comment from almost any social network out there.
Installing the plugin
The plugin easily integrates with the BuddyBoss Theme.
- Download the Social Login plugin from the link below
https://wordpress.org/plugins/oa-social-login/ - Extract the downloaded oa-social-login.zip file to the WordPress plugins folder yourhostname/wordpress/wp-content/plugins
OR
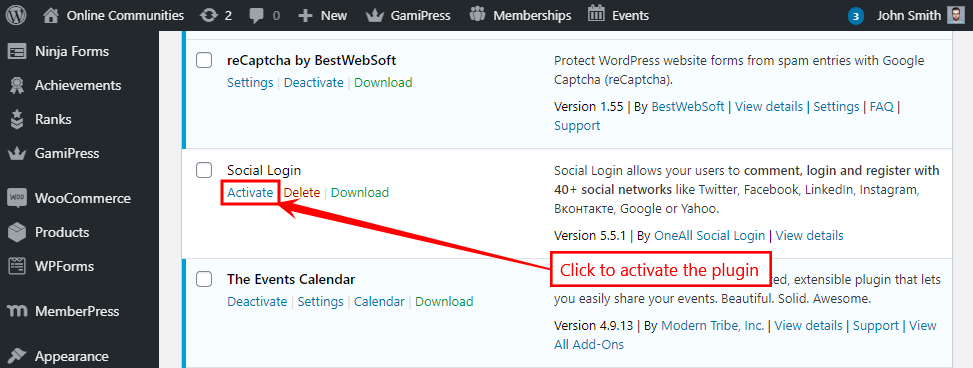
Go to your WordPress Dashboard > Plugins > Add New. Click the Upload Plugin button. Browse to the download file location, select the oa-social-login.zip & install the plugin. - Click the Activate Plugin button to activate the Social Login plugin on your website. OR
To activate the plugin on your website site go to WordPress Dashboard > Plugins and then click the Activate button for Social Login.
Creating an account on OneAll.com
Before setting up the Social Login plugin on your website, you must create a free account on OneAll.com
- Go to the OneAll Signup page.
- Enter your details and then click the Create my free account button.
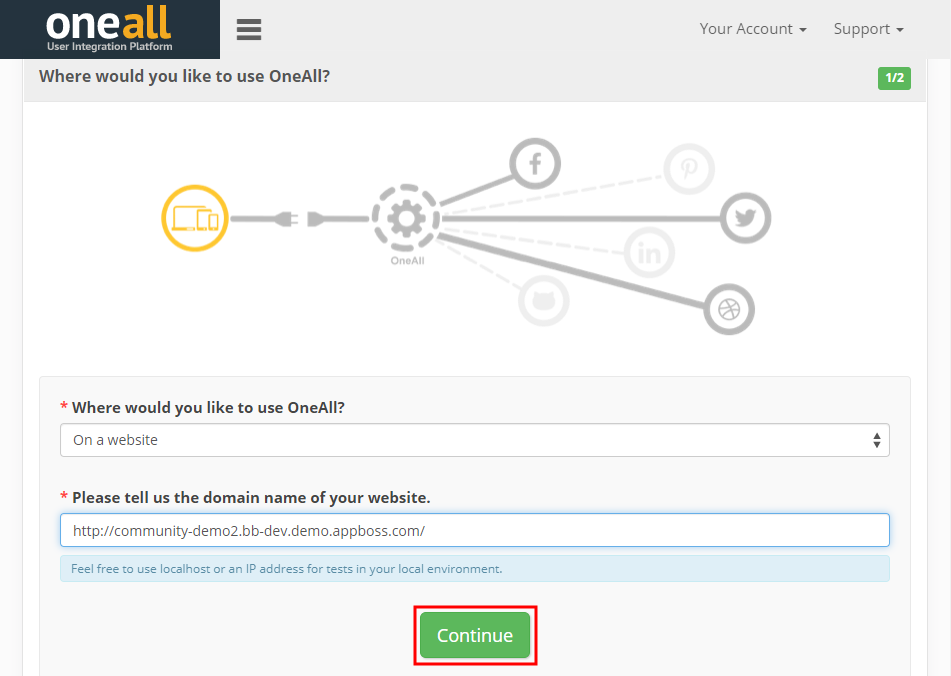
- Select where you would like to OneAll.
- Select On a website from the drop-down list.
- Enter the domain name of your website.
- Click the Continue button.
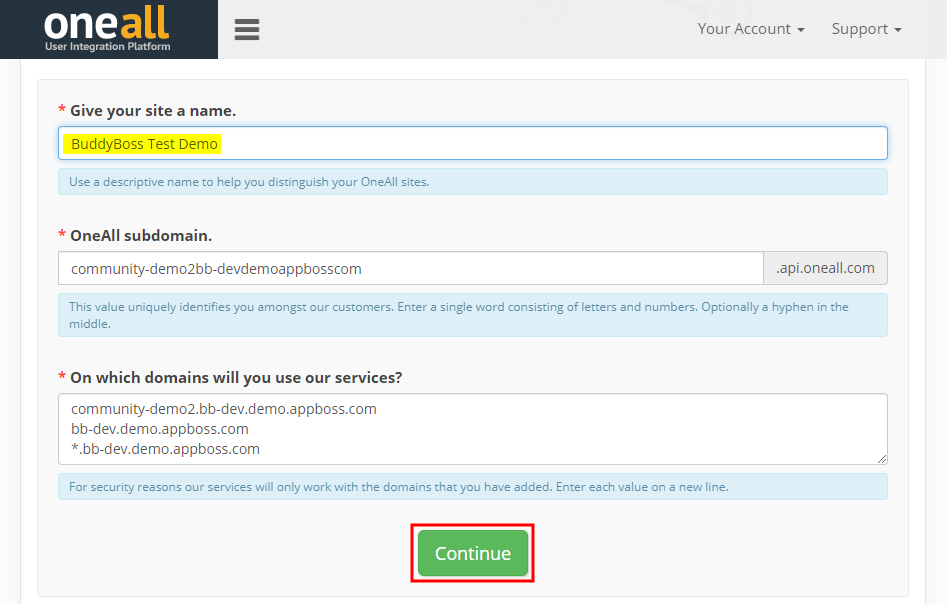
- Add an identifier for your website.
- Select the subdomains (if any) where you’ll use OneAll.
- Enter the subdomain URLs.
Note: this will be automatically generated so you quickly proceed with the setup. - Click the Continue button.
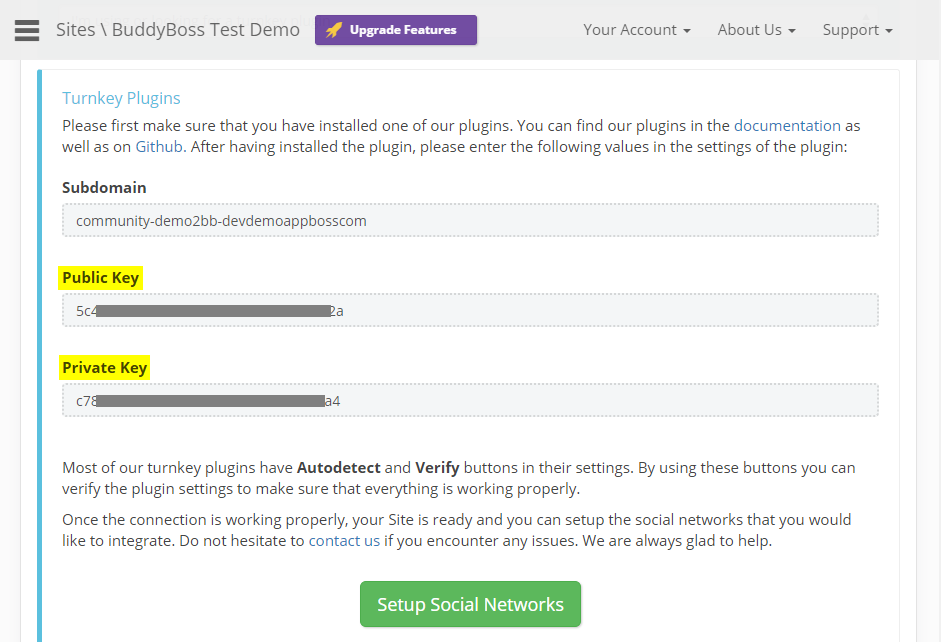
- Enable (or don’t) the preferred additional features. Click the No, I do not need these button for now and generate the Public and Private Key for plugin.
- Copy the Public Key and Private Key to your clipboard.
Setting up the plugin
After generating the Public and Private key for your website, to set up the plugin:
- Go to WordPress Dashboard > Social Login > Setup.
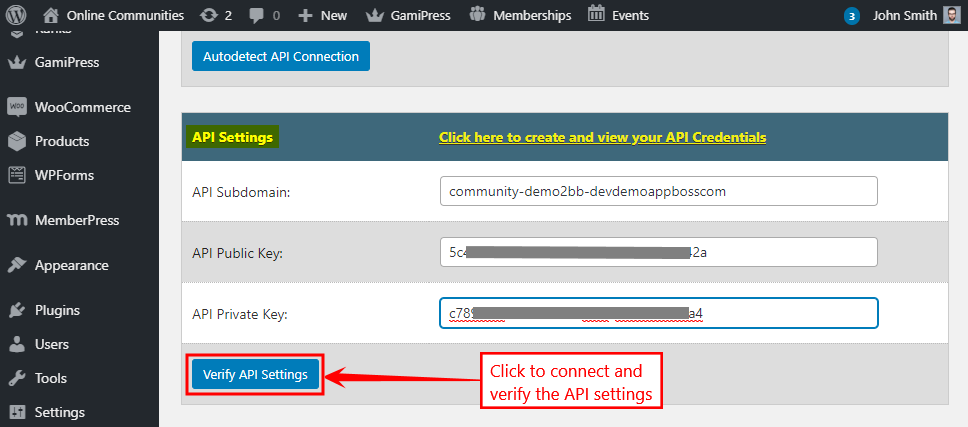
- In the API Settings section, enter the API Subdomain for your website.
- Paste the Public Key in the Public Key textbox.
- Paste the Private Key in the Private Key textbox.
- Click the Verify API Settings button.
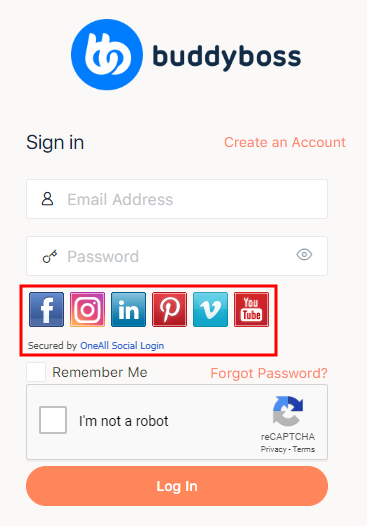
- Mark the preferred social networks/identity providers in the Enable the social networks/identity providers of your choice section.
- Click the Save Changes button.
For further setup options, refer to the official documentation of Social Login.