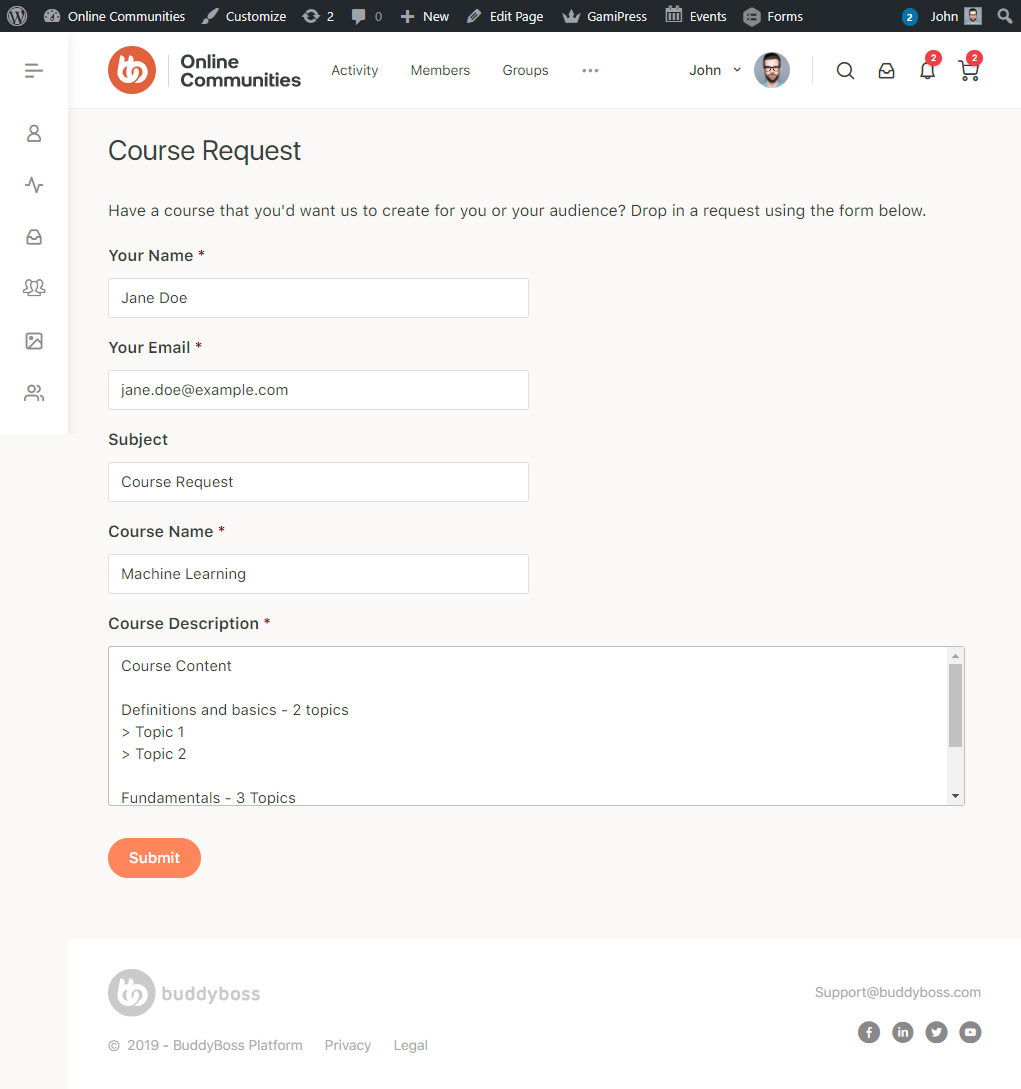
The integration works with the BuddyBoss Theme and blends any contact form added to a post or page seamlessly.
To integrate the plugin-
Step 1
Buy and download the Gravity Forms plugin from the link below https://www.gravityforms.com/pricing/
Step 2
Extract the downloaded gravityforms-master.zip file to the WordPress plugins folder yourhostname/wordpress/wp-content/plugins OR Go to your WordPress Dashboard -> Plugins -> Add New. Then Click the Upload Plugin button. Browse to the download file location, select the gravityforms-master.zip & install the plugin.
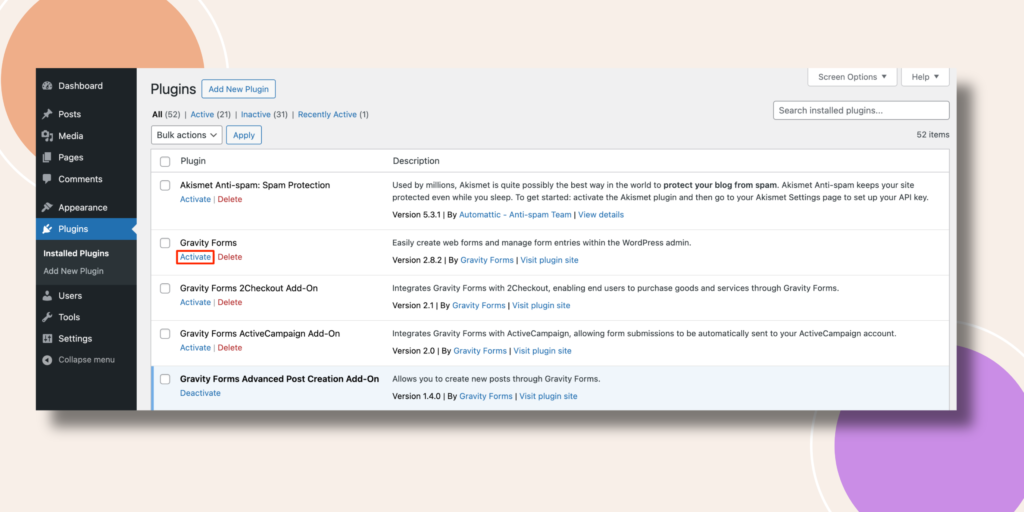
Step 3
Navigate to WordPress Dashboard -> Plugins and then click the Activate button for Gravity Forms.
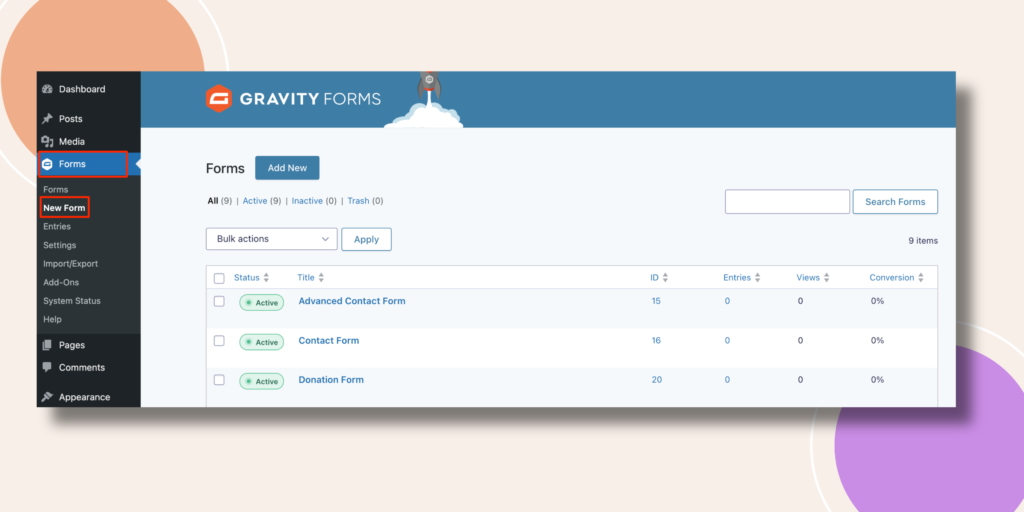
Step 4
Go to WordPress Admin Dashboard > Forms and click New Form.
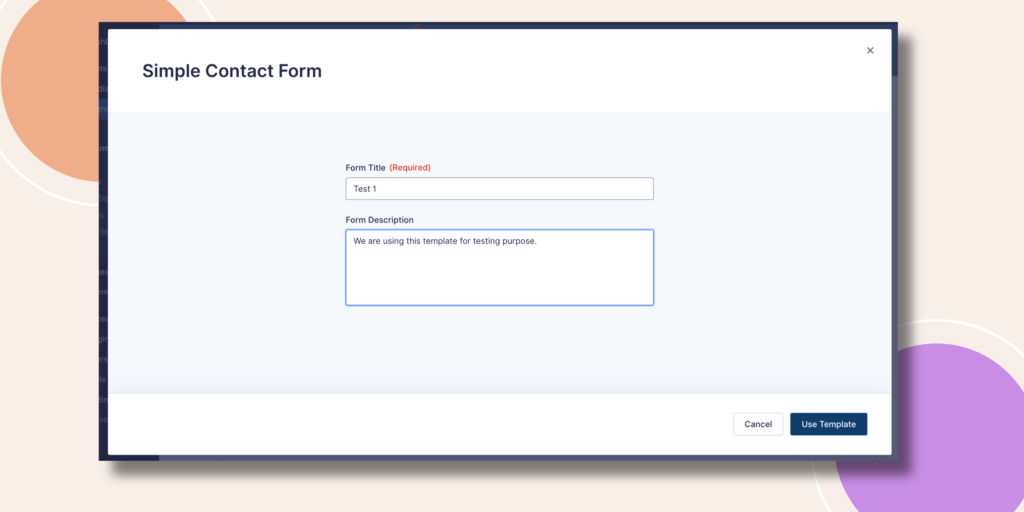
A New Form templates will appear. Select any form tempate by hitting the Use Template and enter a title and description for the form. Then, click the Create Form button to create the form and redirect to the form builder dashboard.
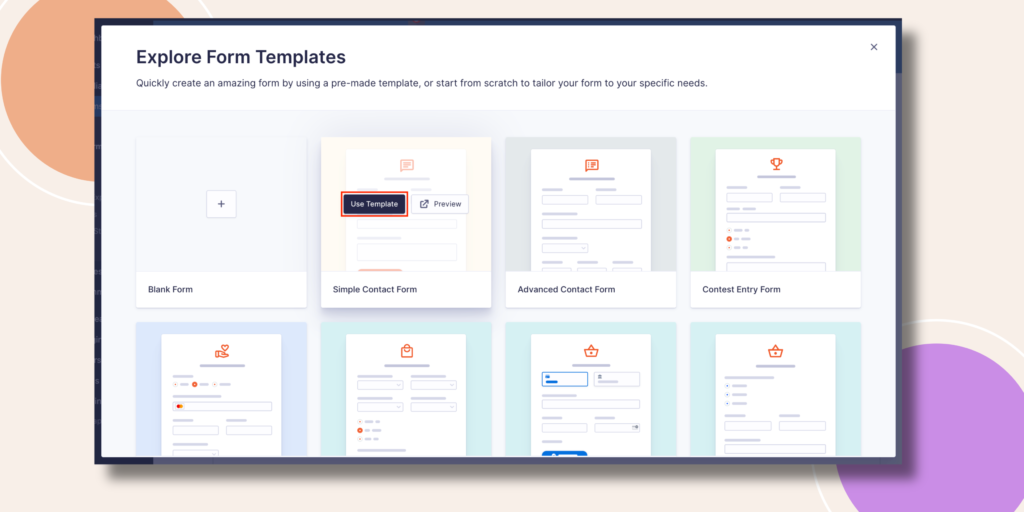
Enter the Form Title and Description for the form. Then, click the Use Template button to create the form and redirect to the form builder dashboard.
Step 5
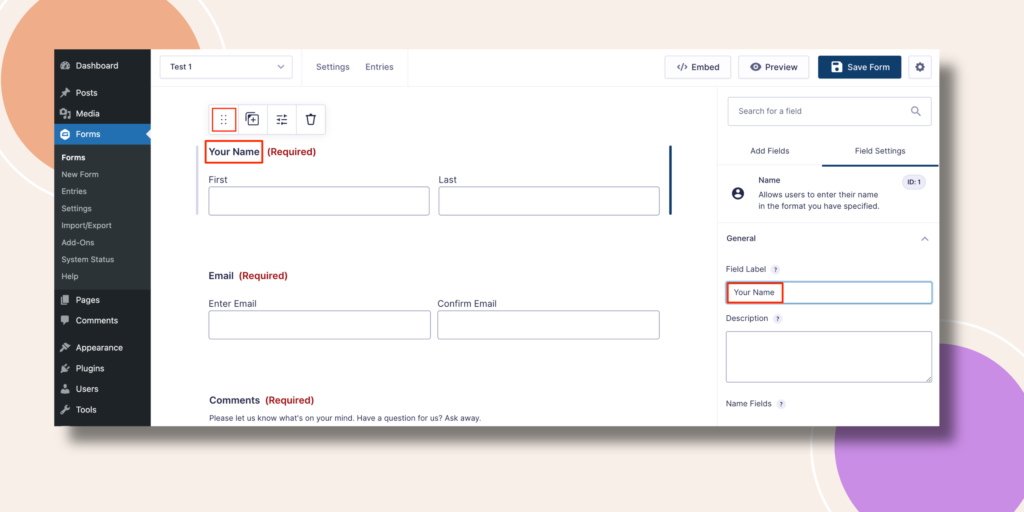
In the form you can set the Field Label according to your need. Moreover, the 6 doted option can assist you to drag the whole field whether you want.
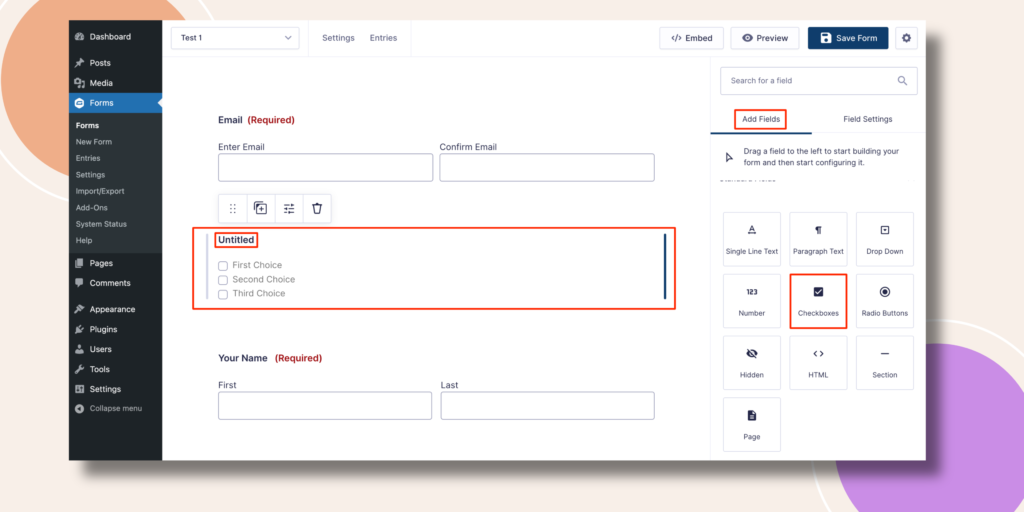
You can see we have placed the Name field down below. Let’s see how you can add new fields. At the right bar click on Add Fields. For example, drag the Checkboxes option and place it under Email section.
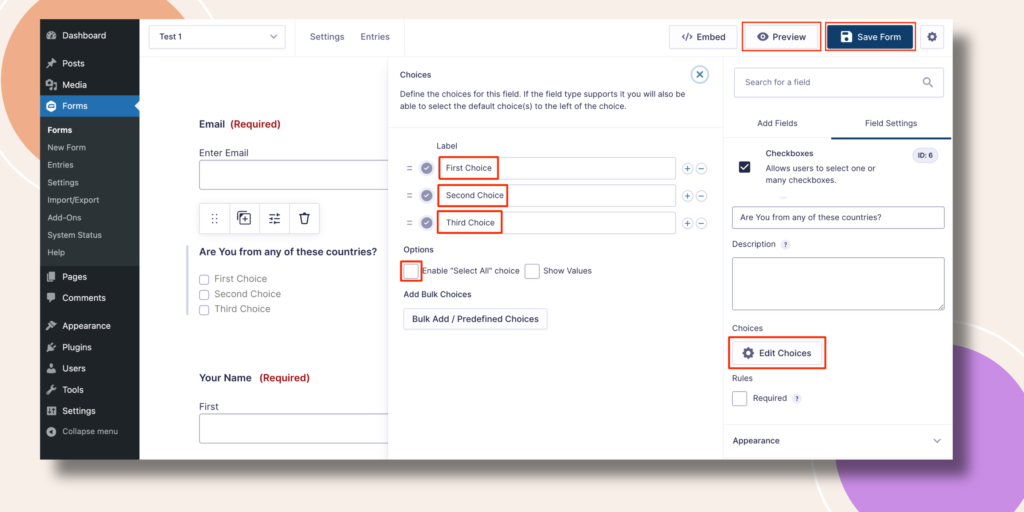
You can see more options to change the Labels with Edit Choices. So, after finishing your editing just hit the Save Form button.
You can create multiple contact forms for Course Requests, Course Feedback if you are running a website for courses. Simply create a new form through Gravity Forms and add it to a page on your website.