
The Advanced Ads plugin lets you create and manage unlimited ad units on your website. You can rotate ads, schedule ads by setting the start and expiration dates. The plugin lets you target ads by content and user groups. You can inject ads into pages and posts without any coding.
The plugin lets you insert ads content and banners from all ad and affiliate networks such as Google AdSense, Amazon, BuySellAds, Google Ad Manager, DoubleClick (DFP), Ezoic, media.net, Booking.com, Tradedoubler, Awin, Getyourguide, The Moneytizer, and mucg more.
You can also show ads based on conditions like:
- individual posts, pages, and other post types
- posts by category, tags, taxonomies, author, and age
- archive pages by category, tags, taxonomies
- special page types like 404, attachment and front page
- hide ads on secondary queries (e.g., posts in sidebars)
- display or hide banners within the post feed
- hide all ads from specific page types, e.g., 404 pages, feed
- hide ads from bots and web crawlers
You can buy the All Access pass for some advanced features and add-ons to boost your ad revenue.
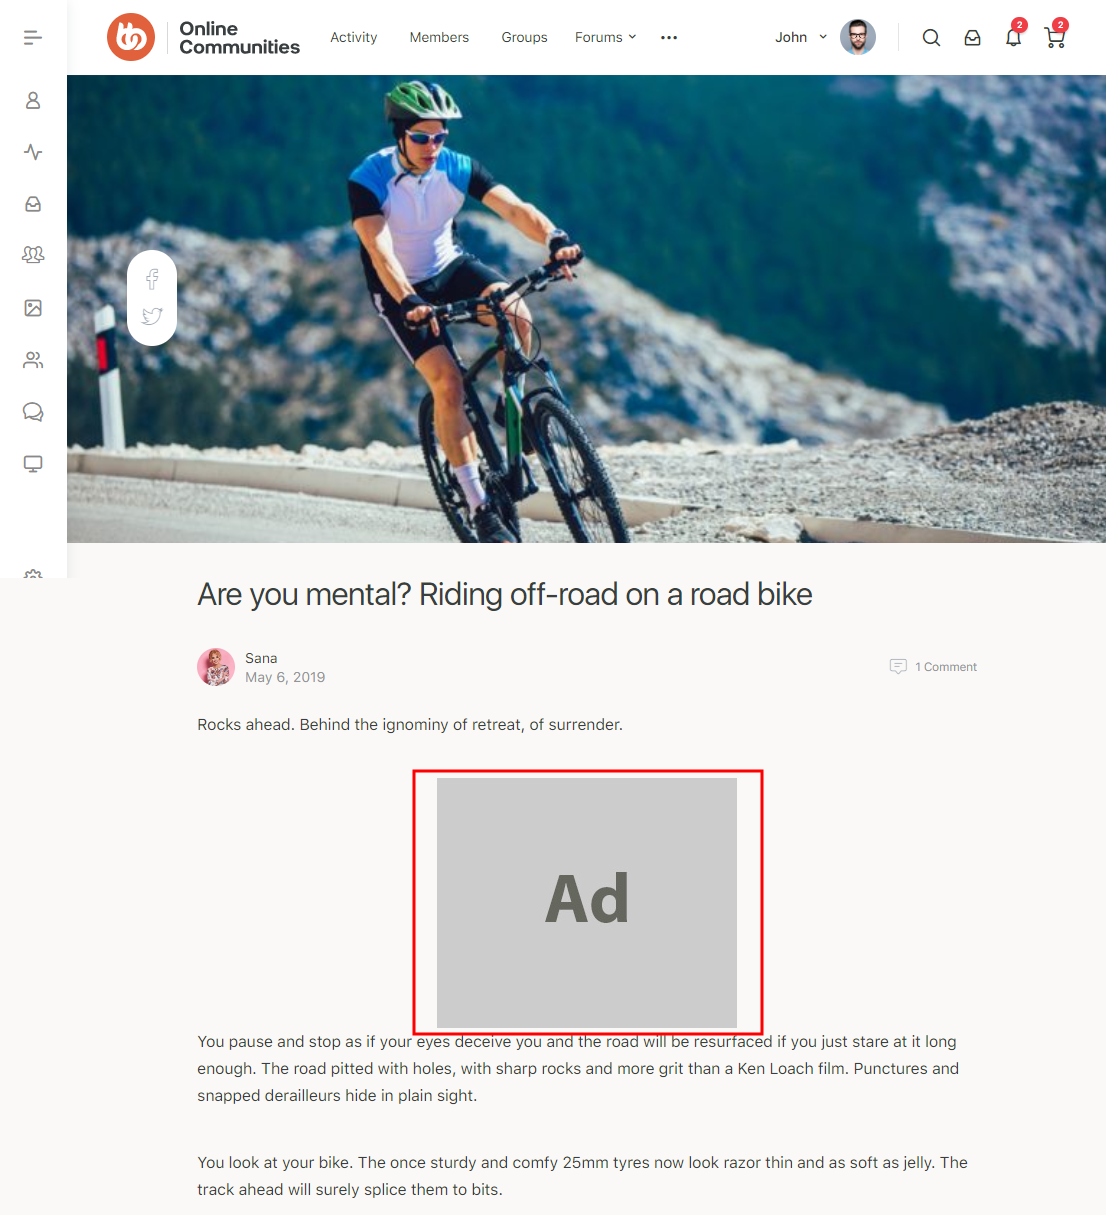
The BuddyBoss Theme styles the ads and adapts to the layout seamlessly.
Installing the plugin
To install the plugin:
- Download the Advanced Ads plugin from the link below
https://wordpress.org/plugins/advanced-ads/ - Extract the downloaded advanced-ads.zip file to the WordPress plugins folder yourhostname/wordpress/wp-content/plugins OR
Go to your WordPress Dashboard > Plugins > Add New. Click the Upload Plugin button. Browse to the download file location, select the advanced-ads.zip & install the plugin. - Click the Activate Plugin button to activate the Advanced Ads plugin on your website. OR
To activate the plugin on your website site go to WordPress Dashboard > Plugins and then click the Activate button for Advanced Ads.
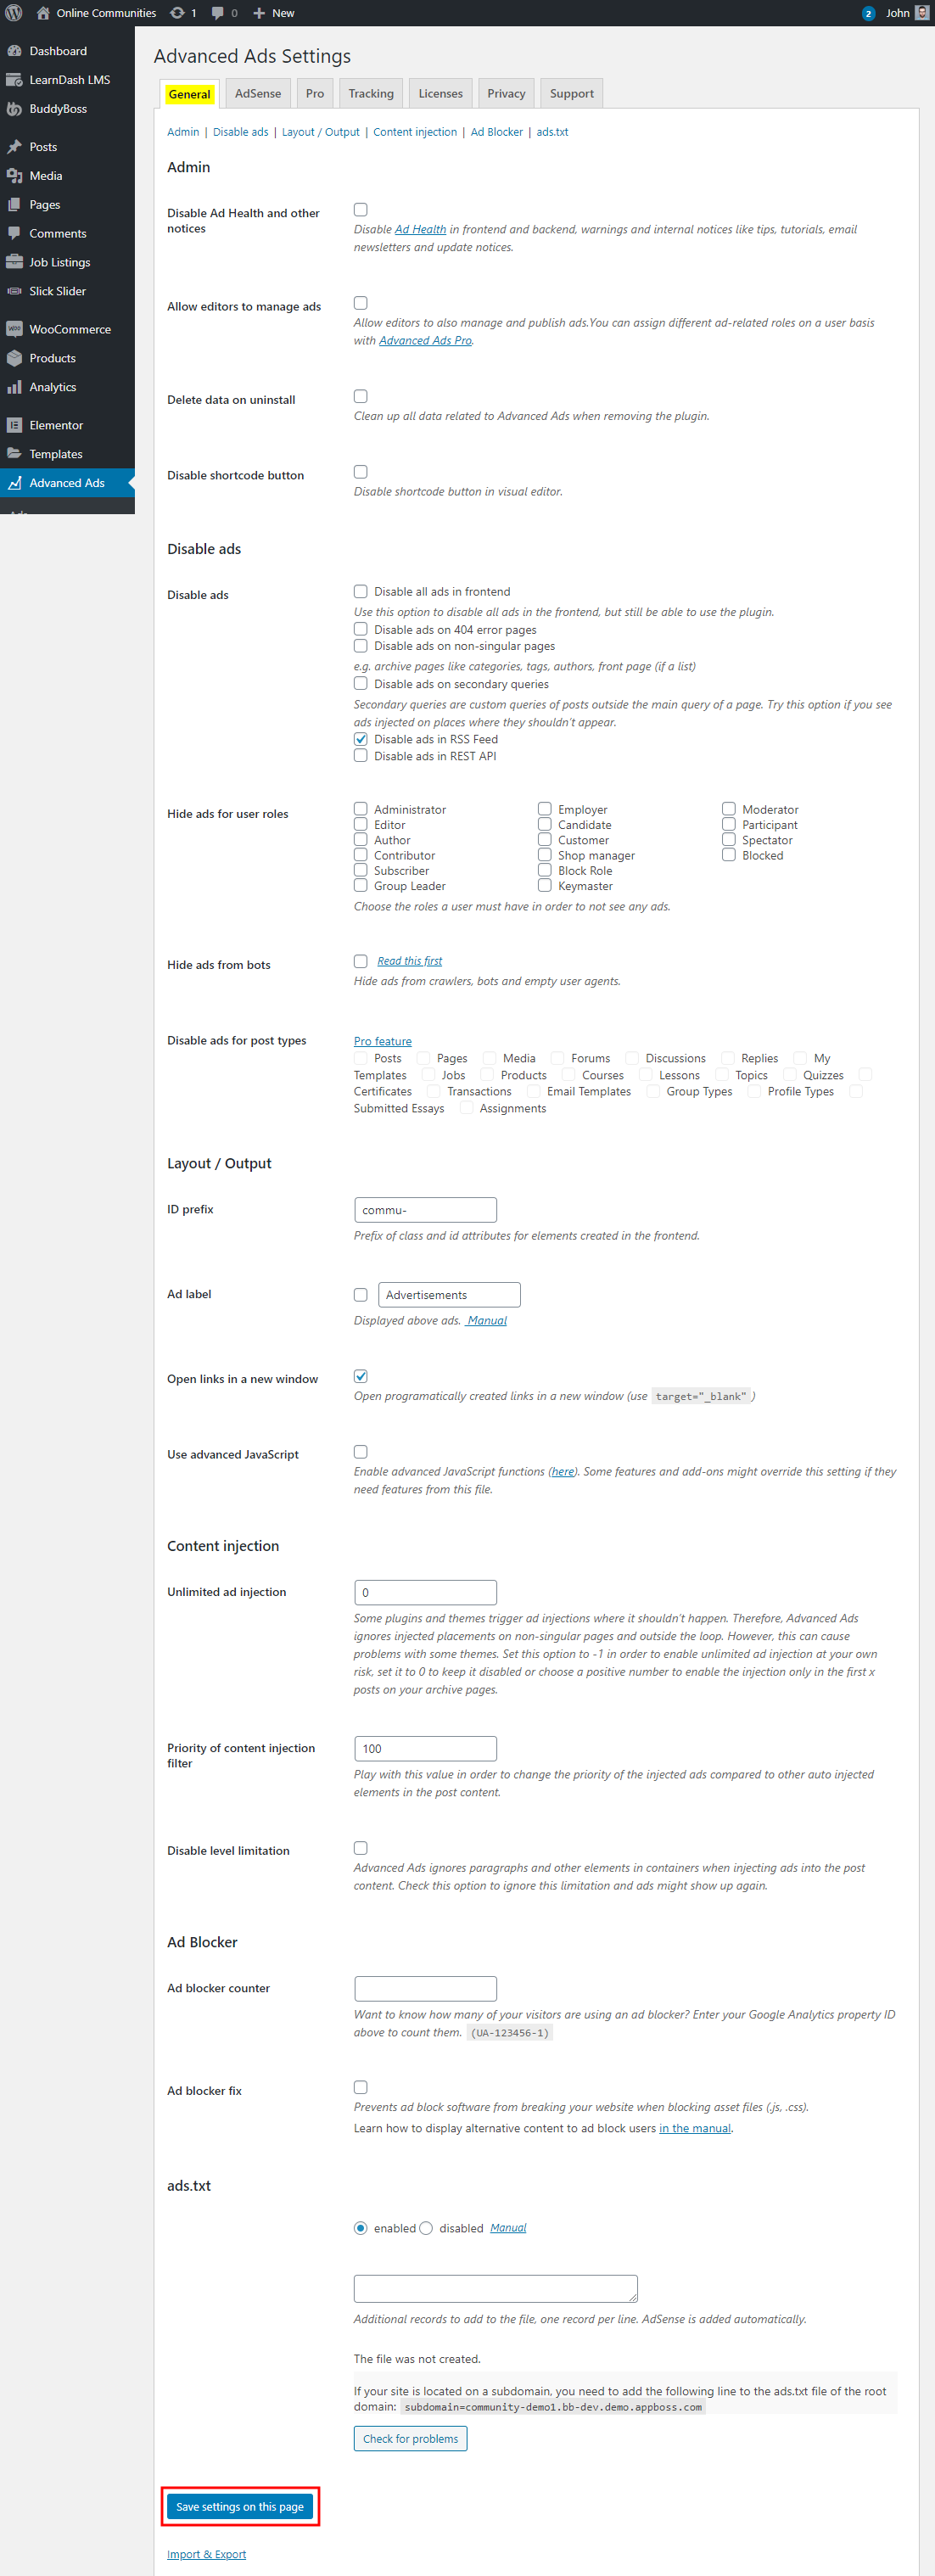
Setting up the plugin
To setup the plugin:
- Go to WordPress Dashboard > Advanced Ads.
- In the General tab, make the preferred changes to the settings.
- Click the Save settings on this page button.
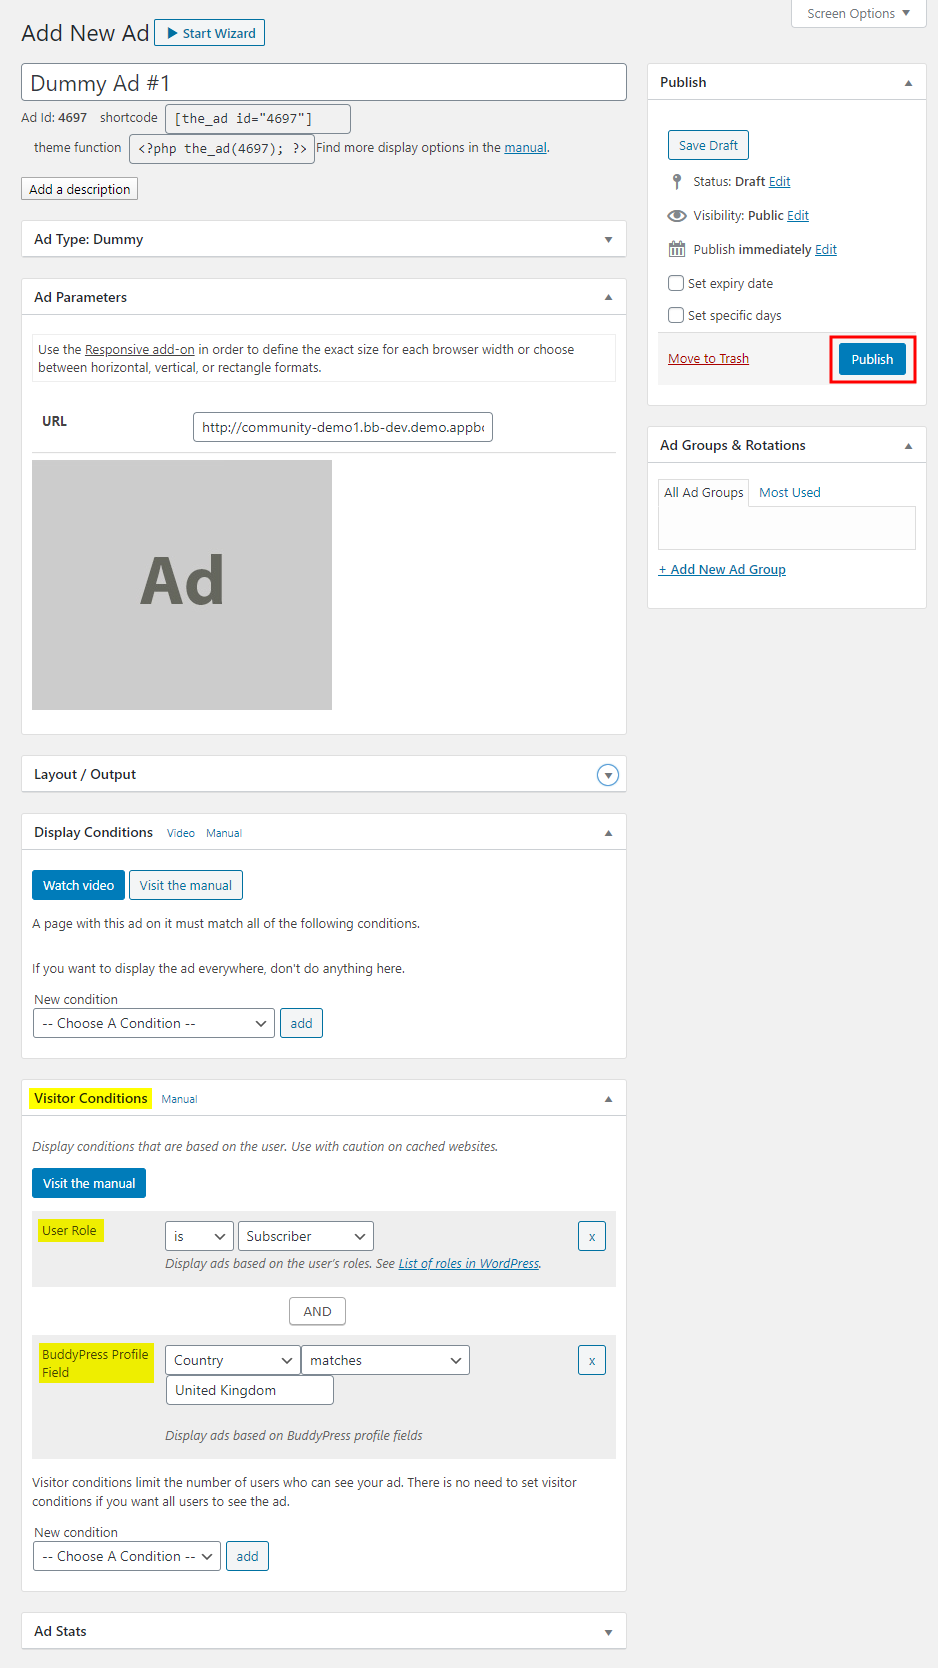
Creating a new ad
To create a new ad:
- Go to WordPress Dashboard > Advanced Ads > Ads.
- Click the New Ad button and add a title for the ad.
- Add the details for the ad, and make the preferred changes to the display, placement, visitor conditions.
You can choose to display the ad based on a User Role or BuddyPress Profile Field in the Visitor Conditions meta box. - Click the Publish button.
For further settings and usage tutorials, refer to the official documentation of Advanced Ads.