
The AWP Classifieds lets you add a classified ads section to your WordPress site.
The plugin lets you create and manage free and paid classified ads on your site. You can search classifieds by city, state, country, username, or keyword. Display AdSense ads, control over HTML use in classifieds, limit the text size of ad postings, allow or disallow image posting with ads, the plugin also supports multiple levels of categories.
Classified ads:
- can have a “Tweet This” button in their layout
- can have a “Share on Facebook” button in their layout
- can be flagged by the community for bad/offensive content
- can be imported via CSV files
- embedded videos
- can have character limits, supported by plans (different plans can have different limits)
- can be displayed on any page for a single category using shortcodes
- Auto-verify ads with email links to post immediately upon click
- can be ‘Sent to Facebook’ inside of ad management
- can be edited via the front end, back end with or without registration (depending on settings)
The BuddyBoss Theme styles the ads and the widgets seamlessly.
Installing the plugin
To install the plugin:
- Download the AWPCP – Classifieds Plugin plugin from the link below
https://wordpress.org/plugins/another-wordpress-classifieds-plugin/ - Extract the downloaded another-wordpress-classifieds-plugin.zip file to the WordPress plugins folder yourhostname/wordpress/wp-content/plugins OR
Go to your WordPress Dashboard > Plugins > Add New. Click the Upload Plugin button. Browse to the download file location, select the another-wordpress-classifieds-plugin.zip & install the plugin. - Click the Activate Plugin button to activate the AWP Classifieds plugin on your website. OR
To activate the plugin on your website site go to WordPress Dashboard > Plugins and then click the Activate button for AWP Classifieds.
Setting up the plugin
To set up the plugin:
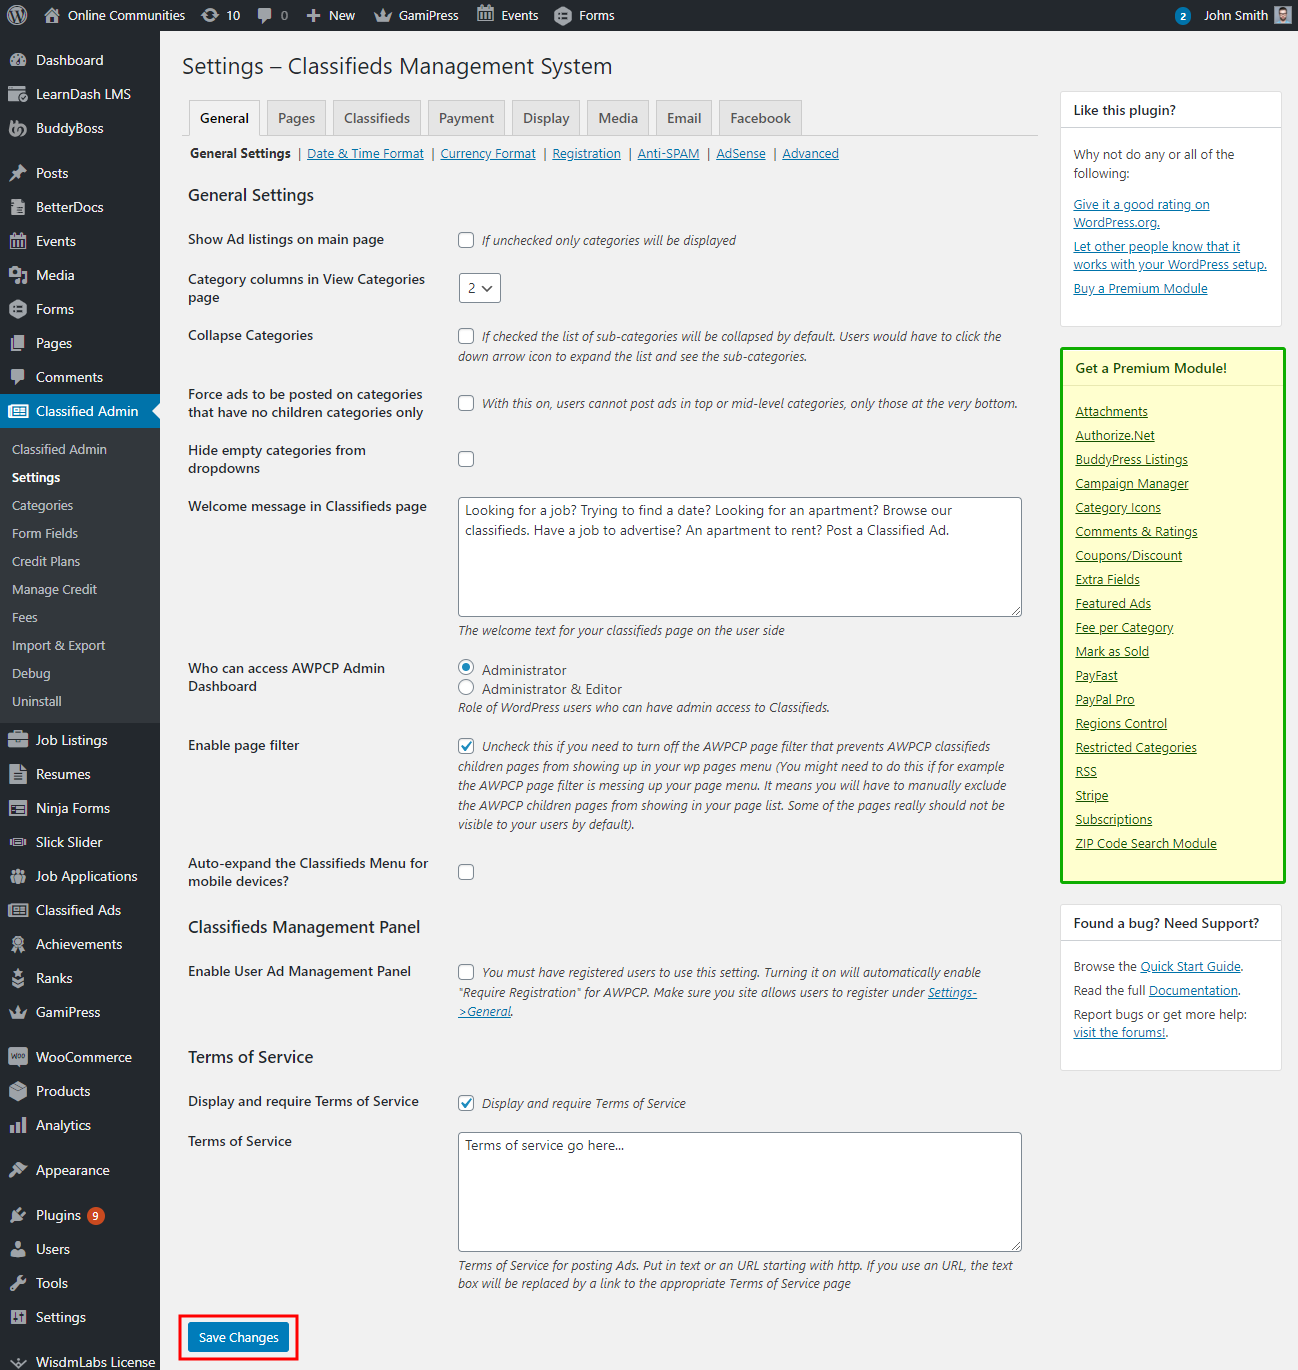
- Go to WordPress Dashboard > Classified Admin > Settings.
- In the General tab, make the preferred changes to the settings and click the Save Changes button.
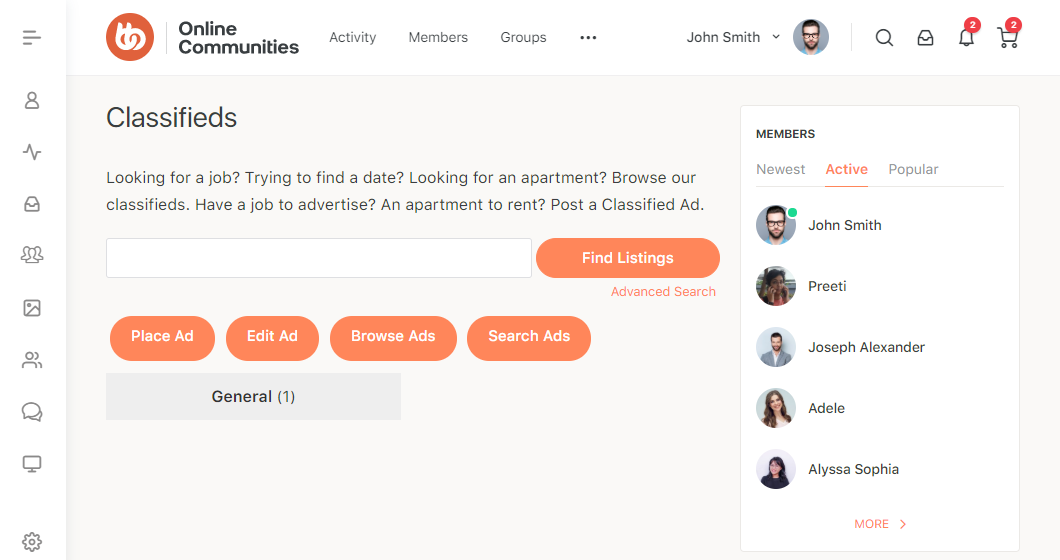
- In the Pages tab, click the Create Page button for each Classified Pages to display the listing on the frontend and click the Save Changes button.
- For setting up a free classified board, in the Payment tab; make sure Charge Listing Fee? is unchecked and click the Save Changes button.
Creating a new ad
To create a new ad:
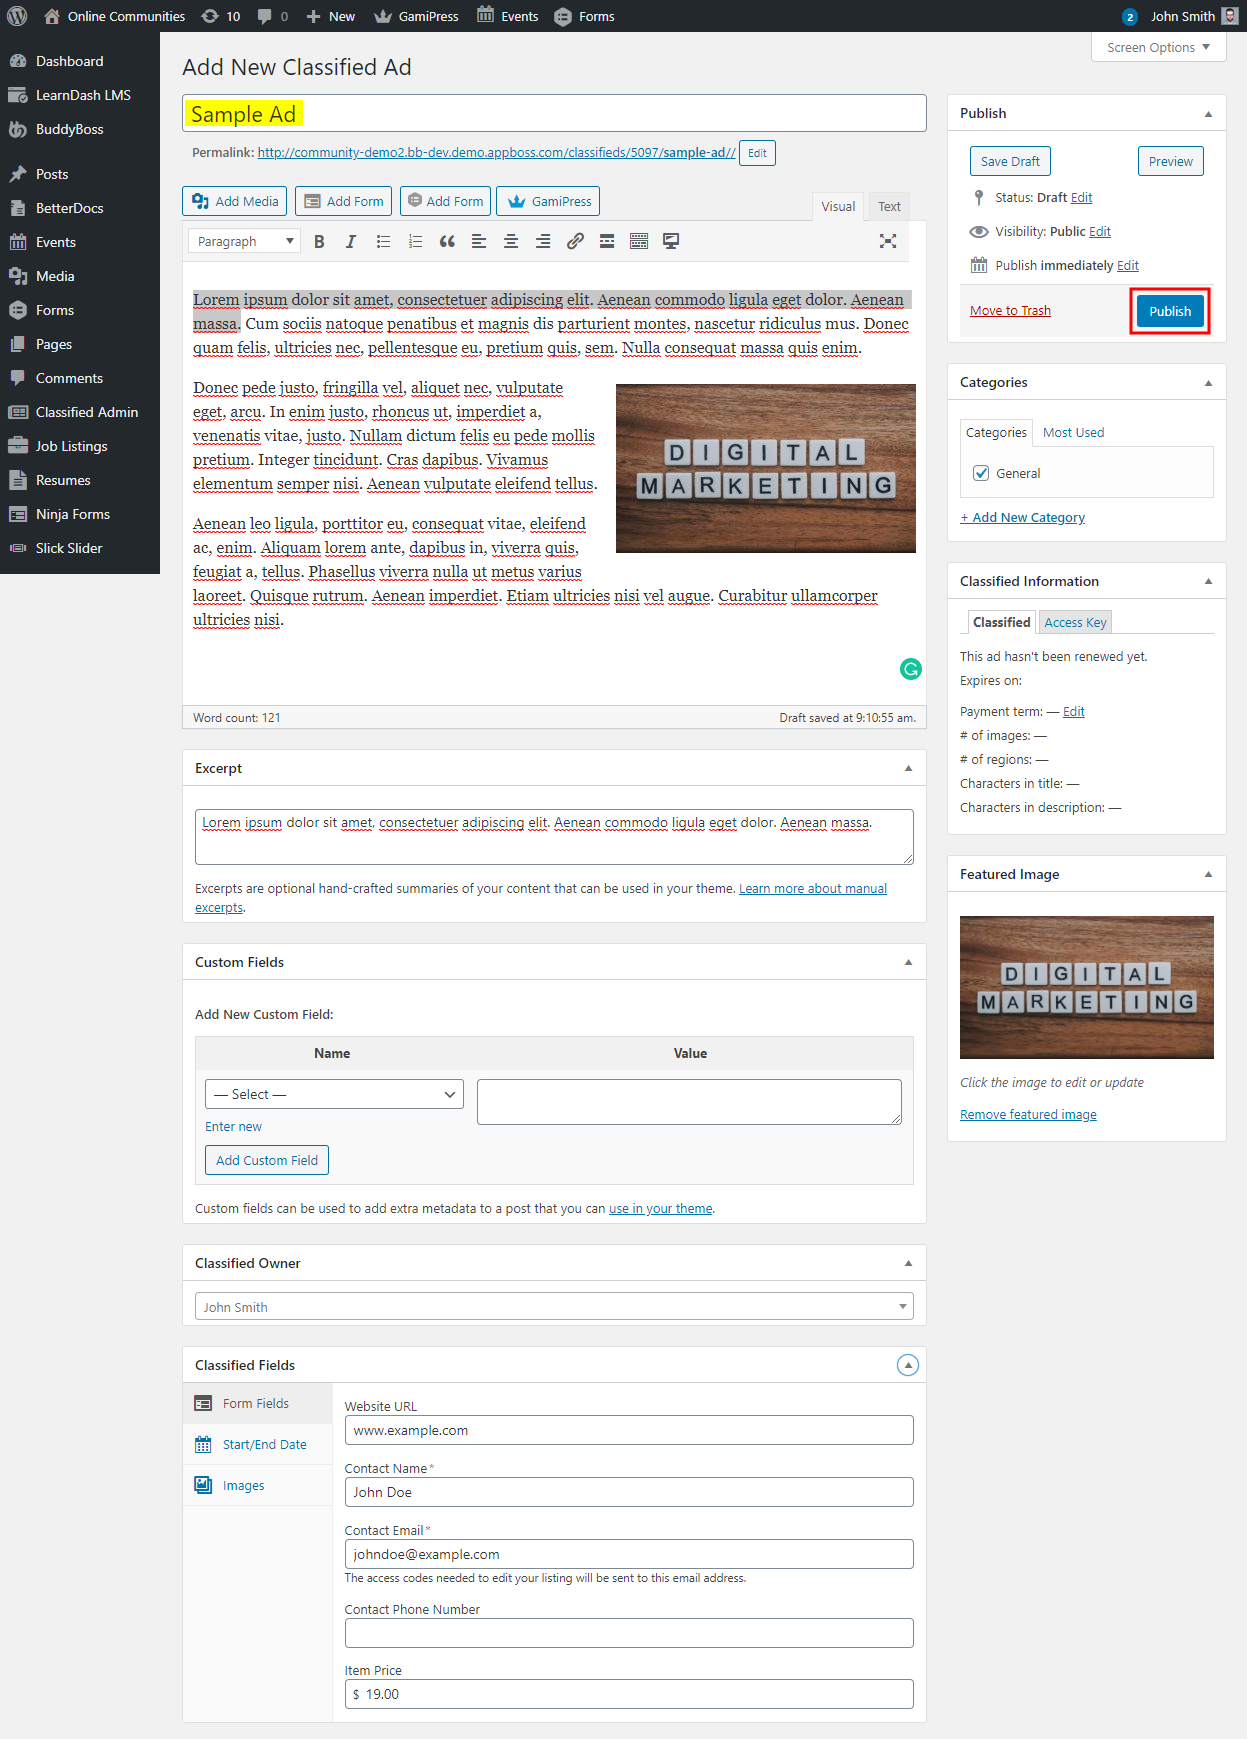
- Go to WordPress Dashboard > Classified Ads and click the Add New button.
- Enter the details for the ad such as title, description, contact details, item price, start, and end date.
- Select a category in the Categories meta box.
- Click the Publish button.

For further setup and usage tutorials, refer to the official documentation of the AWPC.