
Why Use CAPTCHA in Your BuddyBoss Platform?
Integrating Google reCAPTCHA with BuddyBoss enables website owners to safeguard their online communities and forums from spam and automated attacks. It ensures a secure and more authentic user interaction environment.
Configure Google reCAPTCHA
Google supports two versions of CAPTCHA. v2 Google reCAPTCHA requires users to actively confirm they are not robots, typically through image recognition challenges or ticking a checkbox. In contrast, reCAPTCHA v3 works in the background to assess user interactions and behavior, assigning a score to determine their likelihood of being human, without interrupting the user experience.
Google reCAPTCHA v3 differs from v2 by offering a frictionless, non-intrusive method of website security. Unlike v2, which requires users to solve “I’m not a robot” challenges, v3 operates in the background, analyzing user behavior to assign a risk score. We recommend you to use v3 to improve user experience by minimizing interruptions while effectively protecting against bots and spam.
Enable reCAPTCHA v3
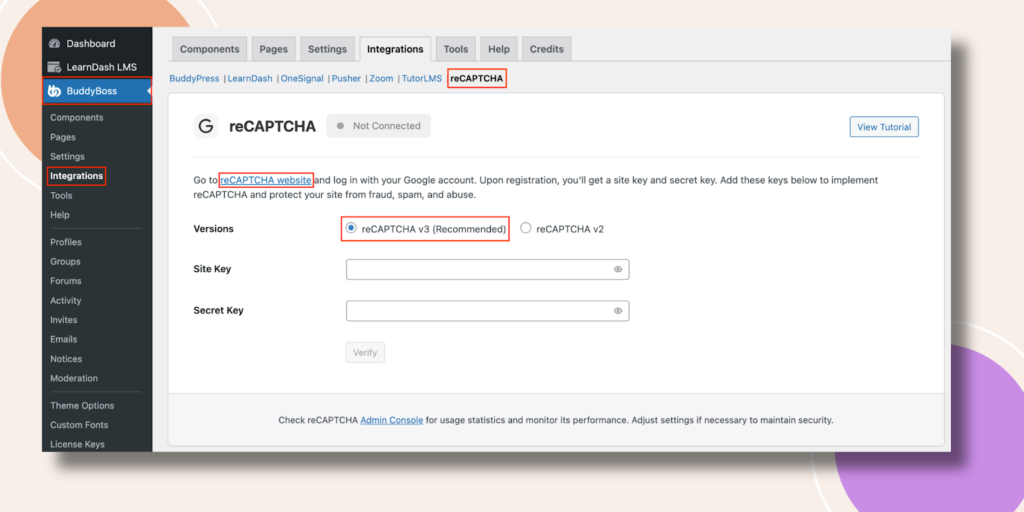
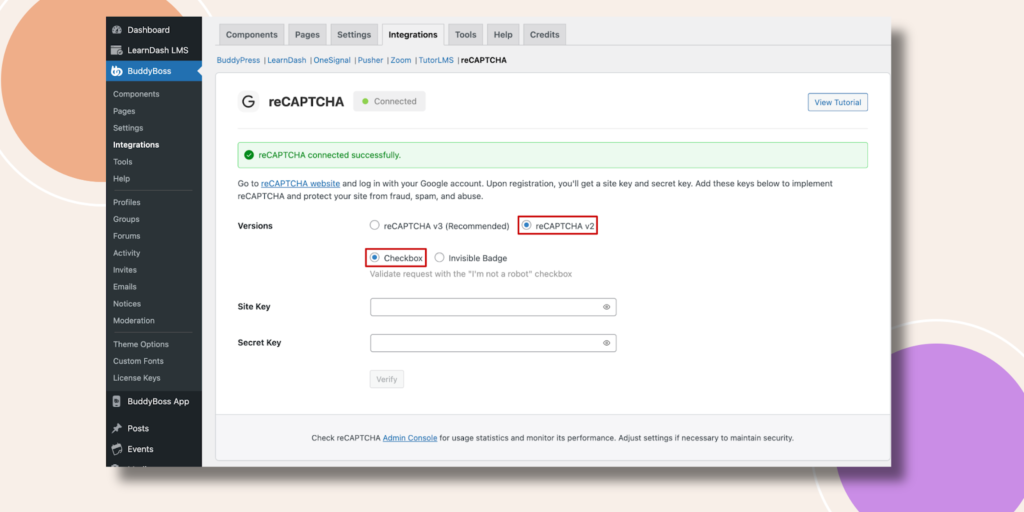
Navigate to BuddyBoss – Integrations – reCAPTCHA. You will get the reCAPTCHA section. Here the reCAPTCHA v3 will be automatically selected. Click on the reCAPTCHA website which is hyperlinked.
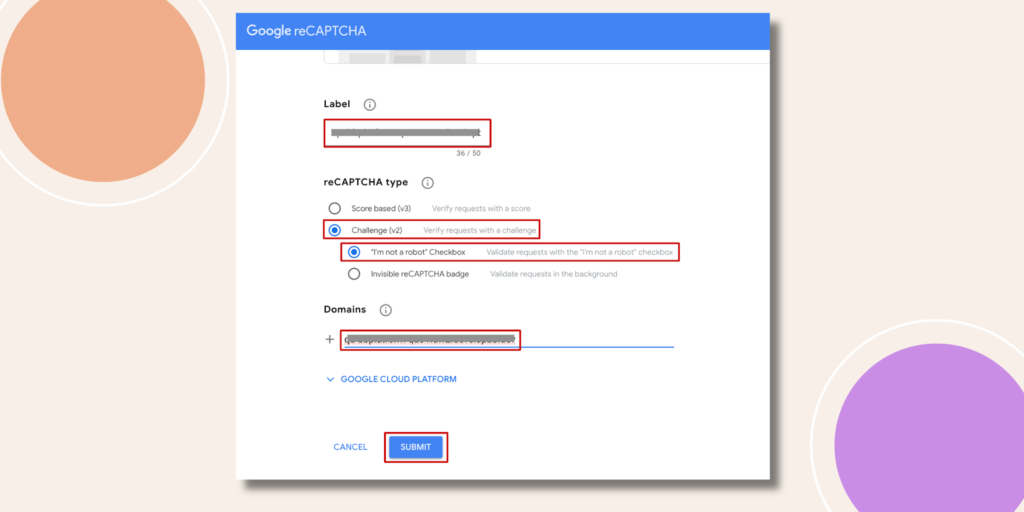
This will lead you to the Google reCAPTCHA page. In the Label field write down a name and this will make it easy for you to identify the site in the future. Select Score based (v3), and in the Domains field add your website URLs where you want to add this feature. Finally click the Submit button.

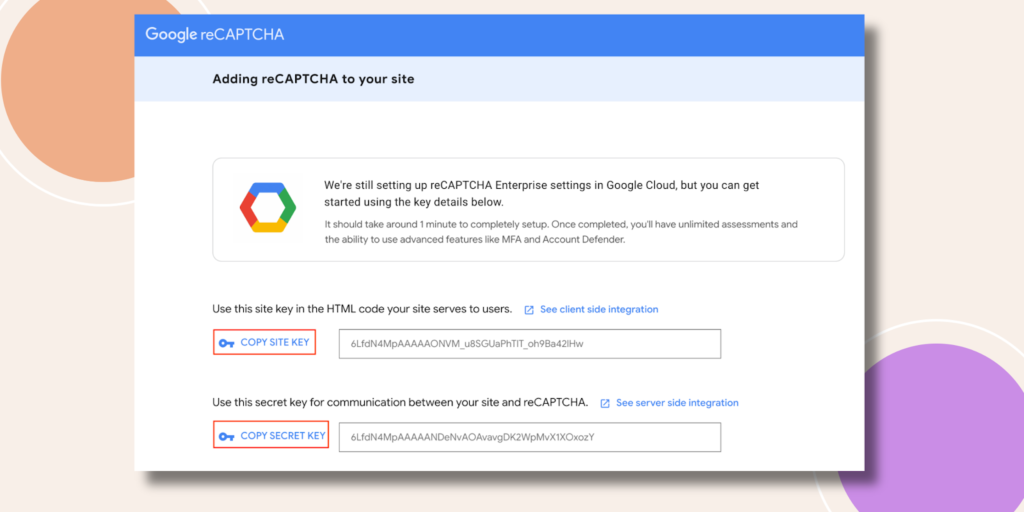
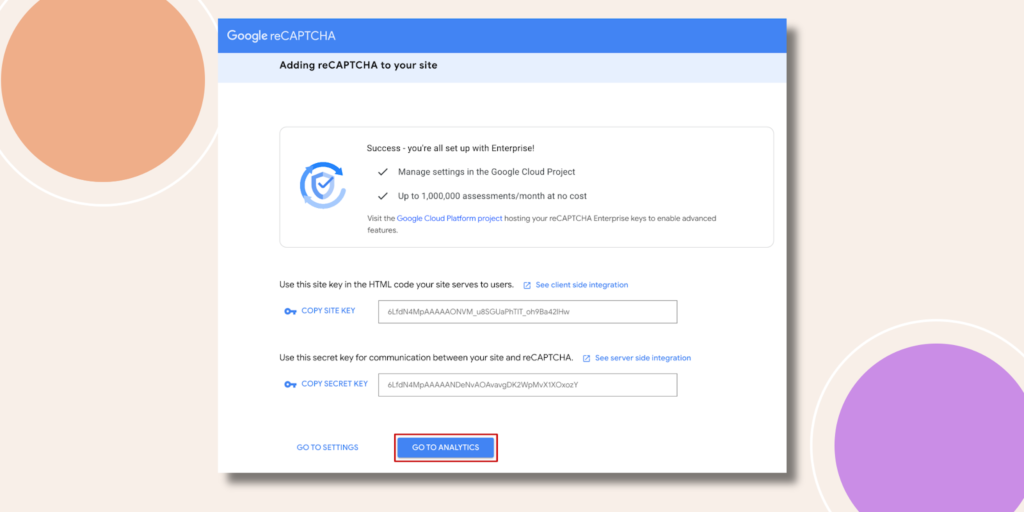
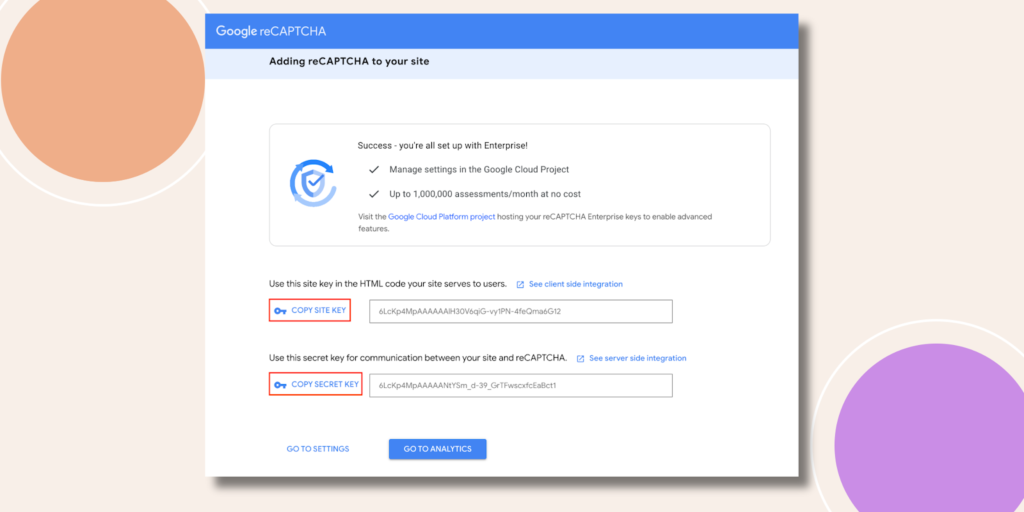
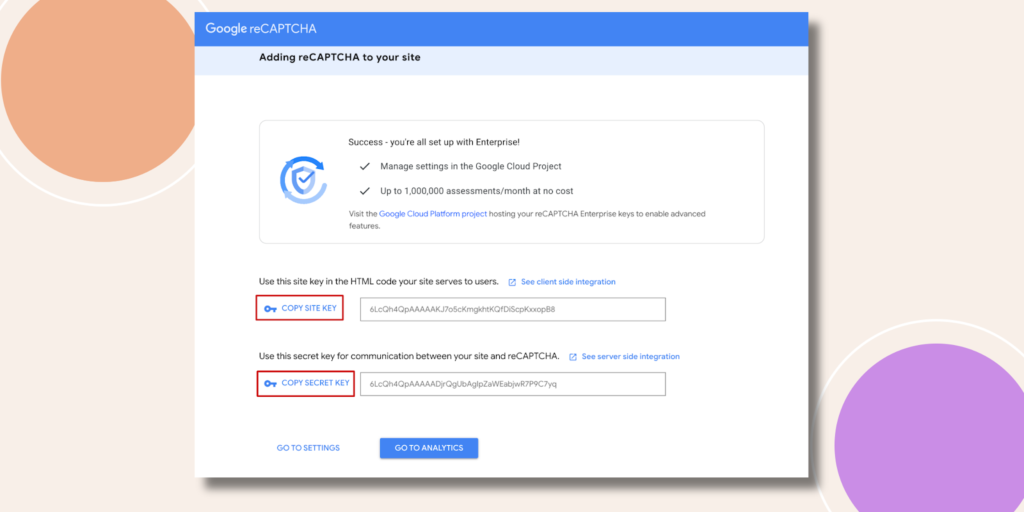
Then this page will appear. Click on COPY SITE KEY and COPY SECRET KEY.
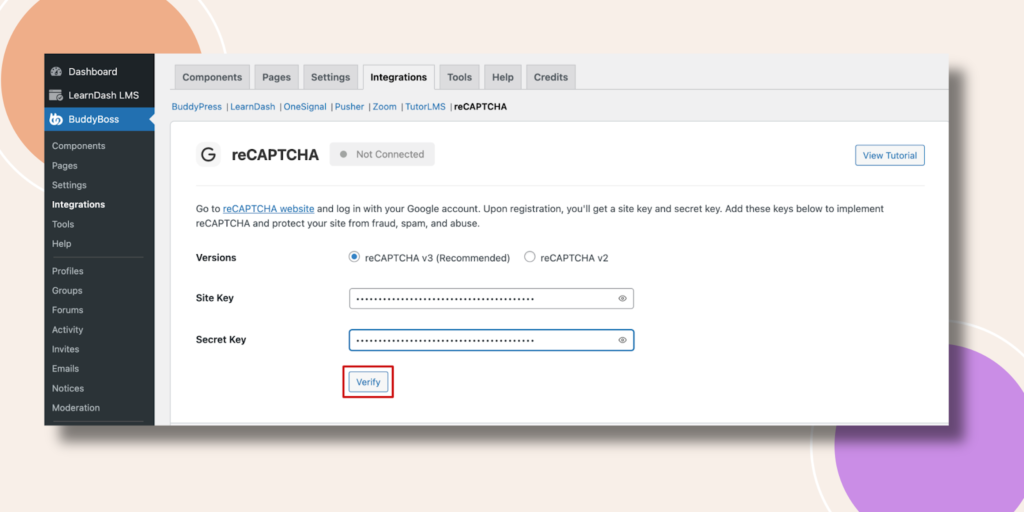
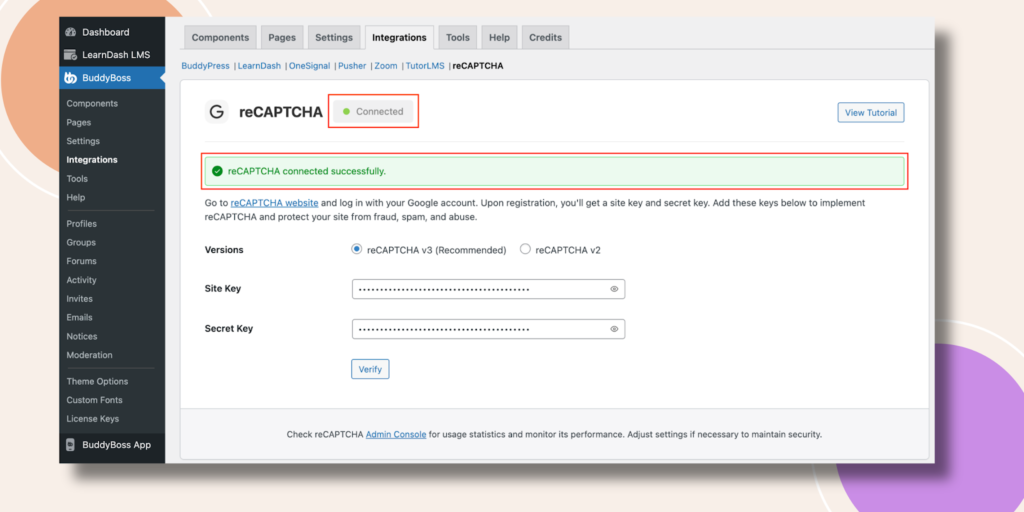
Then go back to your WordPress Dashboard and paste respectively in the Site Key and Secret Key fields. Hit the Verify button.
The system will verify the keys and load.
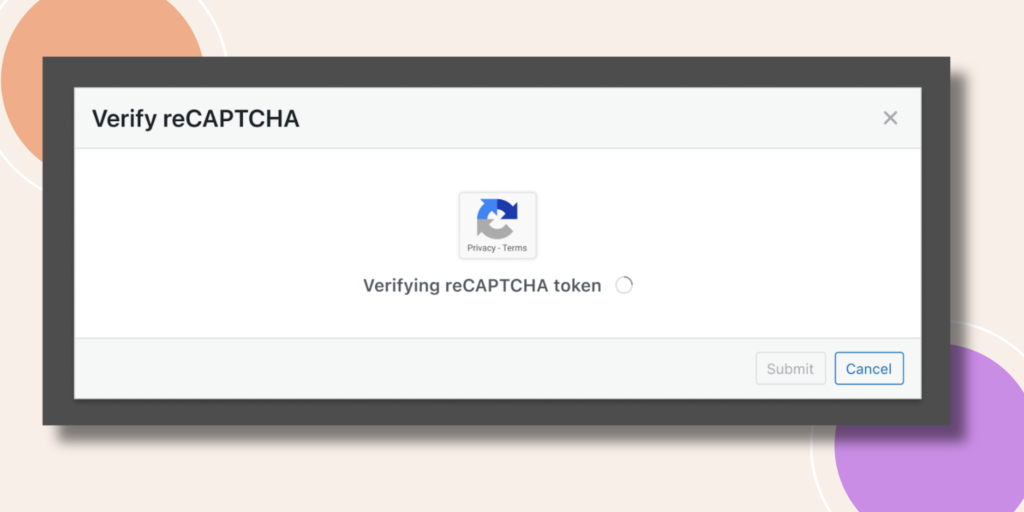
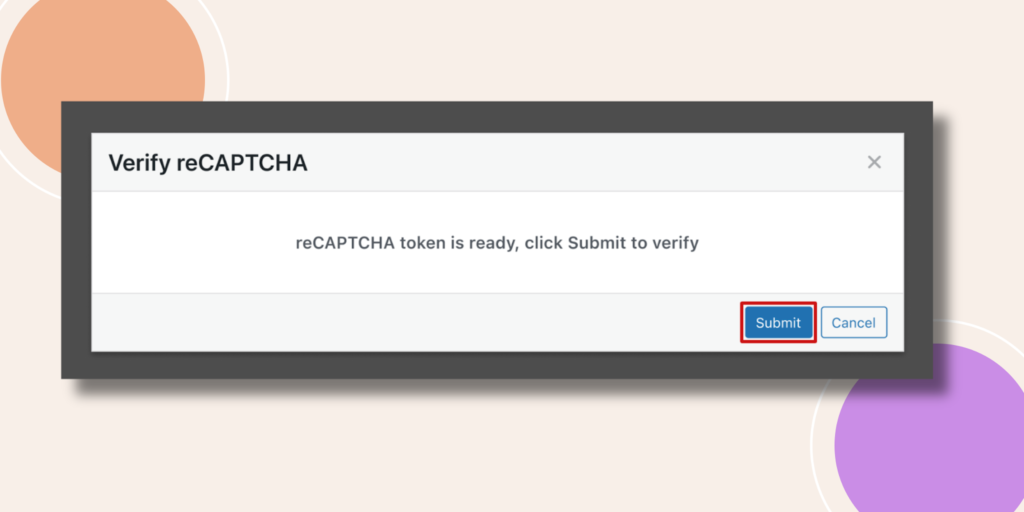
Now click on the Submit button.
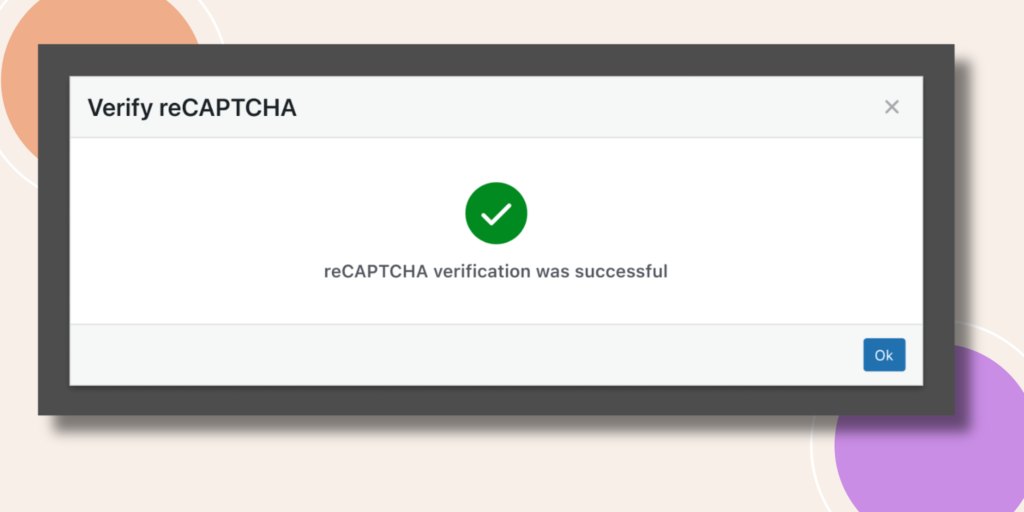
If your tokens are correct you will see this successful message. Press the Ok.
Voila! Your reCAPTCHA is Connected with this website.
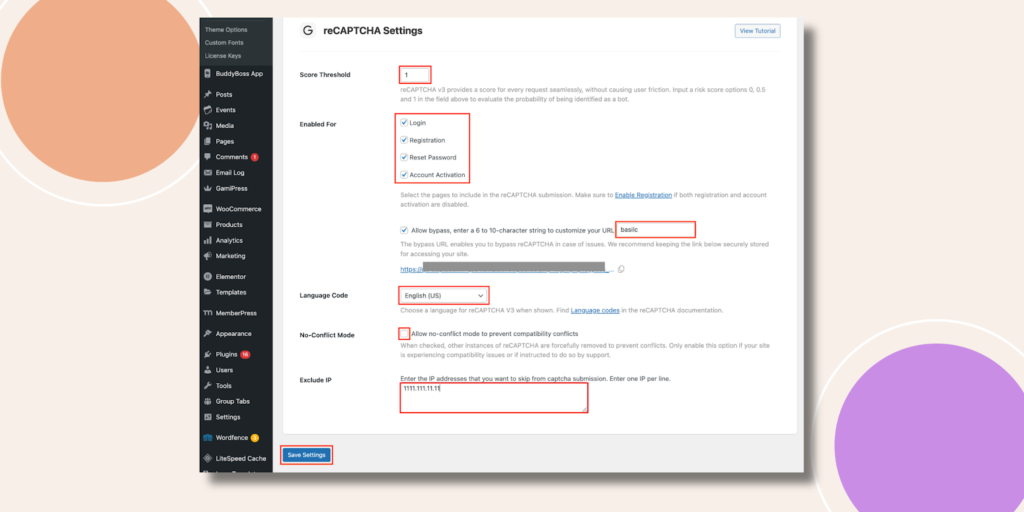
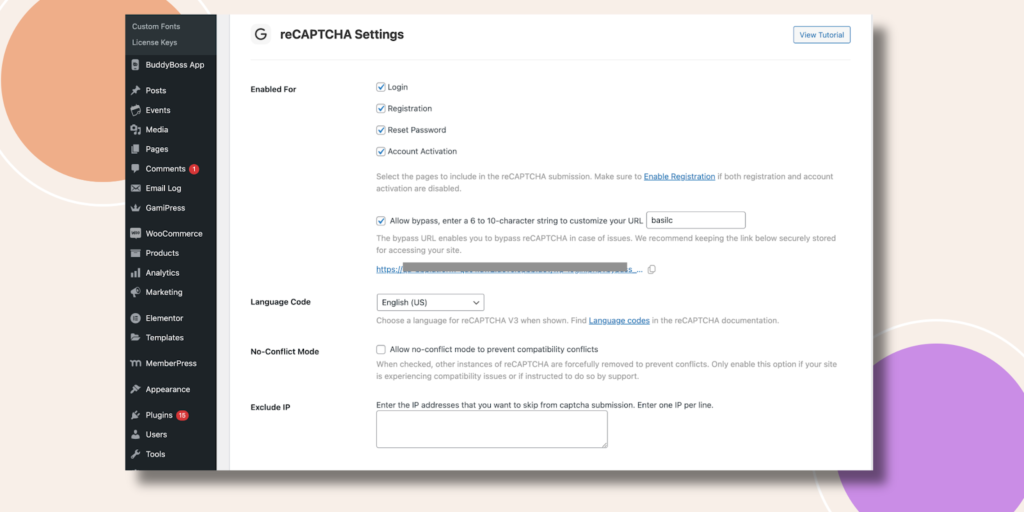
Now, scroll down below and you will notice the reCAPTCHA Settings. reCAPTCHA v3 provides a score for every request seamlessly, without causing user friction. Input a risk score options 0, 0.5 and 1 in the field above to evaluate the probability of being identified as a bot.
Then select the forms to include in the reCAPTCHA submission. Make sure to Enable Registration if both registration and account activation are disabled.
There is a bypass URL option. It enables you to bypass reCAPTCHA in case of issues. With this URL anyone can enter your website without passing the Google reCAPTCHA. We recommend keeping the link below securely stored for accessing your site. Enter 6-10 characters which will be added by the URL and make it unique and secure.
Choose a Language Code for reCAPTCHA V3 when shown.
When the No-conflict Mode is checked, other instances of reCAPTCHA are forcefully removed to prevent conflicts. Only enable this option if your site is experiencing compatibility issues or if instructed to do so by support.
In the Exclude IP field enter the IP addresses that you want to skip from captcha submission. Enter one IP per line. Finally hit the Save Settings button.
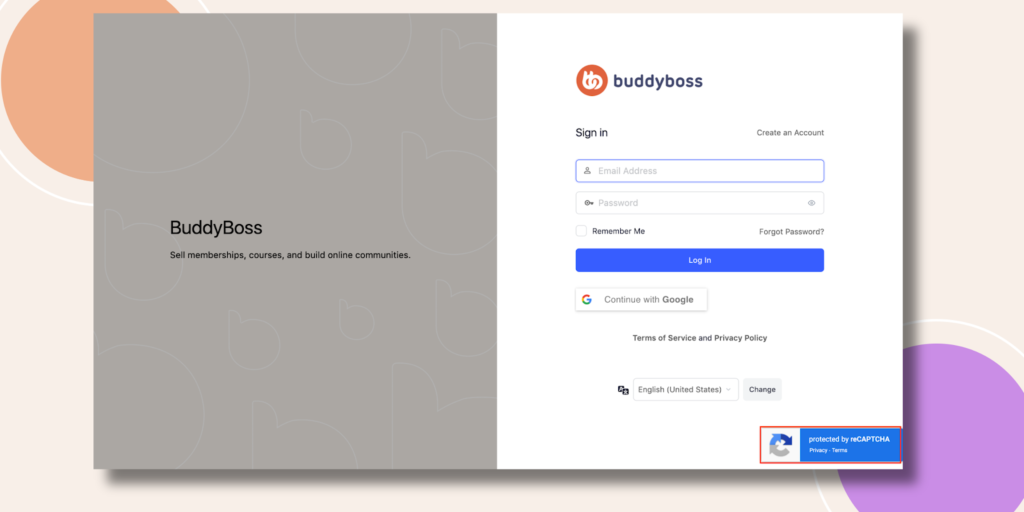
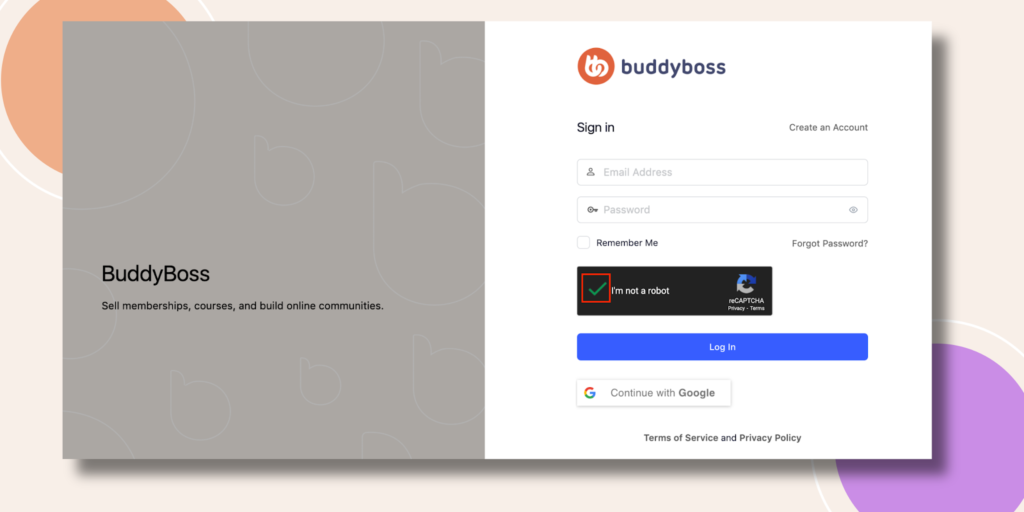
Reload the login page and you will notice the reCAPTCHA.
Enable reCAPTCHA v2 – Checkbox
Firstly choose the reCAPTCHA v2 and two options will appear. Select the Checkbox one.
Go back to the Google reCAPTCHA page and click on the GO TO ANALYTICS button.
From this page press on the + icon.

Write down the Label, select Challenge (v2) then I’m not a robot Checkbox. Add your Domains. Hit the Submit button.
Again the new keys will be generated. Just like before copy them.
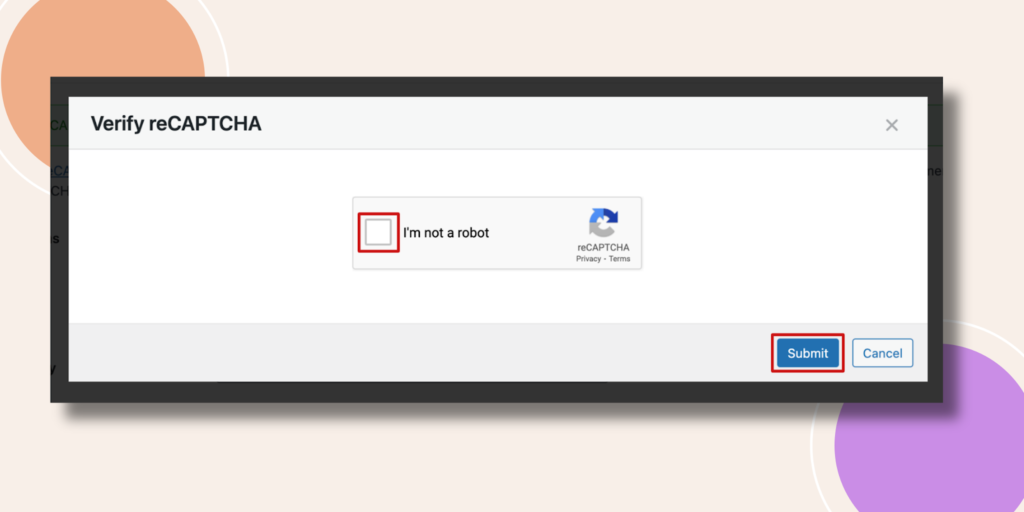
Paste them in the Site Key and Secret Key fields. And, press the Verify button. This popup will appear. Confirm that you are not a robot by checking the box. Then click Submit.
Yes! You are Connected with the reCAPTCHA v2 Checkbox option.

Scroll down to change any reCAPTCHA Settings if you want.
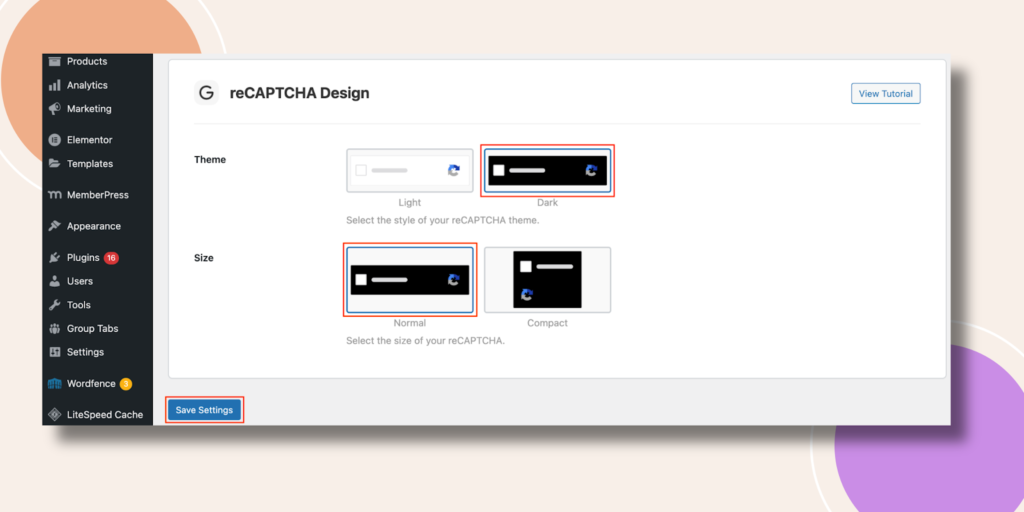
If you scroll down more you will discover a new reCAPTCHA Design section. This is specially built for v2 reCAPTCHA. Select Light or Dark Theme. Then choose the Size Normal or Compact. Don’t forget to press the Save Settings button or all your hard work will go vain.
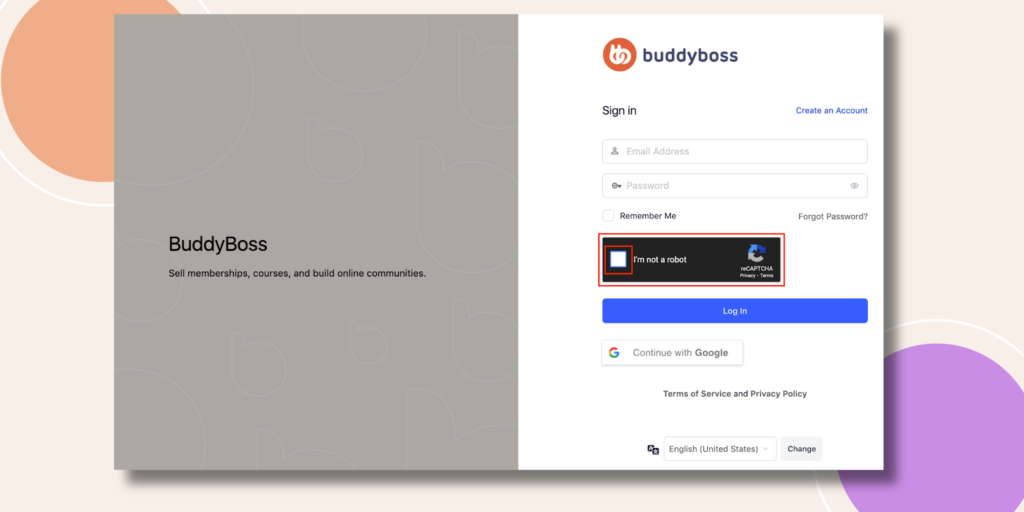
Reload the login page again and you can now see the v2 reCAPTCHA Checkbox. Tick the I’m not a robot option.
A side popup appeared which asks you to Select all squares with Stairs. This will ask you to select a different type of object every time. So we have selected the Stairs area and clicked Verify.
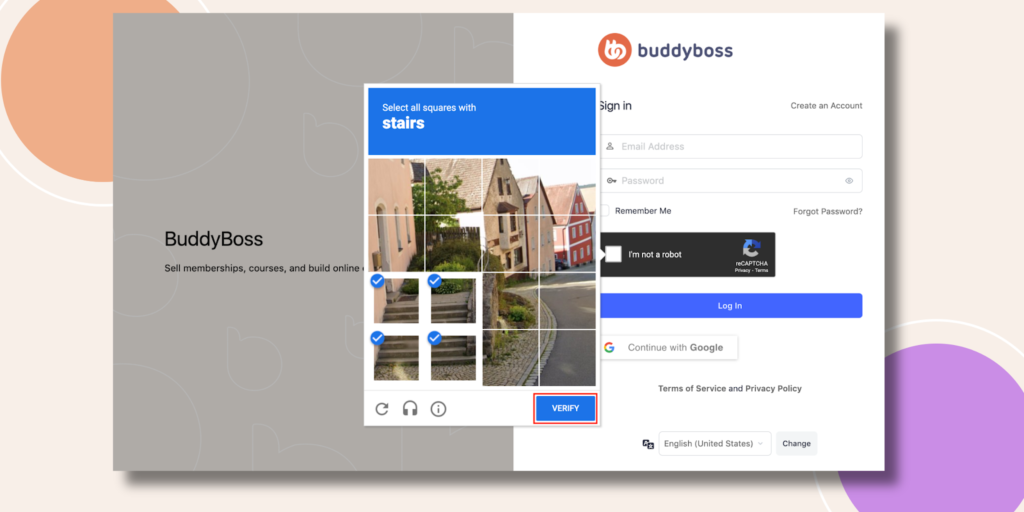
We are successful! We can login now seamlessly.
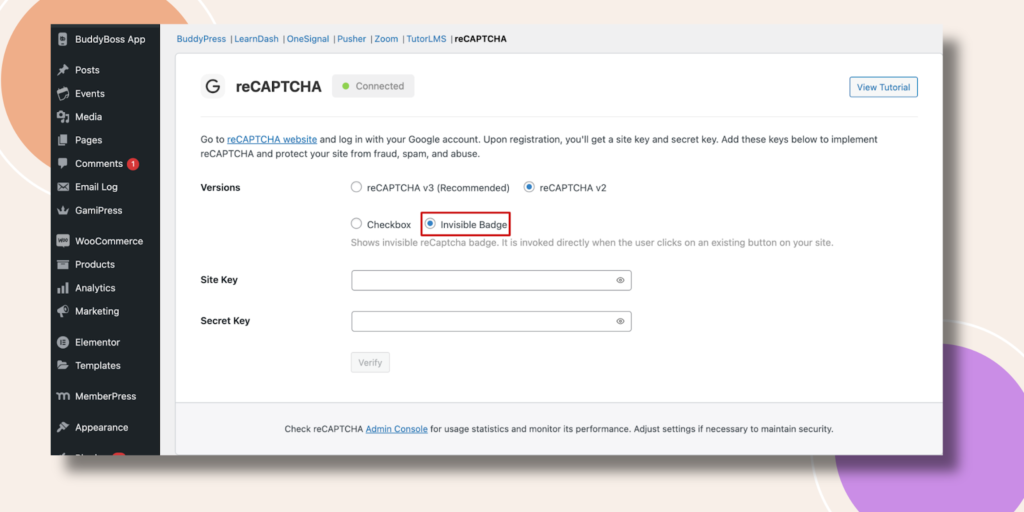
Enable reCAPTCHA v2 – Invisible Badge
Select Invisible Badge.
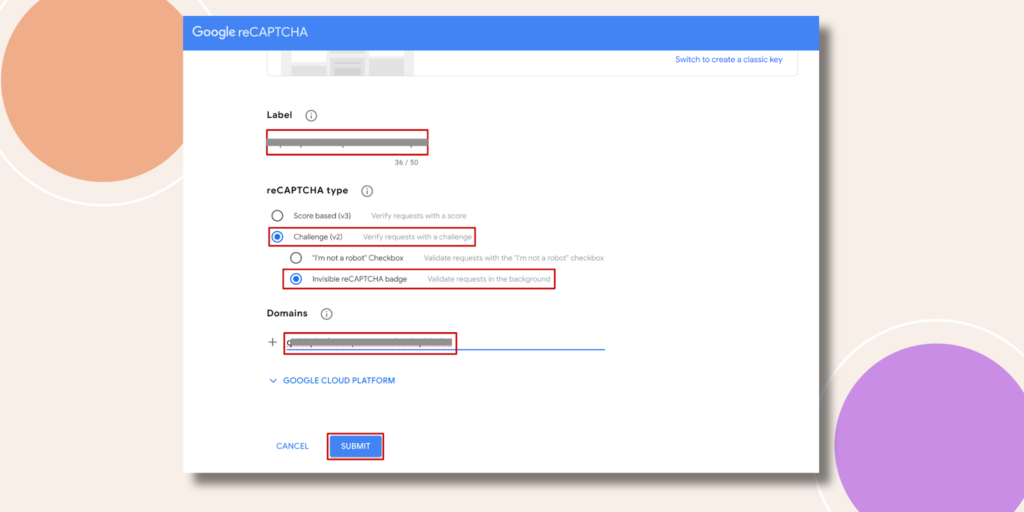
Go back to the Google reCAPTCHA page. Set your Label, select Challenge v2 – Invisible reCAPTCHA badge. Add your Domains and hit the Submit button.
New keys are generated, copy them.
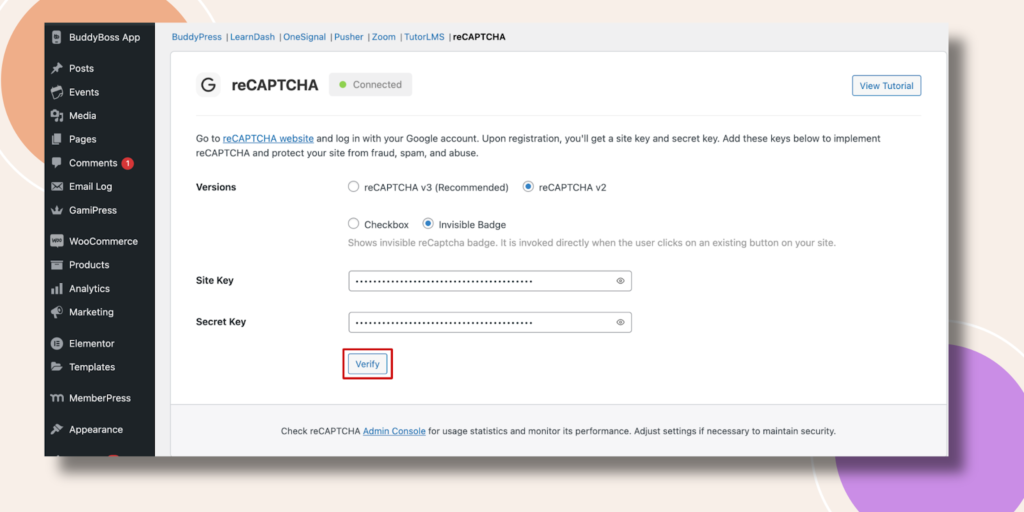
Paste them in the respective fields and press Verify.
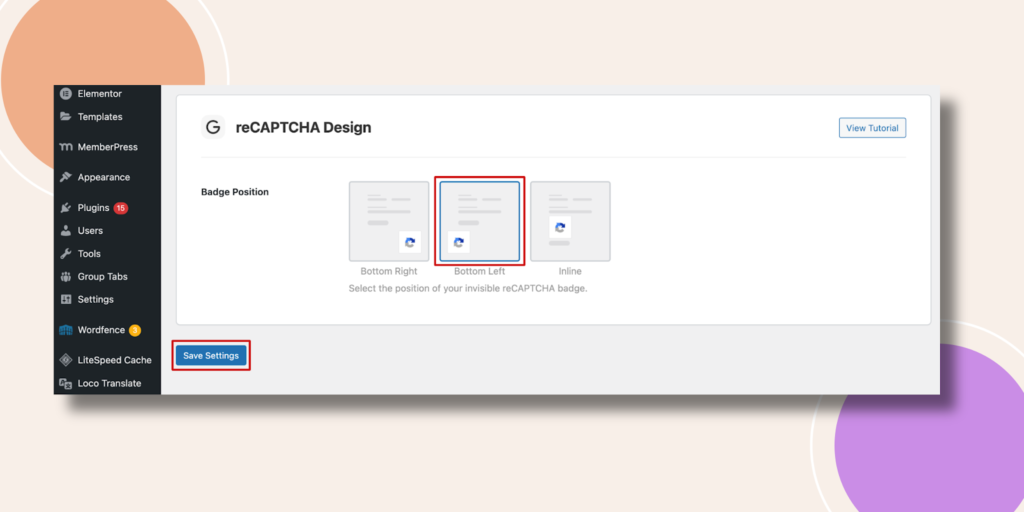
As the reCAPTCHA Settings will be the same scroll down to check the Badge Position under reCAPTCHA Design section. We have selected Bottom Left and never forget to press Save Settings.
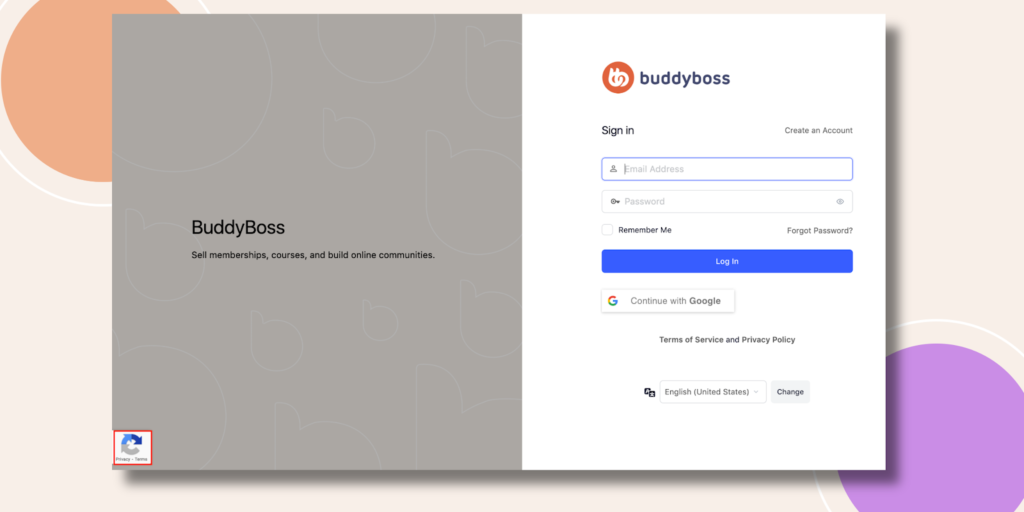
Reload your login page and you will see a tiny reCAPTCHA badge at the bottom left of that page.
If you get an error message like this while adding keys don’t get panicked try again carefully.

Implementing Google reCAPTCHA is essential for website owners. It enhances security and ensures a safer, bot-free environment for your community which will enable users to interact and engage more securely.