
The BP xProfile Location plugin uses the Google Places API to populate and validate the address fields.
The integration works and requires the BuddyBoss Platform installed and activated on your website. The BuddyBoss Theme blends any location field on the profile page seamlessly.
BuddyBoss Platform is a fork and forge of the BuddyPress plugin and bbPress plugin. Any plugin developed for the BuddyPress and bbPress plugin is supported by BuddyBoss Platform.
You do NOT need to install the BuddyPress plugin or the bbPress plugin separately. BuddyBoss Platform acts as a replacement for both the plugins.
Installing the plugin
To install the plugin:
- Download the BP xProfile Location plugin from the link below
https://wordpress.org/plugins/bp-xprofile-location/ - Extract the downloaded bp-xprofile-location.zip file to the WordPress plugins folder yourhostname/wordpress/wp-content/plugins
OR
Go to your WordPress Dashboard > Plugins > Add New. Click the Upload Plugin button. Browse to the download file location, select the bp-xprofile-location.zip & install the plugin. - Click the Activate Plugin button to activate the BP xProfile Location plugin on your website. OR
To activate the plugin on your website site go to WordPress Dashboard > Plugins and then click the Activate button for BP xProfile Location.
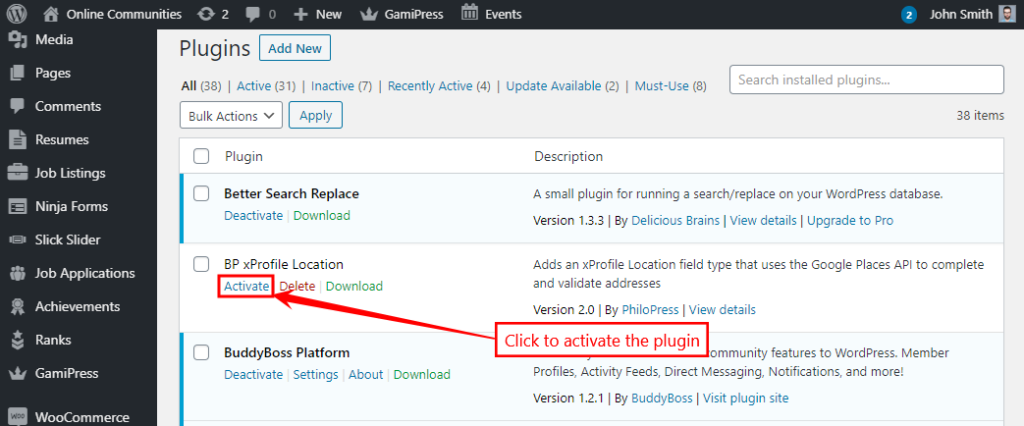
You must have the BuddyBoss Platform installed and activated on your site for the BP xProfile Location plugin to work.
Setting up the plugin
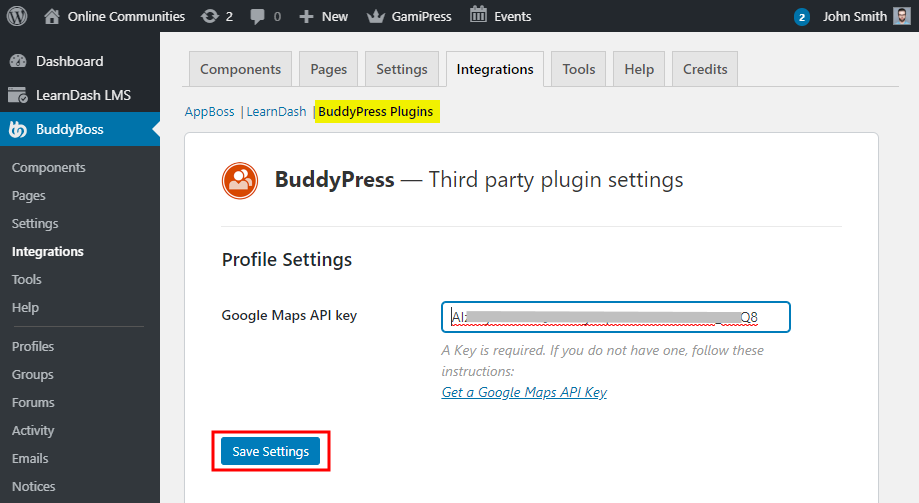
The plugin uses Google Maps APIs and you’ll need to generate an API key before setting it up.
- Go to WordPress Admin Dashboard > BuddyBoss >Integrations and click BuddyPress Plugins.
- Paste the generated API Key in the Google Maps API Key text box and click the Save Settings button.
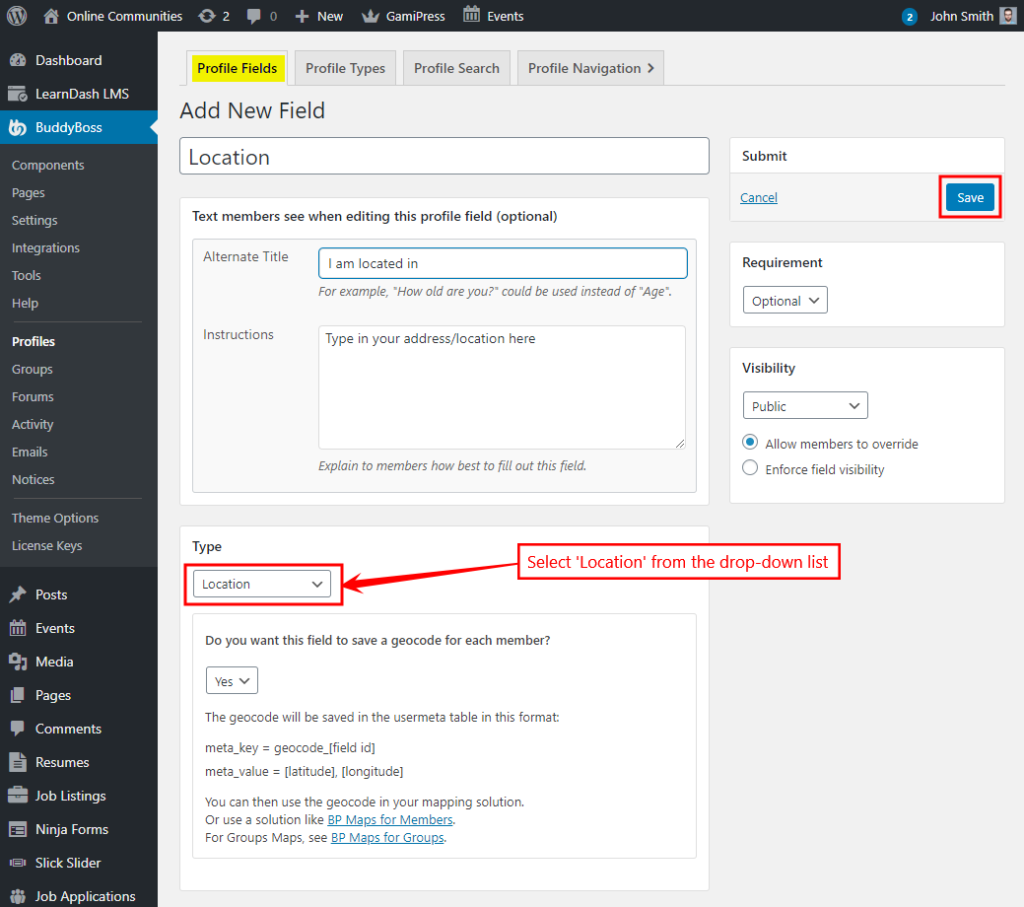
- Go to BuddyBoss > Profiles > Profile Fields > General Information (Signup) and then click the Add New Field button to create a new profile field for location.
- Enter a name for the field. For example, enter ‘Location’ as the field name.
- In the Type section, select Location for the profile type from the drop-down list.
- Enter other details as preferred for the new field and then click the Save button.
- Go to the BuddyBoss profile page and then click the Edit Profile button.
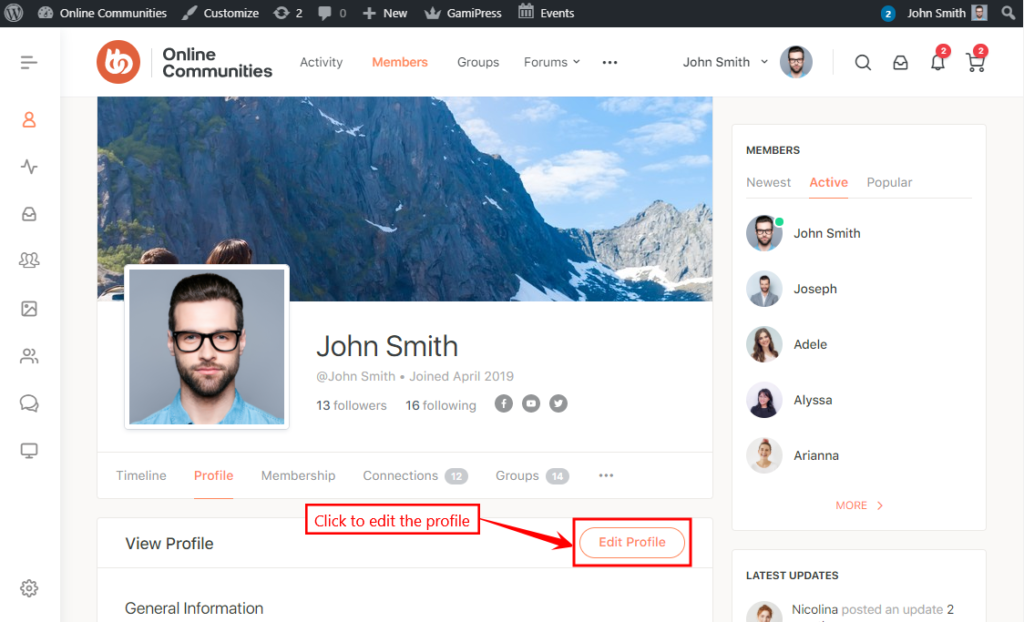
- Start typing location name in the newly created field and select the preferred location from the list of options. The BP xProfile Location plugin integration automatically starts filling the location field when you start typing in it.
- Click the Save Changes button to add the location to your BuddyBoss profile.