
Configuring the fields to be collected in your registration form is fairly easy. Follow this tutorial to set up the info you want to get from your community members upon registration for your community.
Configure Registration Fields
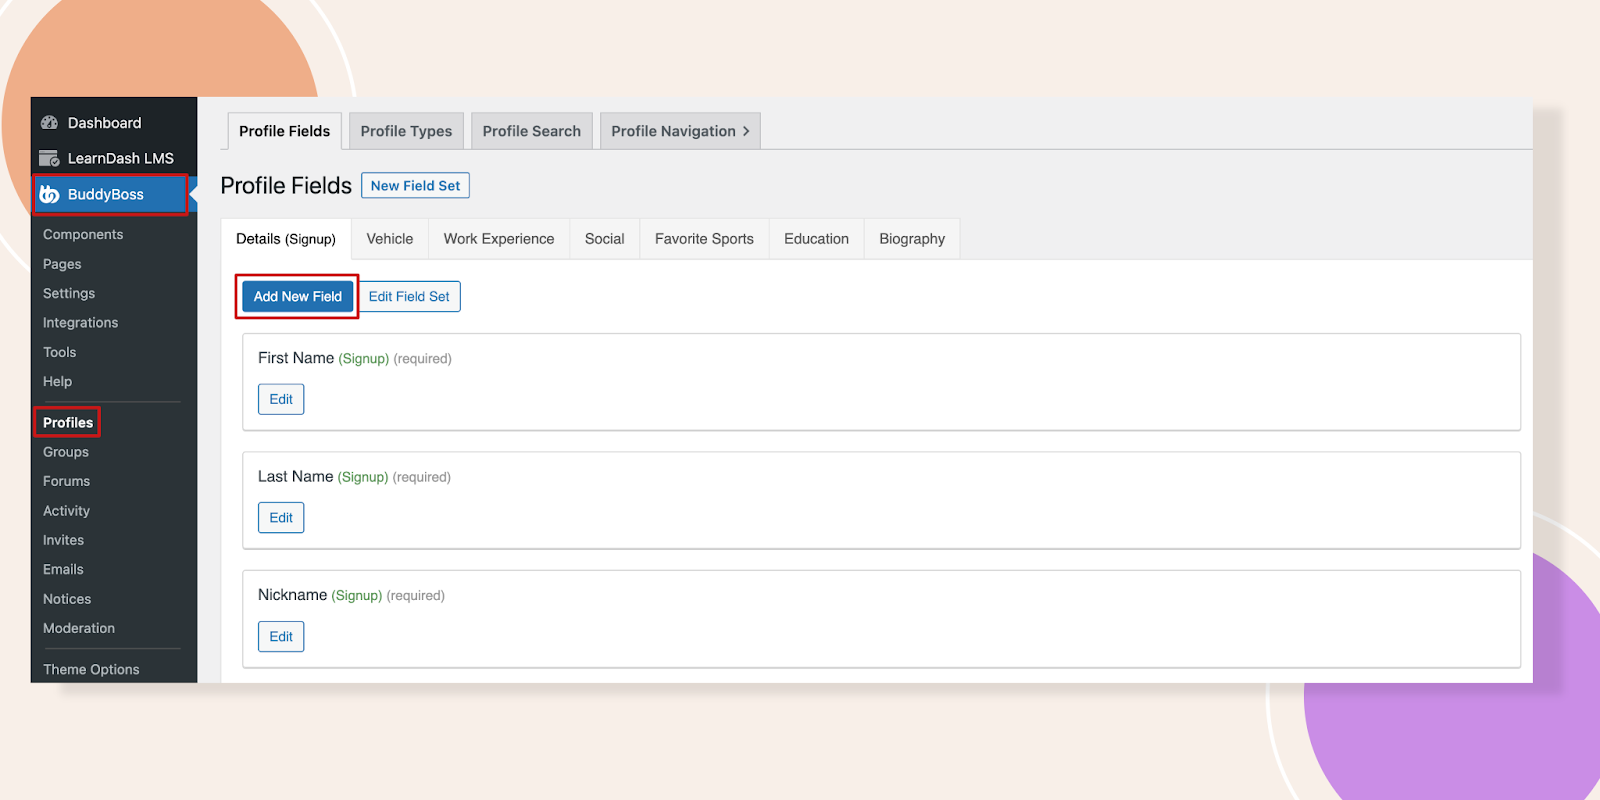
Go to BuddyBoss – Profiles. You will see three fields that are built by default. Let’s add a new field here.
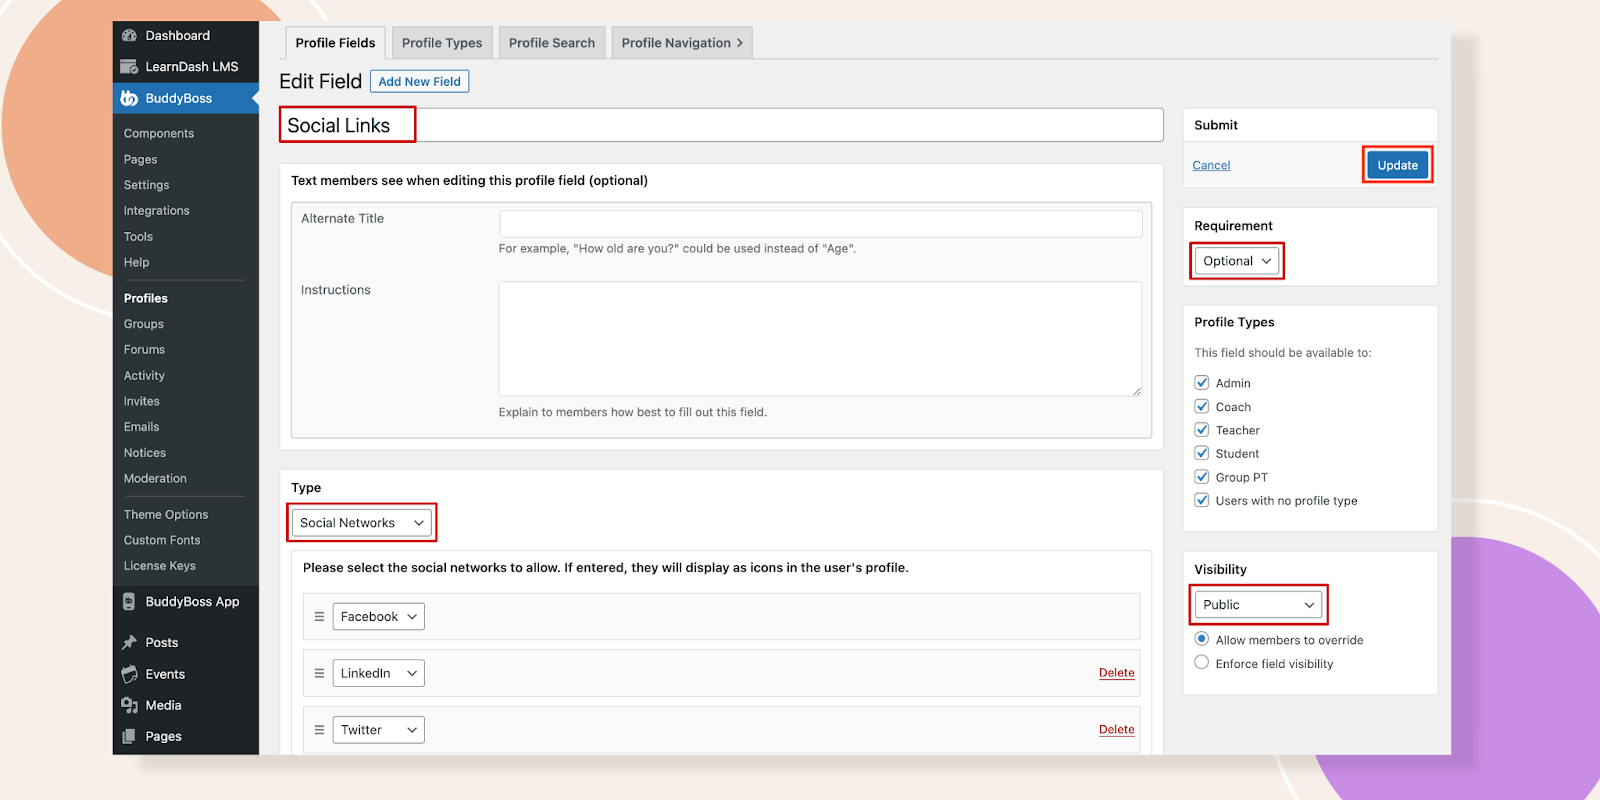
We place the field name- Social Links, and make it an optional field while registering. Also in the Type section we have selected Social Networks that’s why we can add the fields like Facebook, LinkedIn, and Twitter. Another thing is if you want to make these Social Links public to your member’s profile you have to select Public under Visibility. Lastly, don’t forget to hit the Update button.
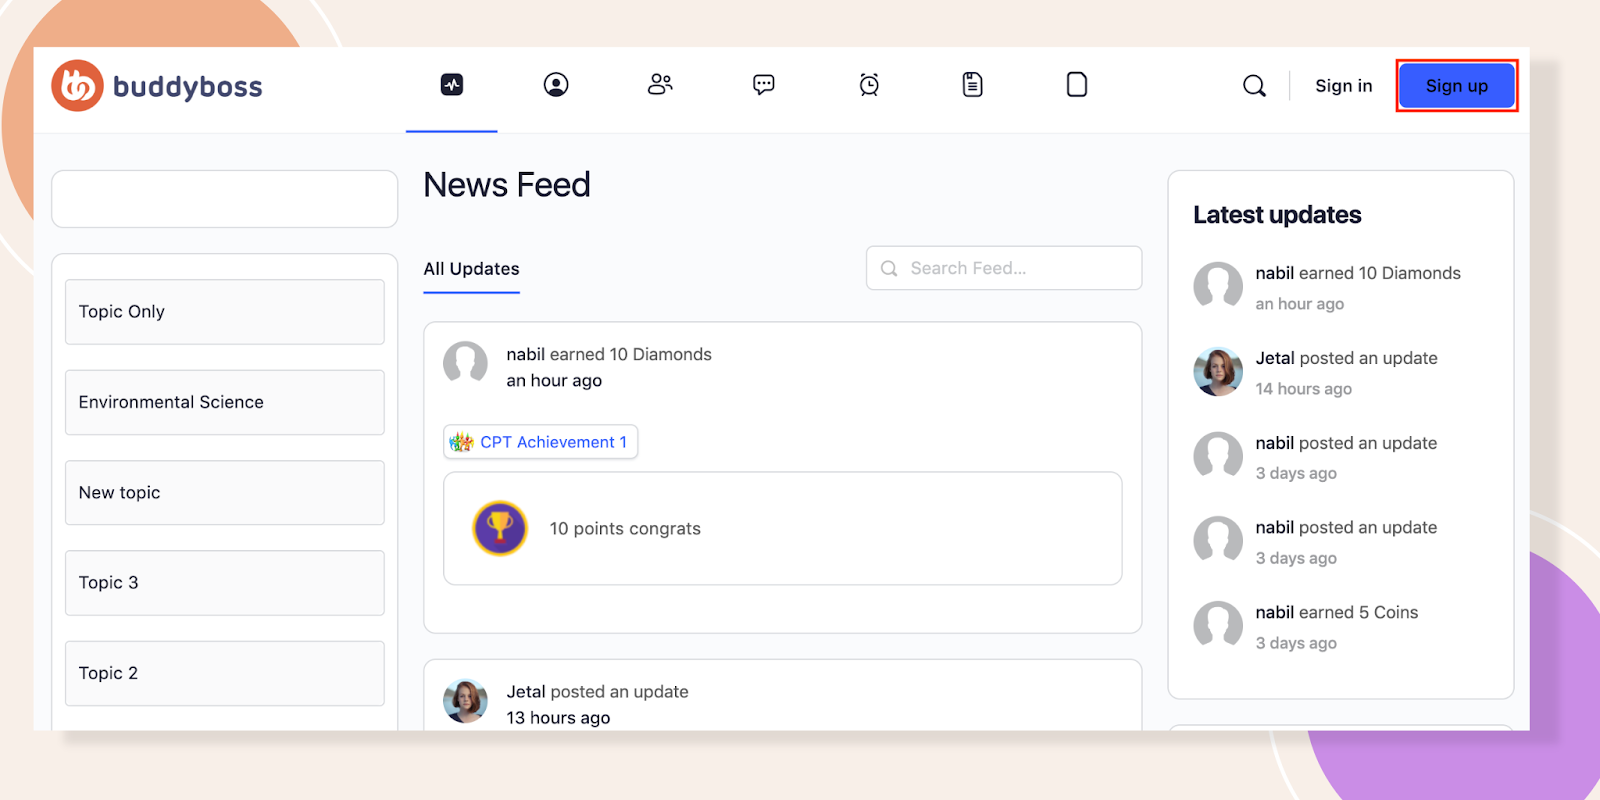
Now let’s click on Sign Up to see the registration from.
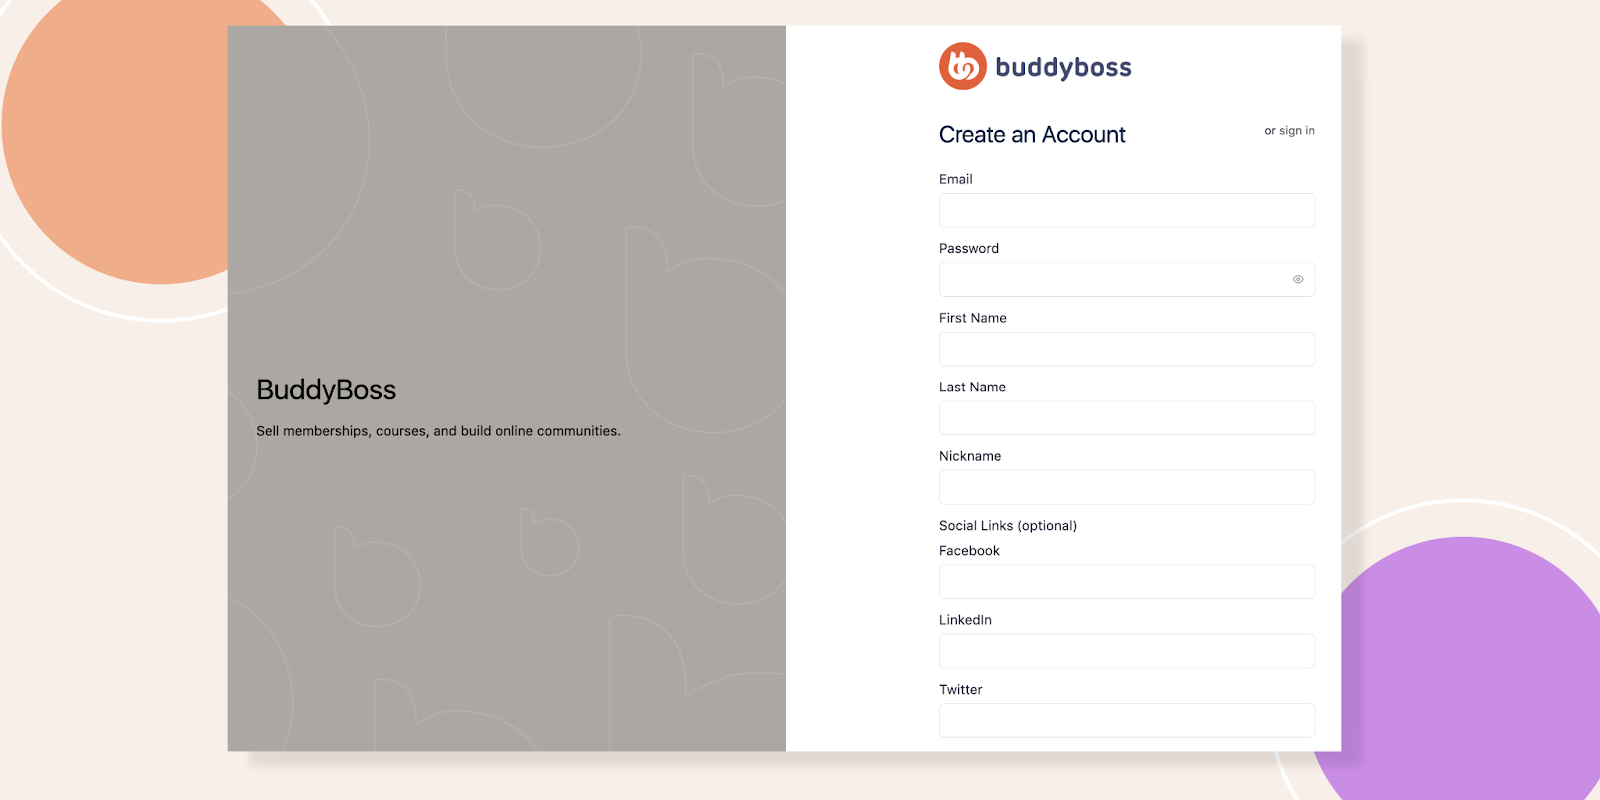
Well, all the fields that are added in the Profile option are visible here.
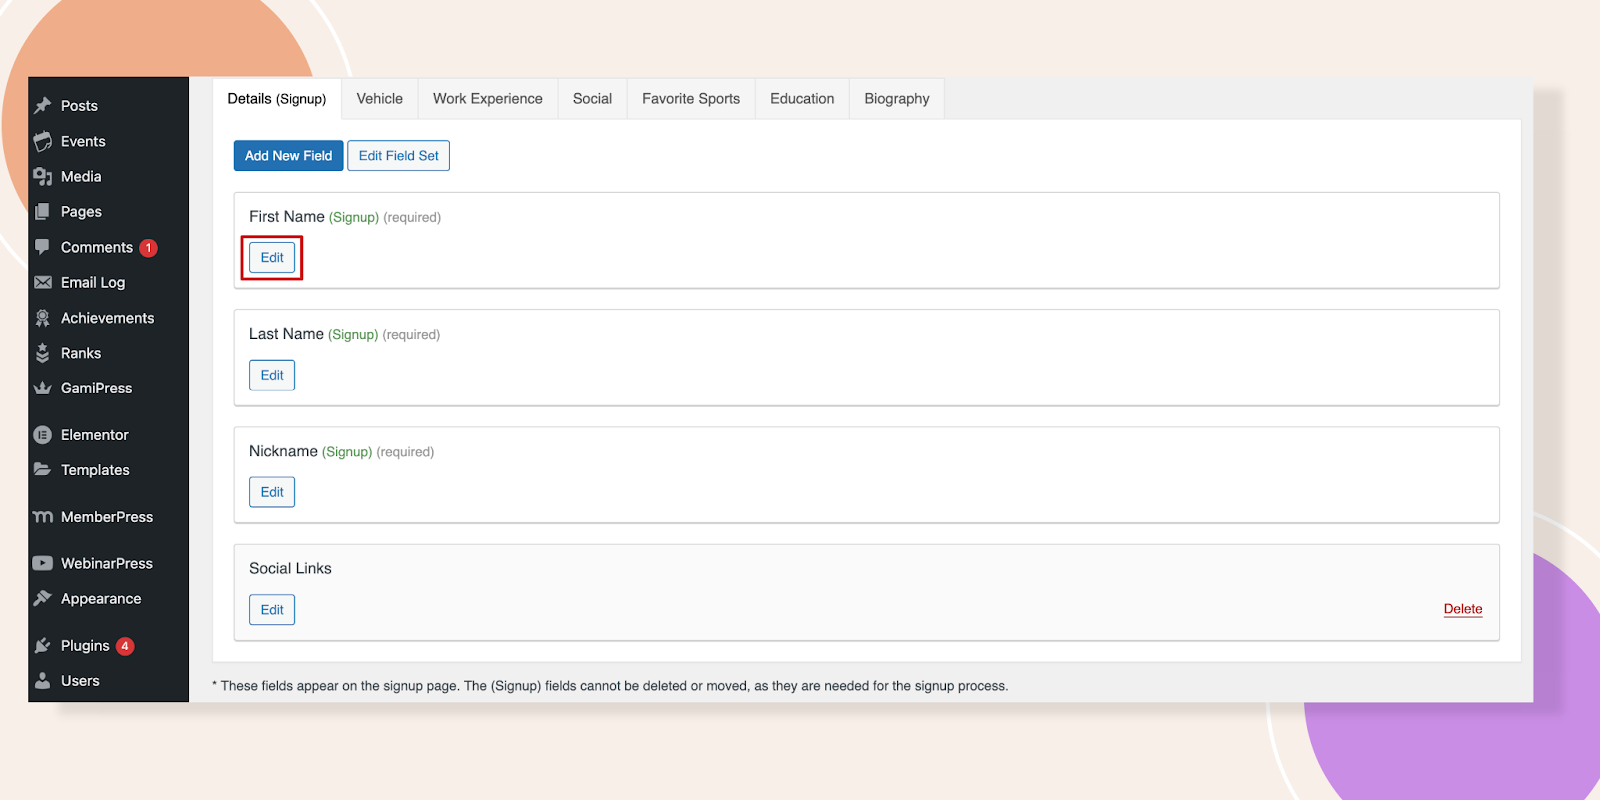
If you want to approach differently in your registration form then you have to click on the Edit button of any fields under Profile.
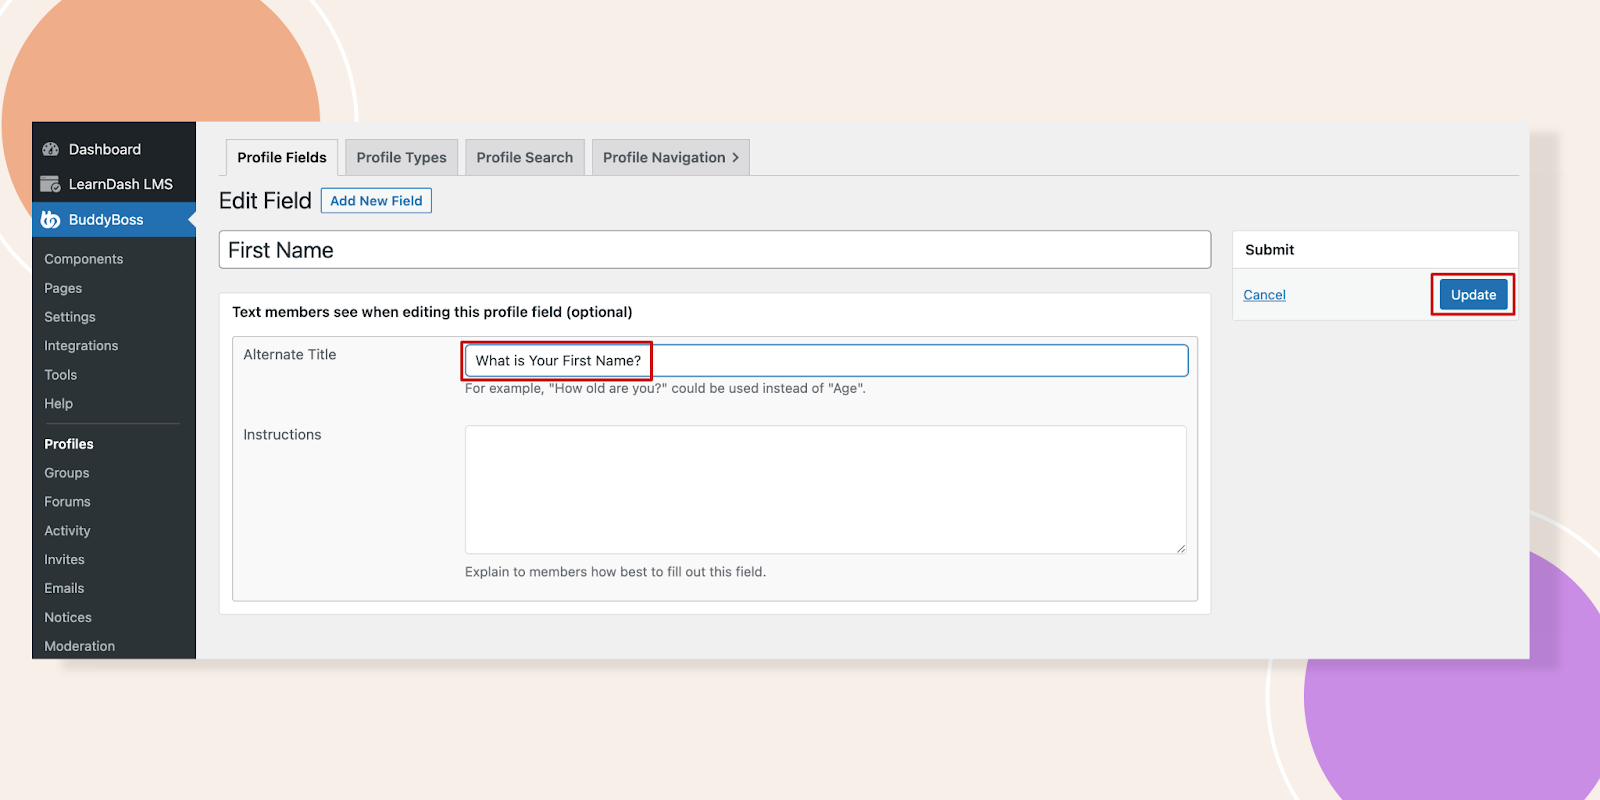
In the Alternate Title write down what you want to display in the registration form and click the Update button.
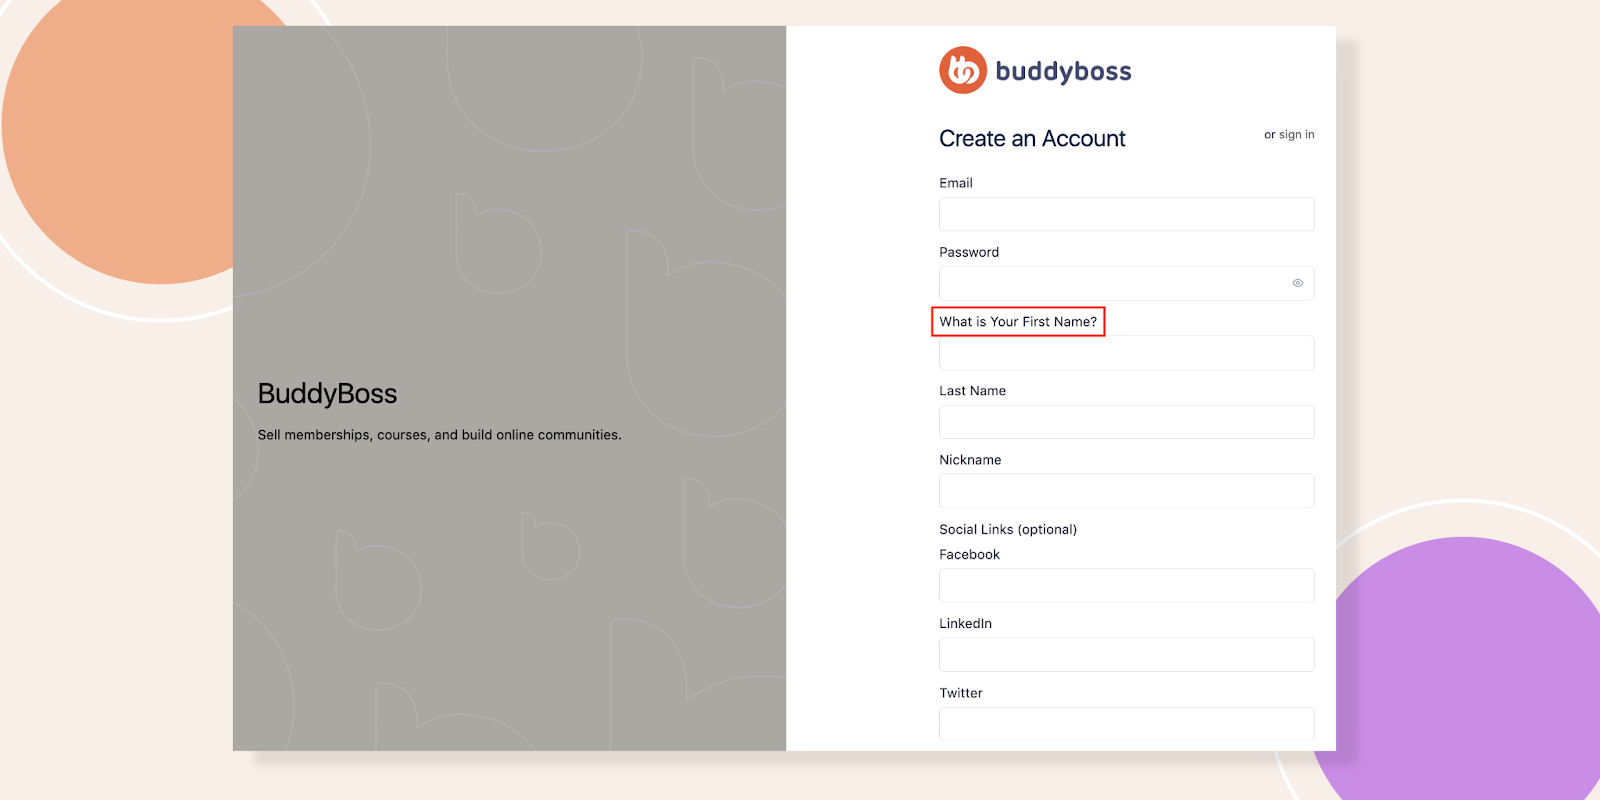
Reload the registration form and Voila! You will see the text you have added earlier.
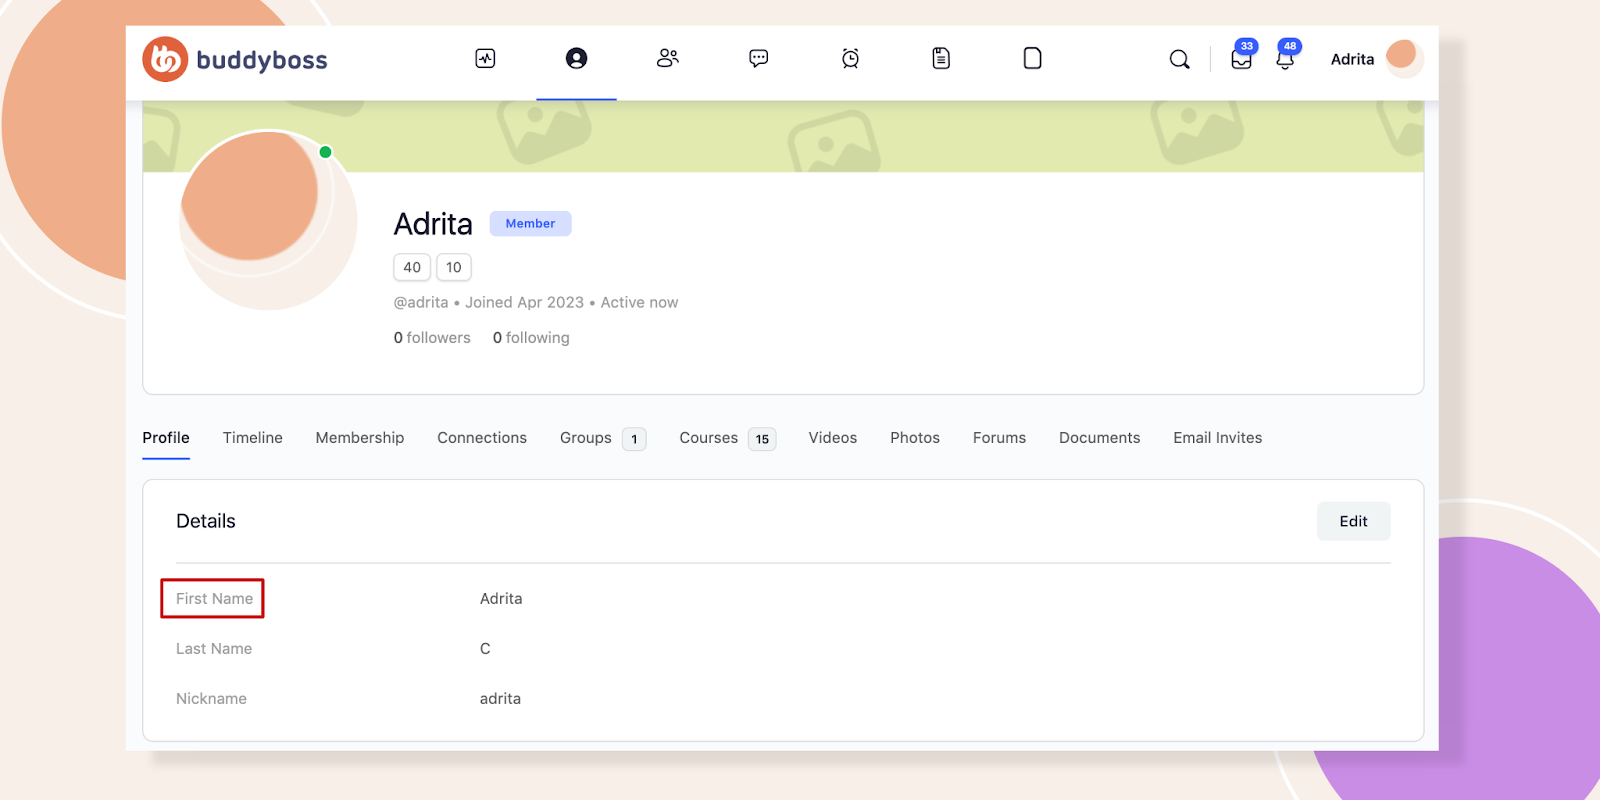
Don’t worry it won’t change the entire text in your profile. As you can see here, the first name is still there.
Navigate to the Profile drop-down menu and then Account – Login Information.
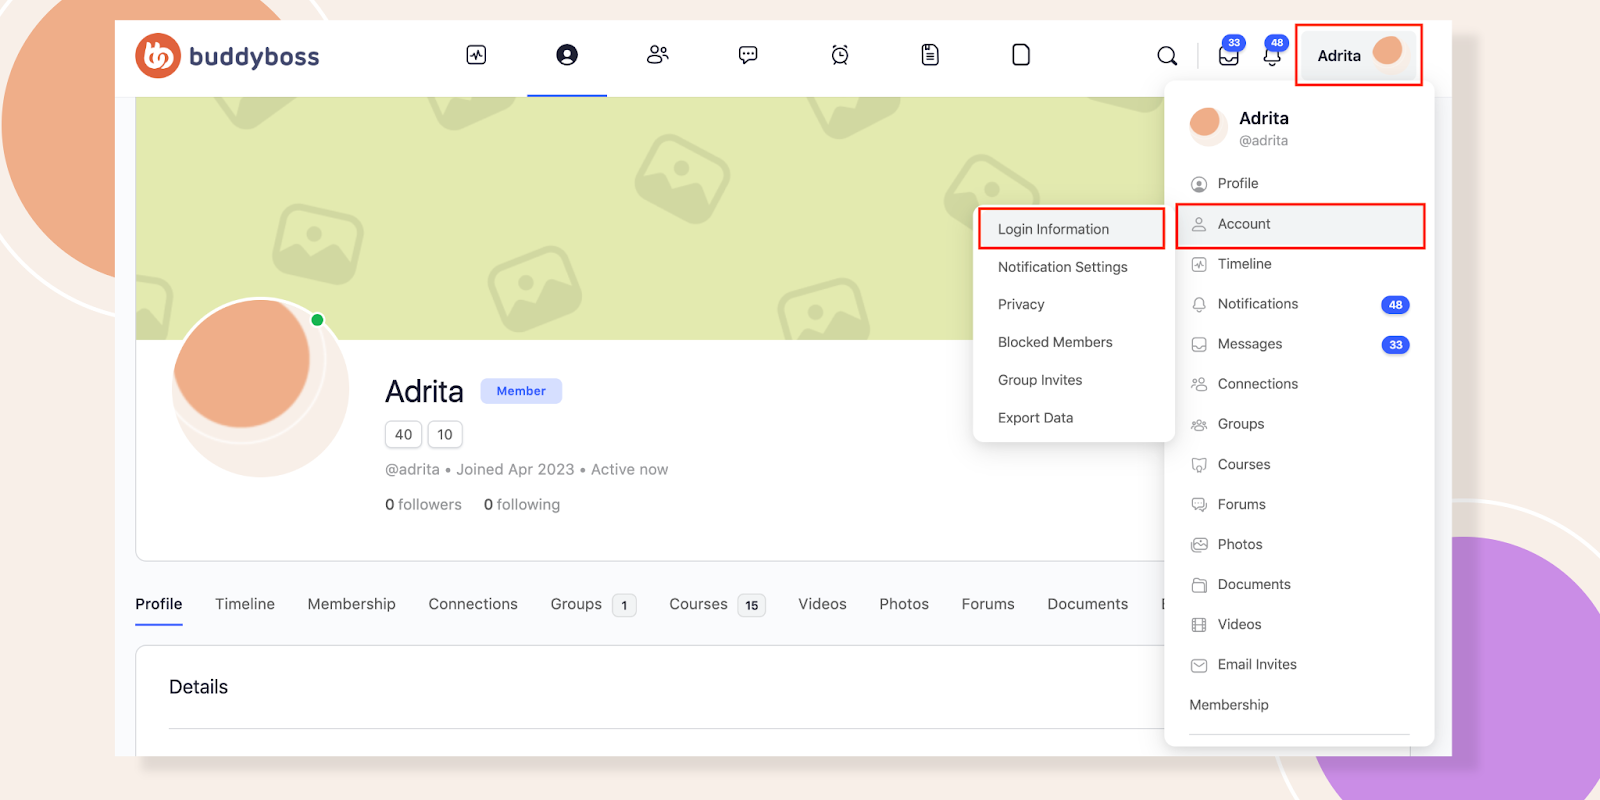
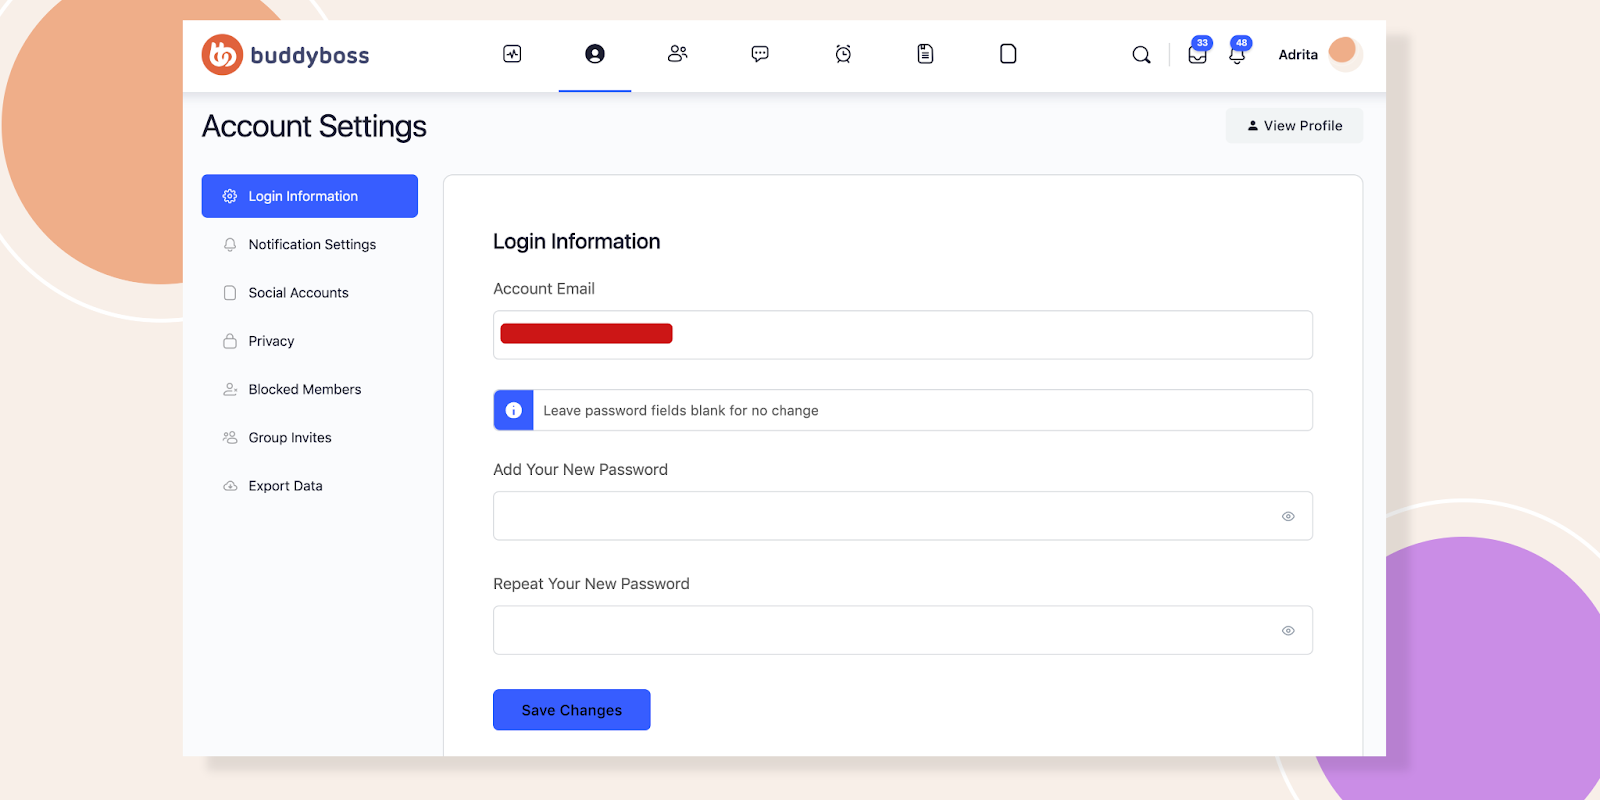
Here your members can change their email and password at any time.
To make your Registration Form unique you can use this Registration Fields technique.