
In this tutorial, we show you how to re-order the navigation tabs in your user’s profile page to fit your website’s preference.
Configure Profile Navigation
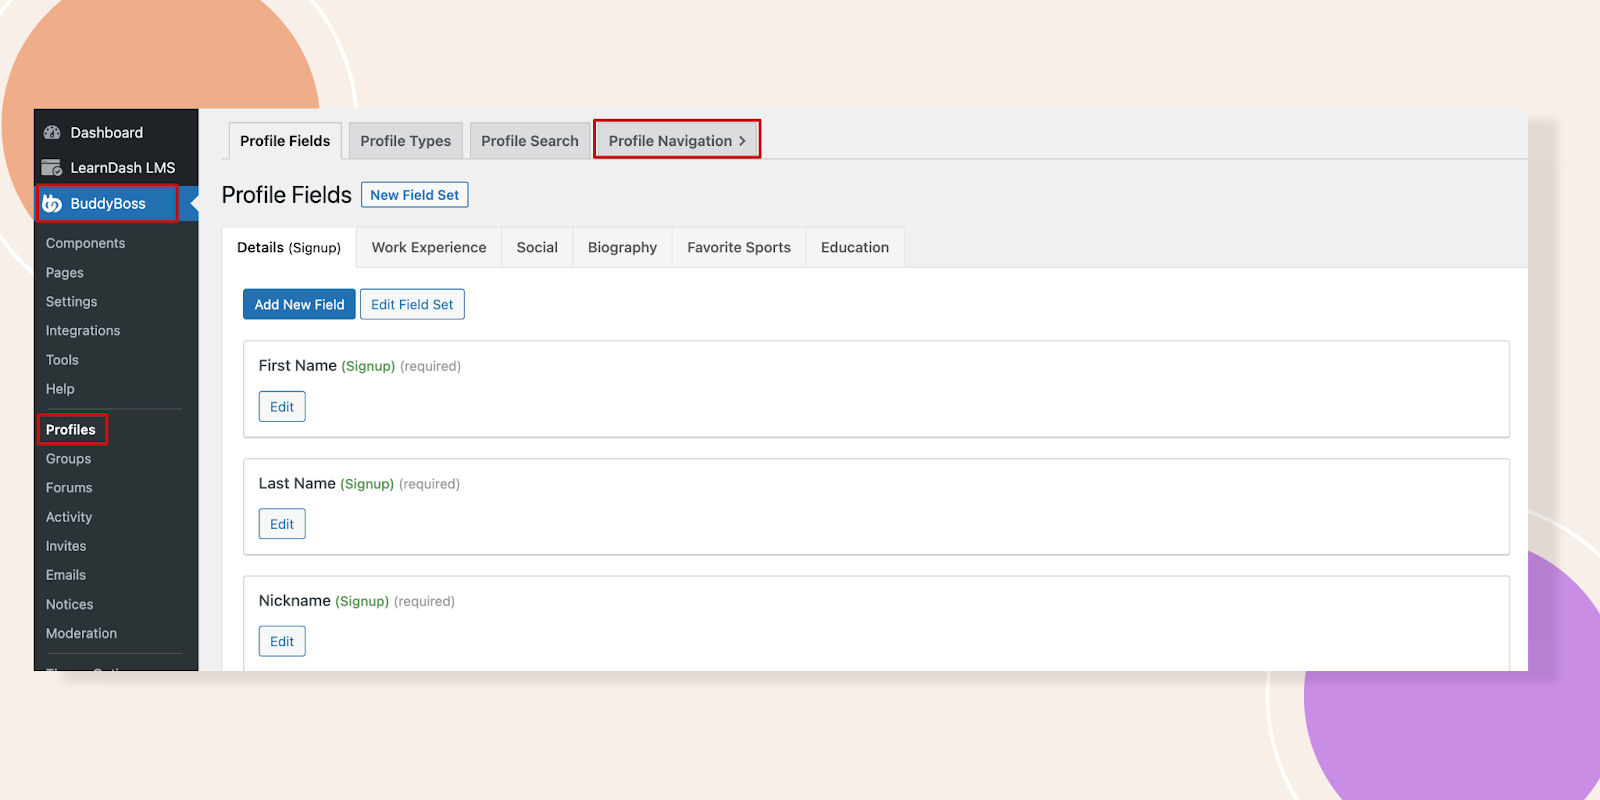
Go to the BuddyBoss – Profiles – Profile Navigation.
Here, you will see the different items in the navigation, and you can set their order by dragging and dropping them. For example, let’s say you want to put “Timeline” first.
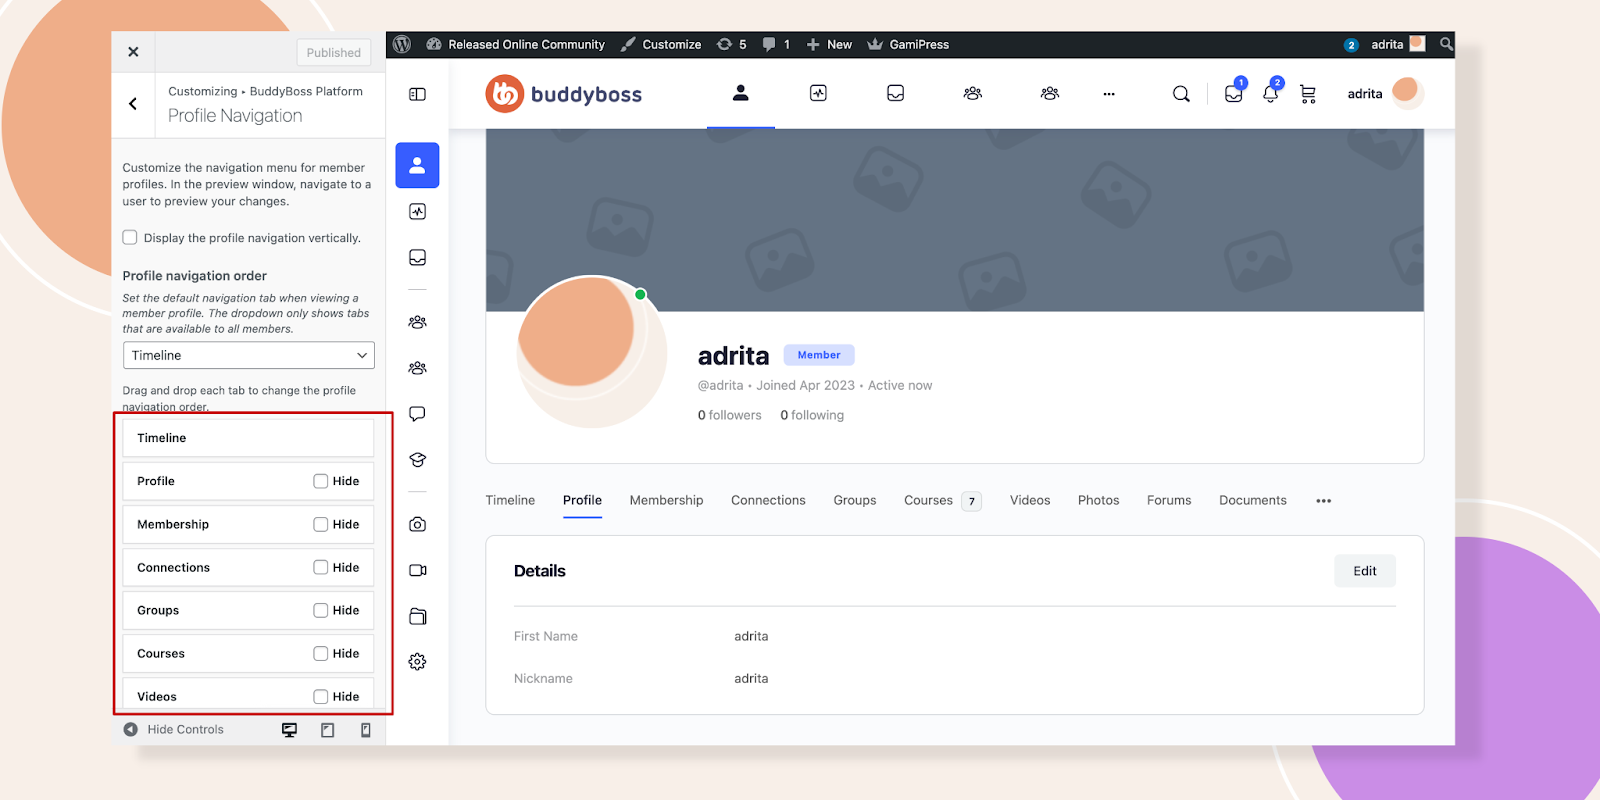
Simply drag it to the top of the list, and don’t forget to click the Publish button.

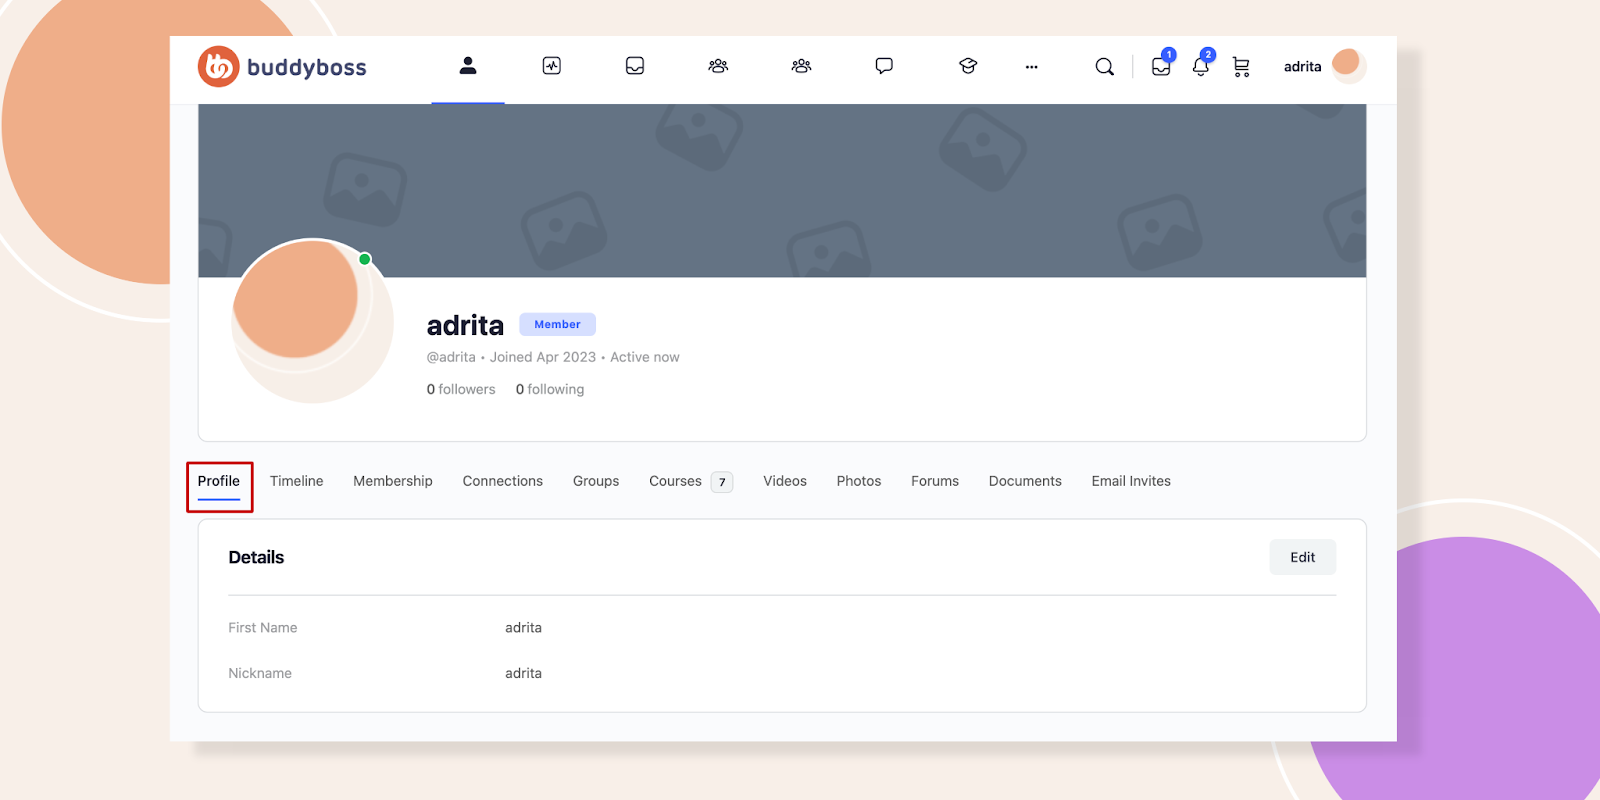
Let’s have a look at the frontend of that profile. The option Profile becomes the first item in the navigation.
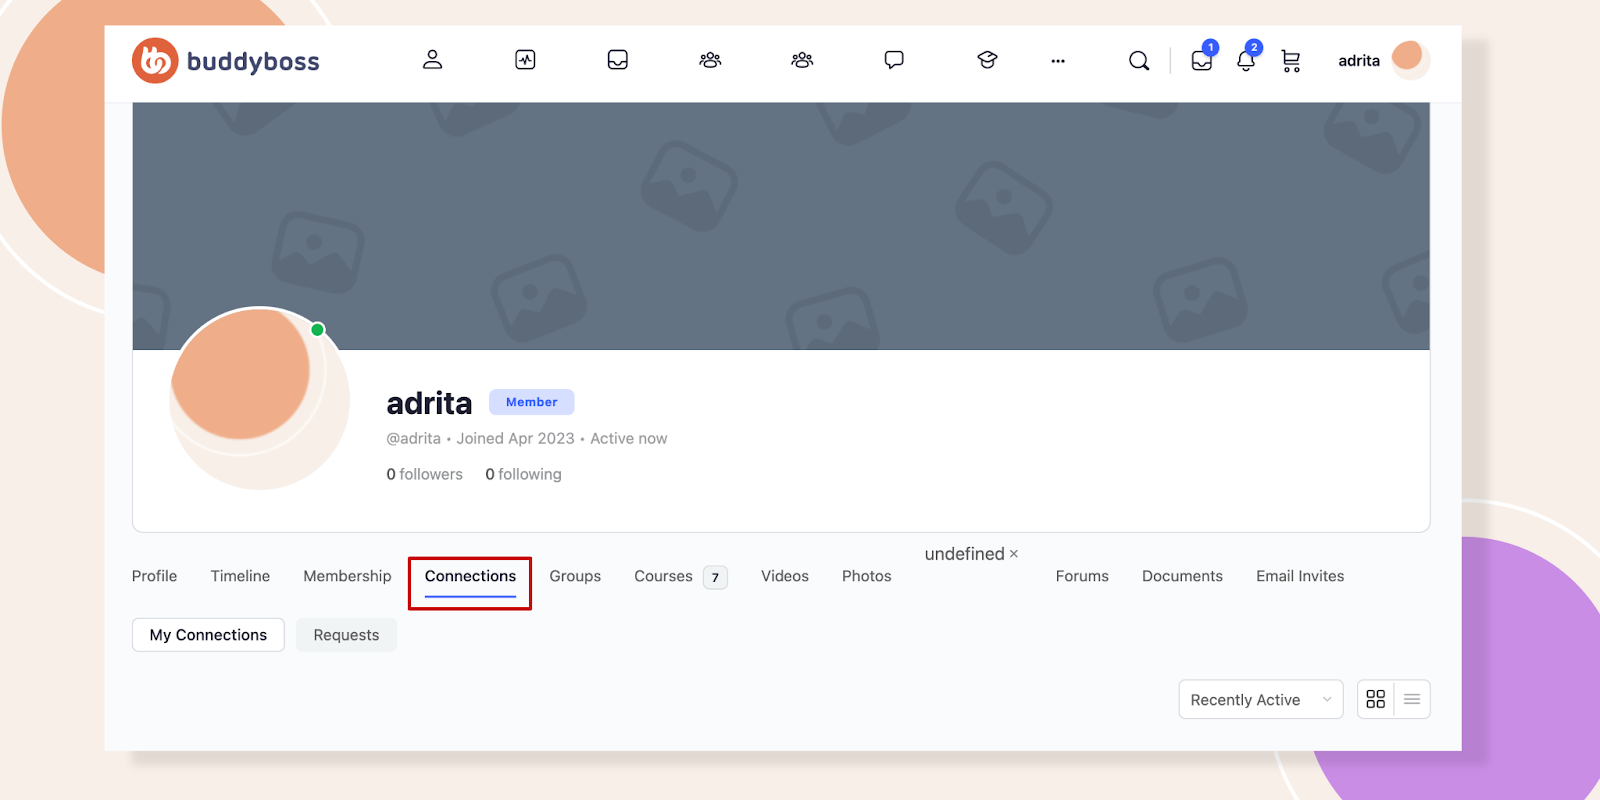
You can also set the default link for a profile by selecting the “Default” checkbox next to the item you want to make the default. For instance, if you want Connections to be the default link for Adrita’s profile, select the option like the image here and hit the Publish button.
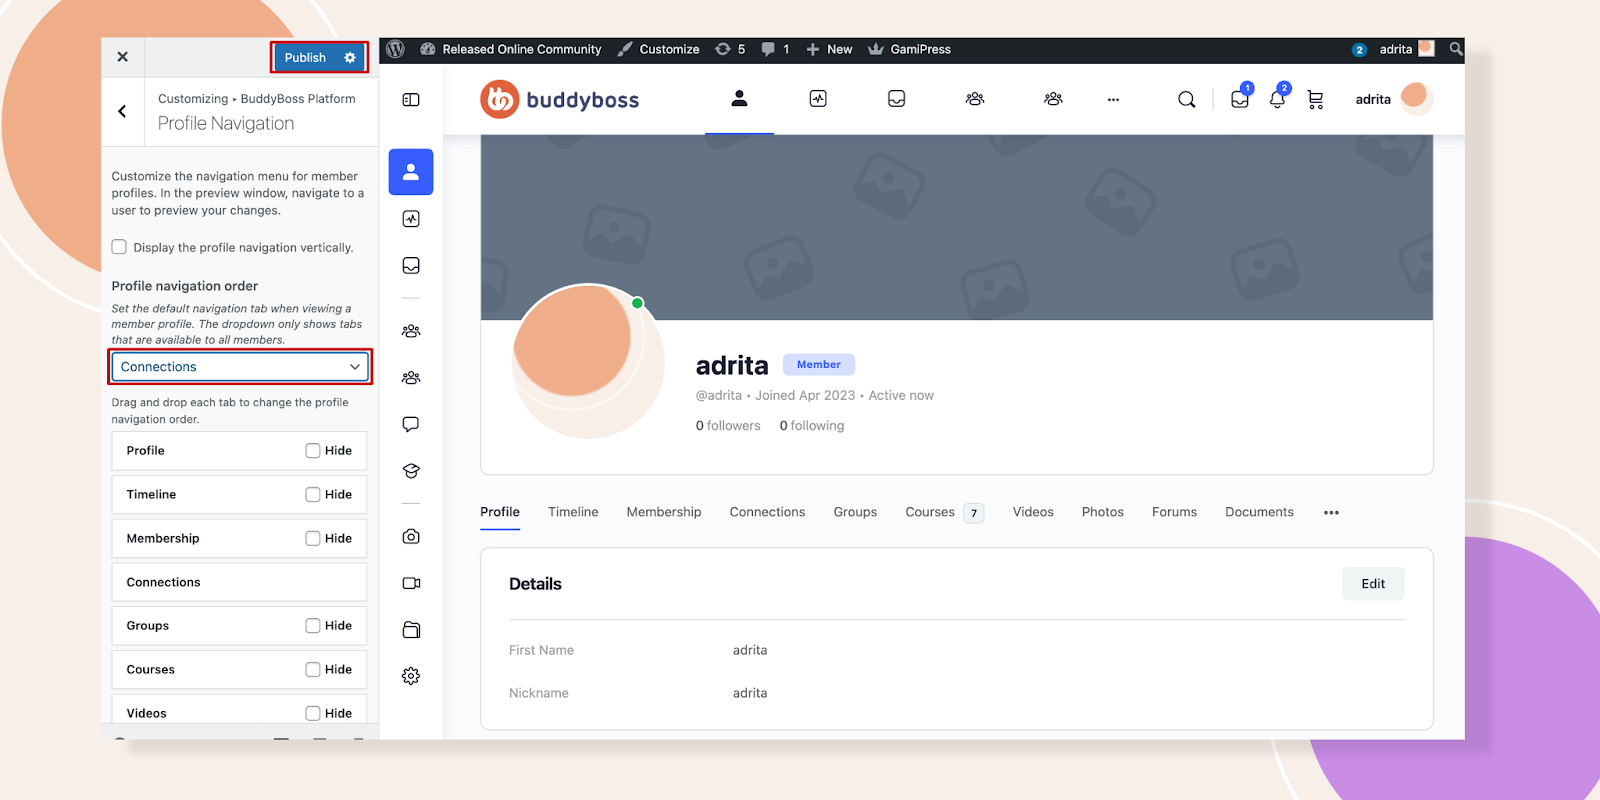
If we reload the frontend of this member’s profile, you’ll see it landing on Connections.
Finally, there is an option to display the profile navigation vertically, which can be toggled on and off by clicking the Display Profile Navigation Vertically checkbox. And to save your changes press the Publish button.
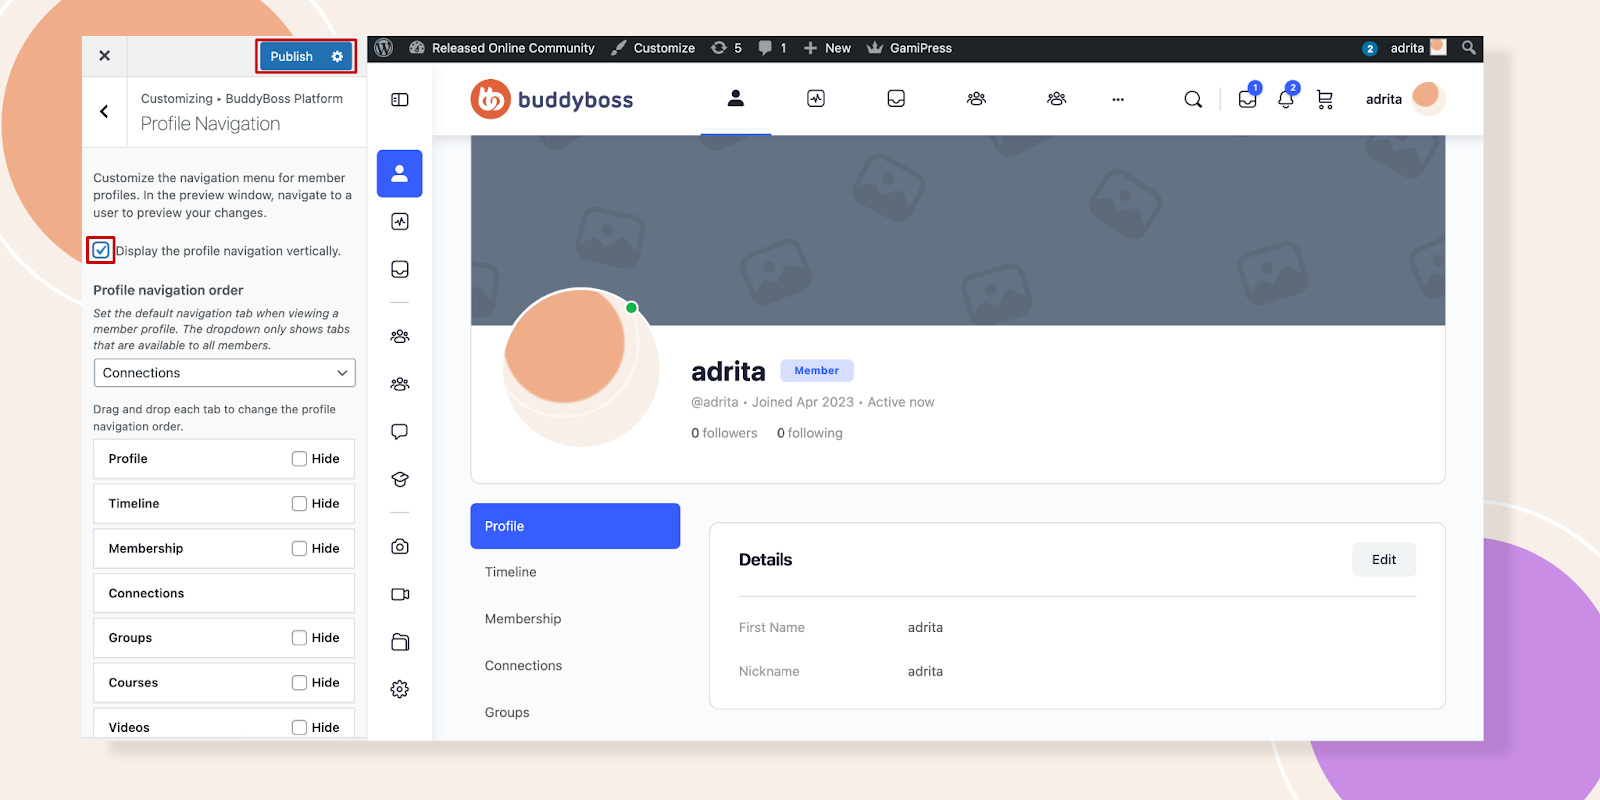
In the frontend you can see the change.

That’s it! With these tools, you can easily customize the navigation in profiles to suit your needs.