
Google has recently applied a new app publishing policy for Individual App Developers. From November 13, 2023, any new Google Developer Accounts which will now require 20 internal testers, to test your app for a minimum of 14 days before you can unlock the Production Tab, which is required for publishing.
In this article we will explain the process to add users to this closed test track, so that you can begin testing and unlocking the ability to publish your app to the live stores.
Please note, if you are registered before November 13, 2023, or register under an Organization Account, you will not be required to follow this process and the Production Tab will automatically be available. They will be opted for 14 days to publish your app or game on play store. This helps developers make better apps by getting early feedback from users.
Step 1- Creating Closed Testing
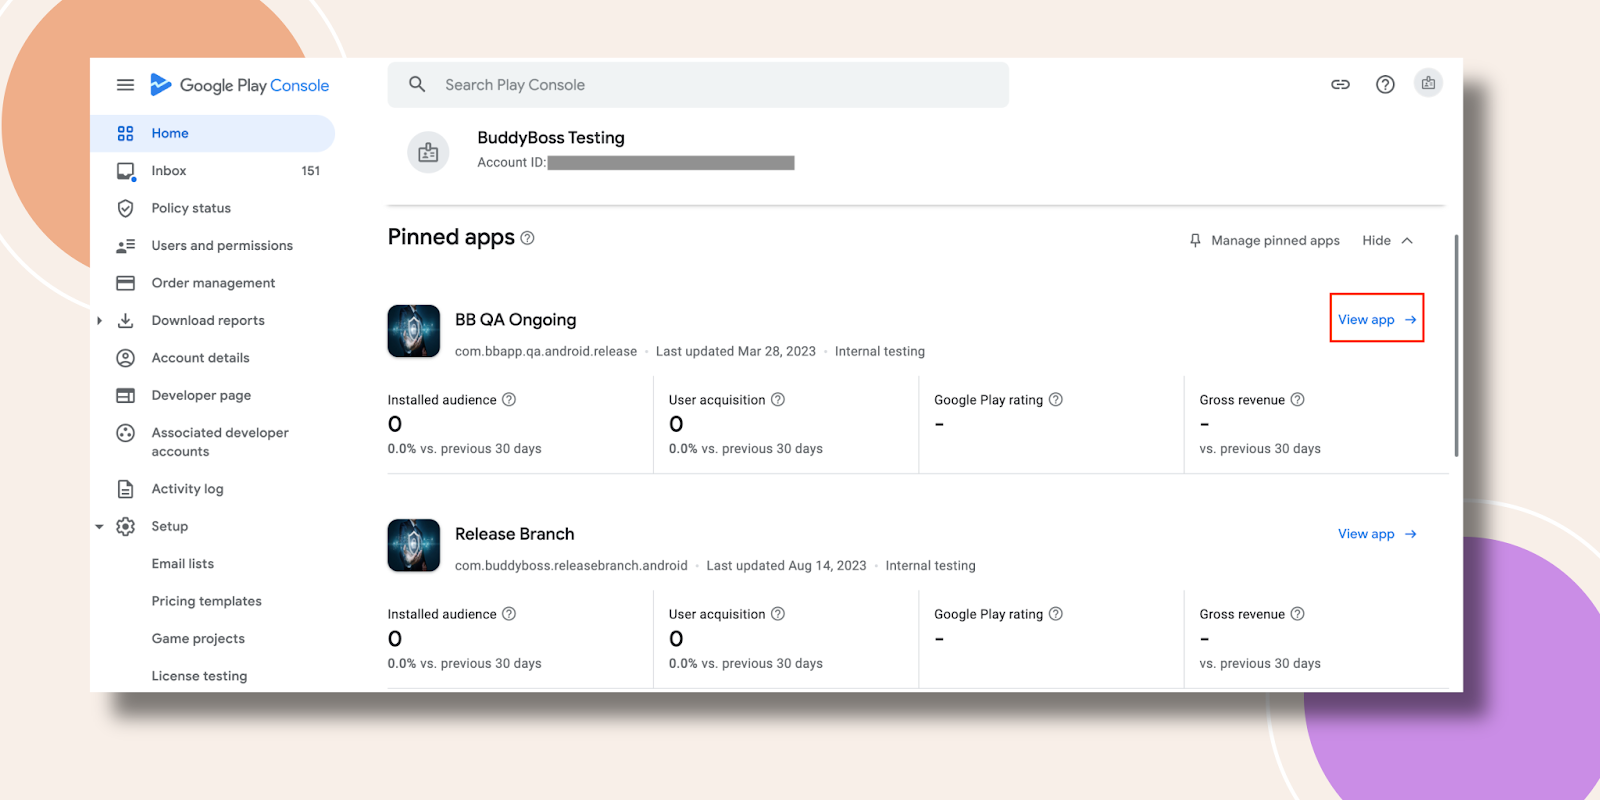
Log into your Google Play Console. Now click on the View app option.
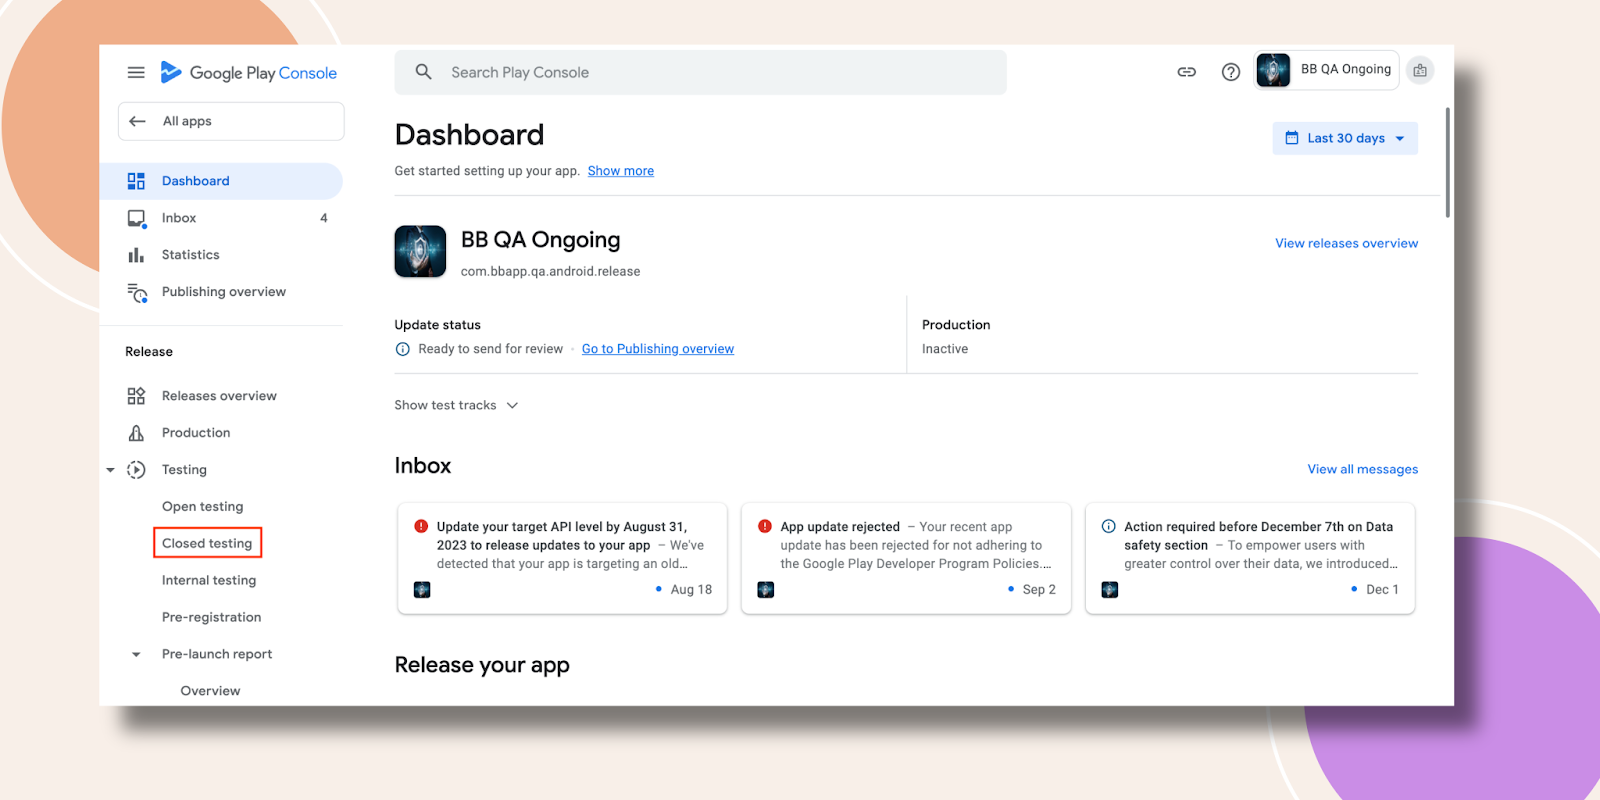
In the Release section in the left sidebar, click on Testing > Closed Testing.
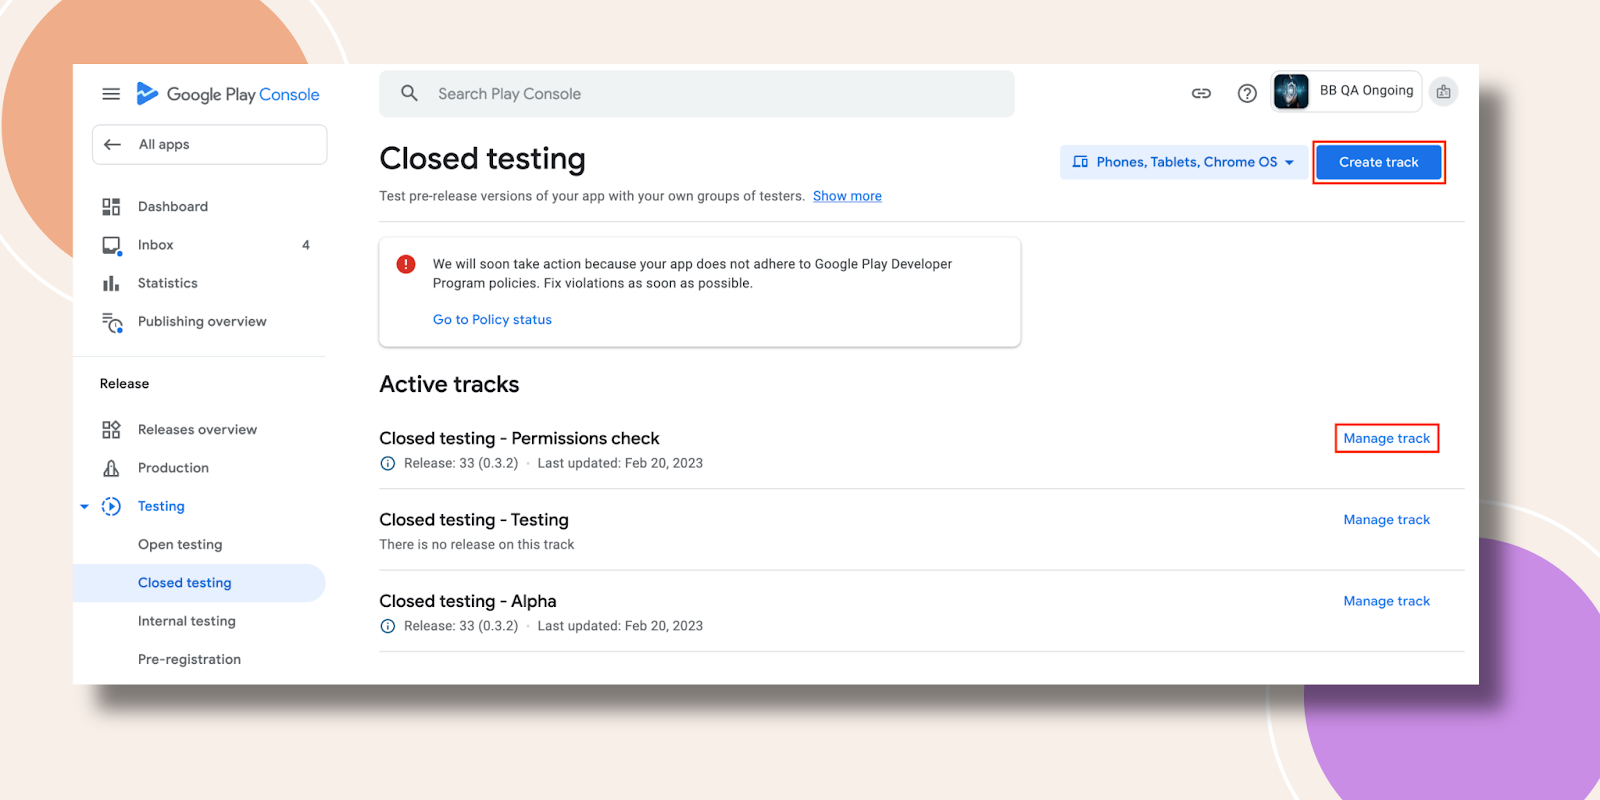
After clicking Closed Testing, you will need to select from your Active tracks. If you have an existing track then just click the Manage track. Alternatively, if you want to run multiple tests, you can click Create track.
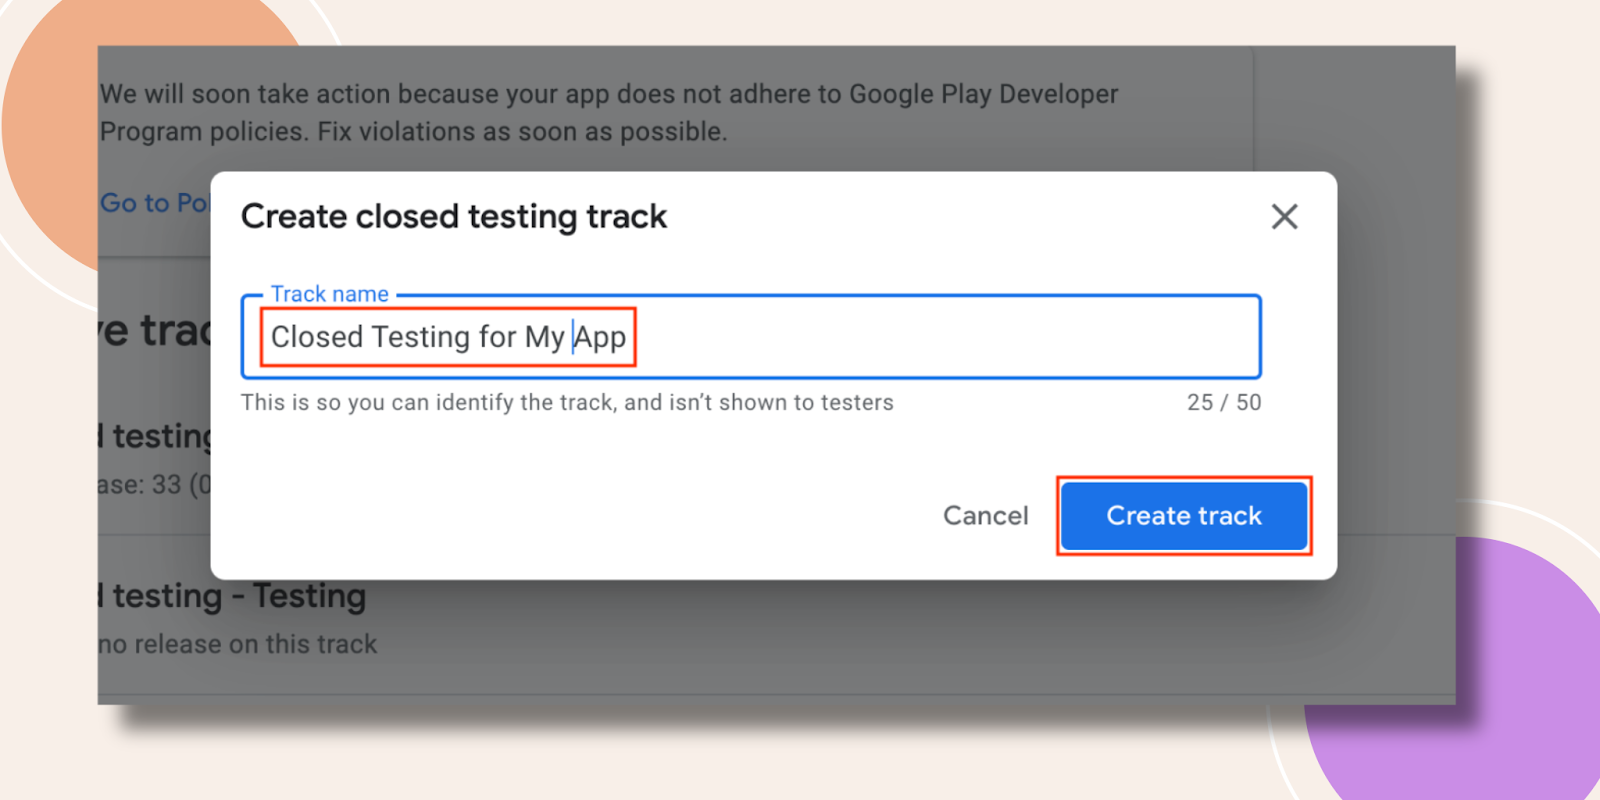
Write down the Track name and hit the Create track button.
If this is your first time uploading a build to a testing track, you may need to agree to Google’s terms and conditions before you can proceed.
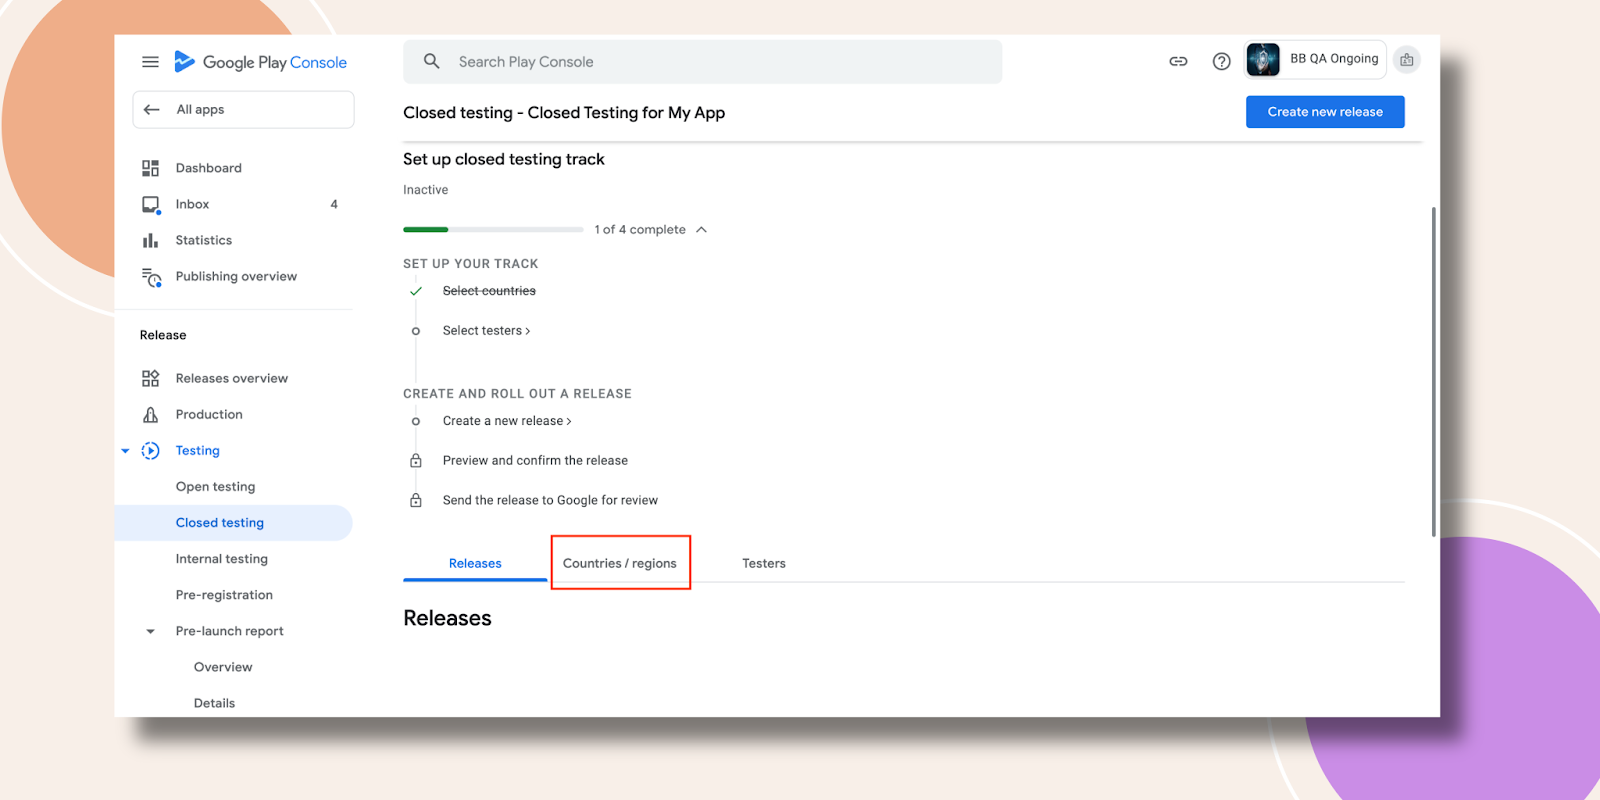
Step 2- Setup the Closed Testing Track
Closed Testing Track in Google Playstore is a feature that allows app developers to invite individual or groups of users for testing before submitting the app for publishing. It helps in identifying and fixing bugs, improving user interface, and enhancing overall app quality based on the feedback from a limited audience.
[If this is your first time uploading a build to a testing track, you may need to agree to Google’s terms and conditions before you can proceed.]
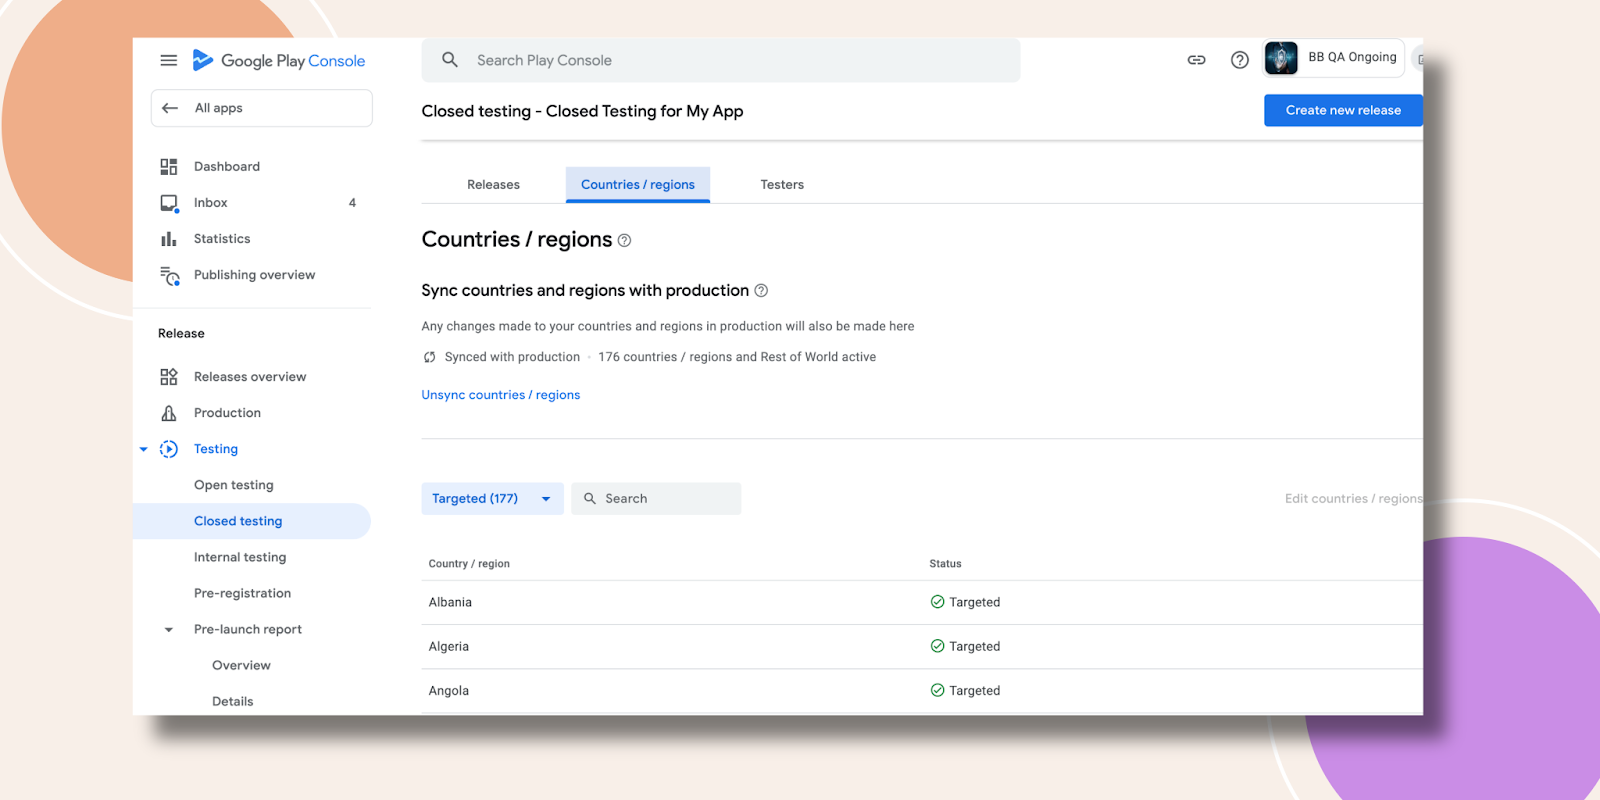
Now, click the tab for Countries / regions, and then click Add countries / regions
Select the countries where you want your app to be available, or click the first box to add to all countries.
Step 3- Add Testers to Test Your App
In Google Play, “Adding Testers” to test your app refers to the process of inviting specific users to participate in either closed or open testing of your app. For closed testing, developers can add testers by entering their email addresses or sharing a join link. These testers receive an invitation to try out the app and provide feedback, helping developers identify and fix issues before a broader release.
For open testing, anyone can join as a tester without an invitation, offering a wider range of feedback. This process is key for improving app quality and user experience before the app’s full launch.
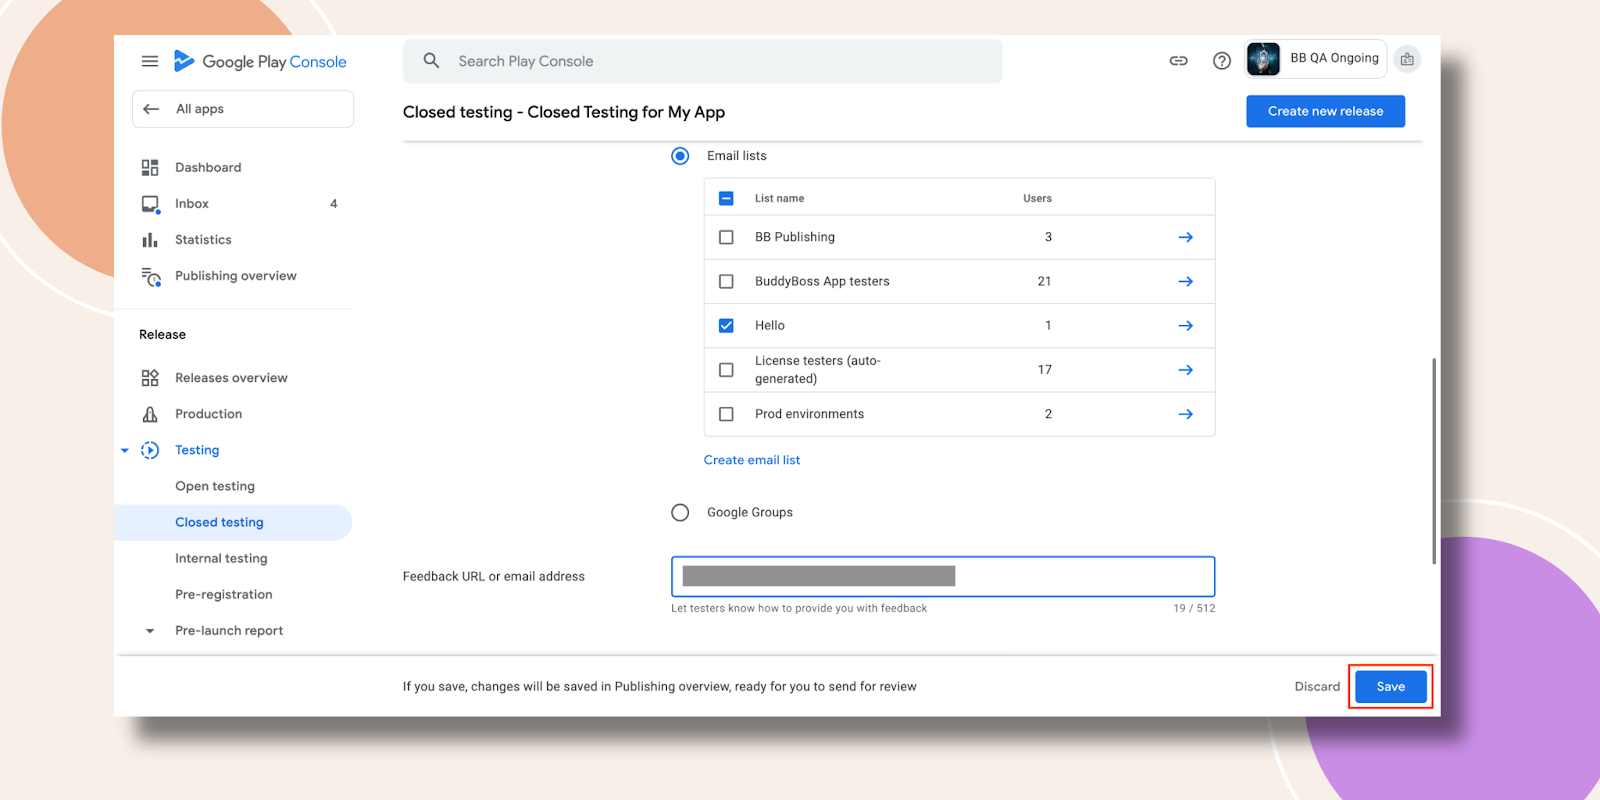
Let’s now hit the Testers tab, select your existing email lists. Also you can press the Create email list option to add more email addresses.
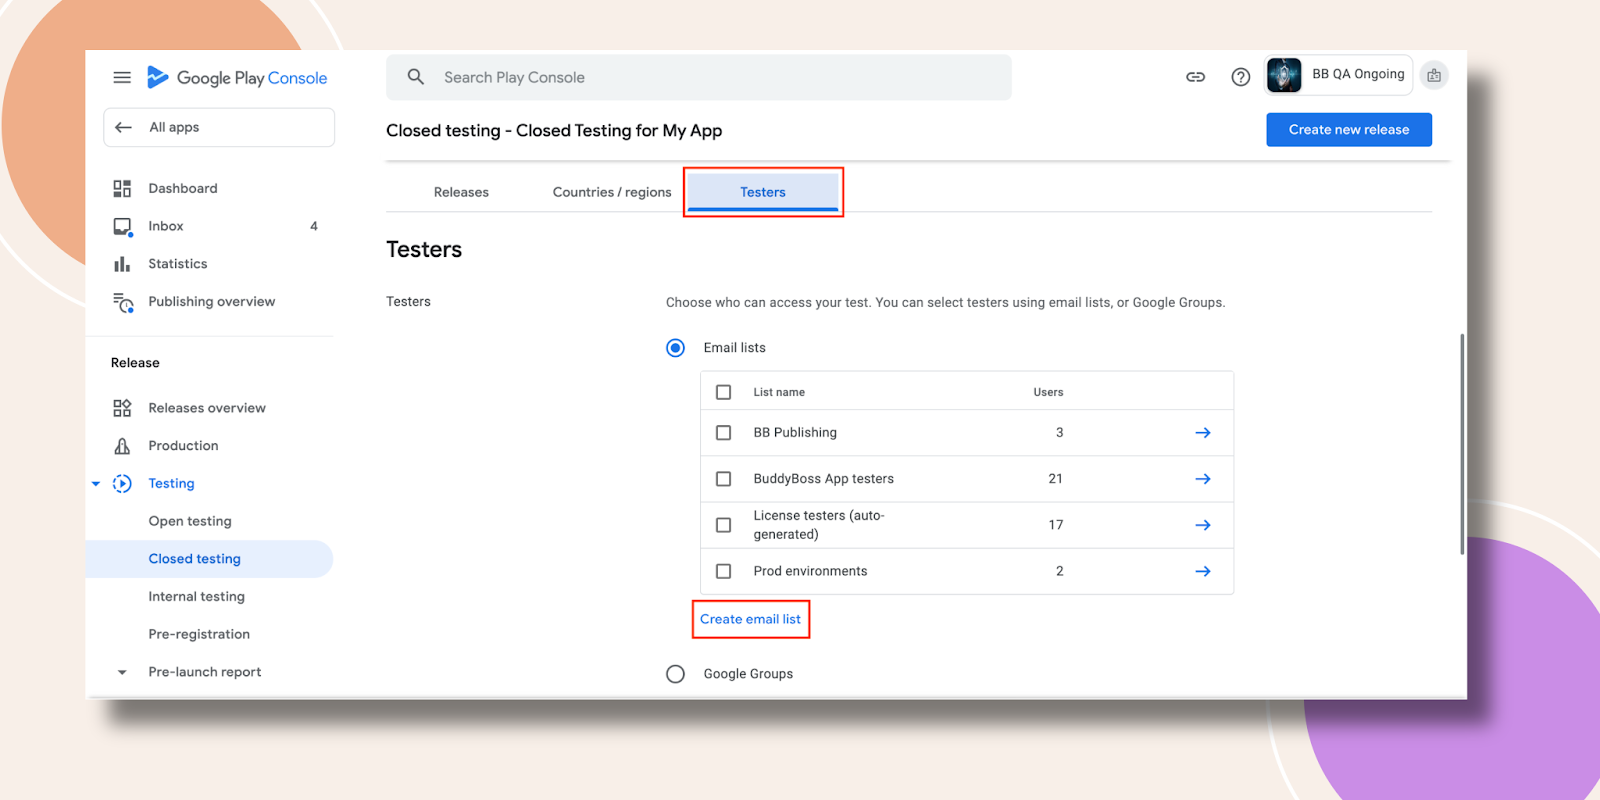
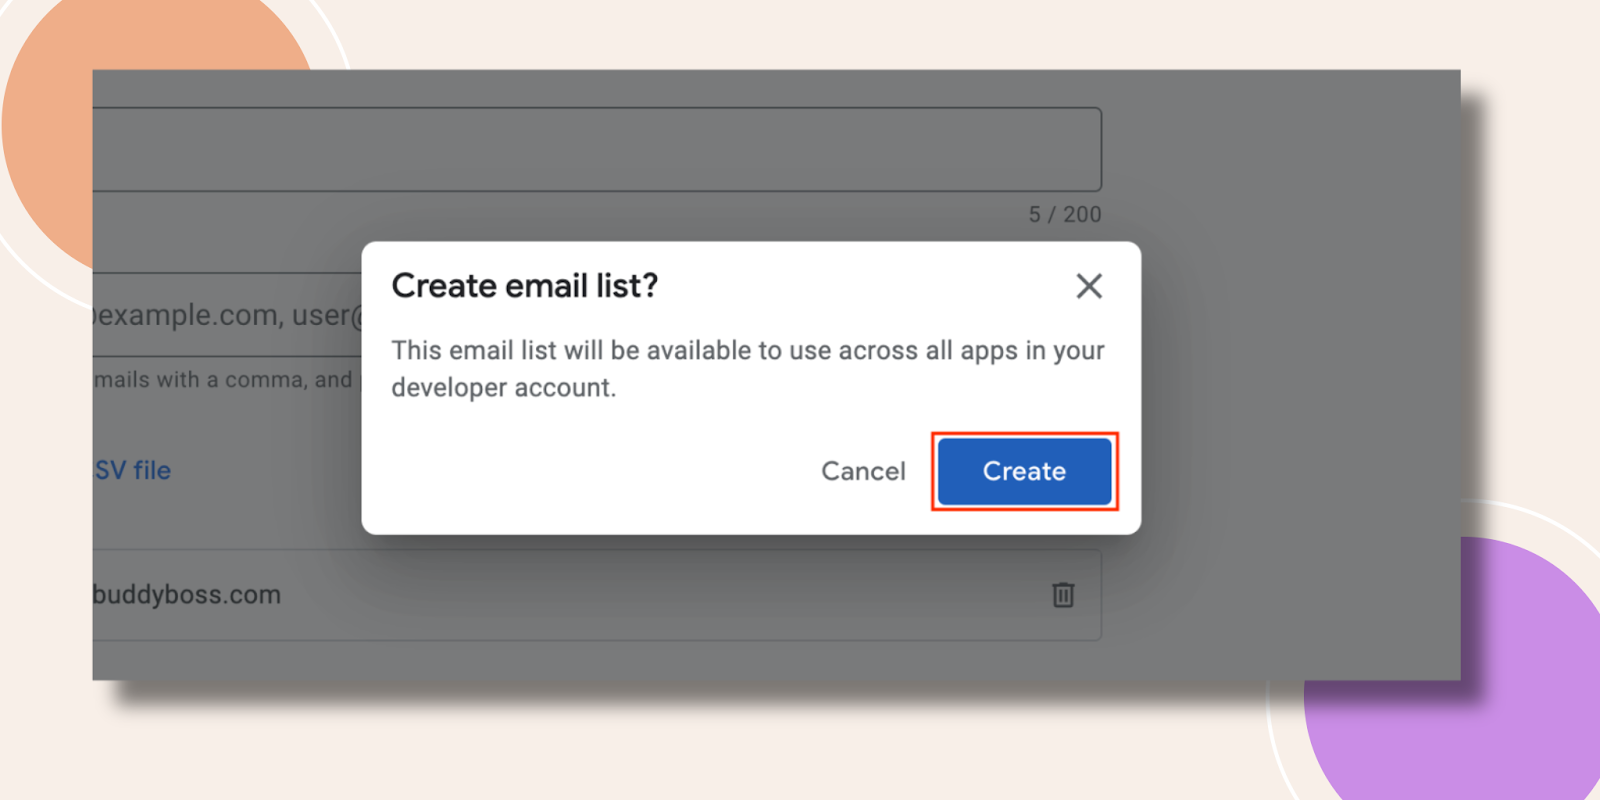
If you’re registered as an Individual Developer and not an Organization write down the List name, Add email Addresses and Save Changes. Please remember under Add Email addresses, add 20 or more emails.
Google requires 20 testers to opt-in to your closed test as part of the new testing requirements.

Hit the Create button.
See the Email List you have added. In the Feedback URL or email address field add any URL or email address so that the tester can share their opinion with you. Now click the Save button. There will be a popup, hit the Go to overview button.
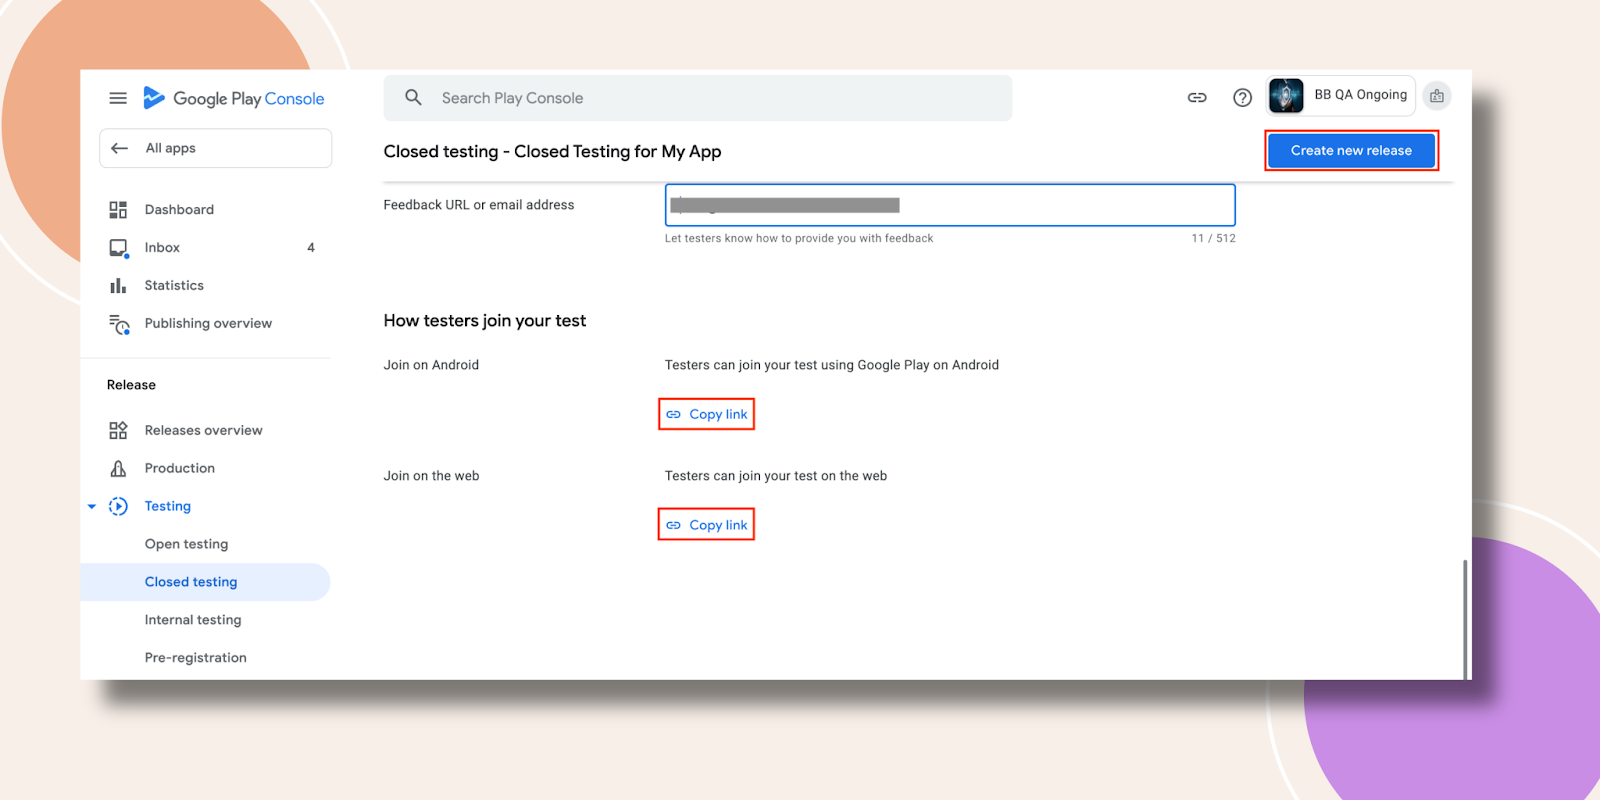
If you want to share a link for testers joining the Android or the web of your app then just Copy link and share with them.
The Test Link will only be available once Google completes and approves the release you submitted. The Copy Link option is grayed out and unavailable unless the release gets approved.
Let’s now hit the Create new release button.
Step 4- Create New Release
Going through a release process in Google Play ensures your app is updated safely and efficiently, while maintaining version control and quality standards for the best user experience.
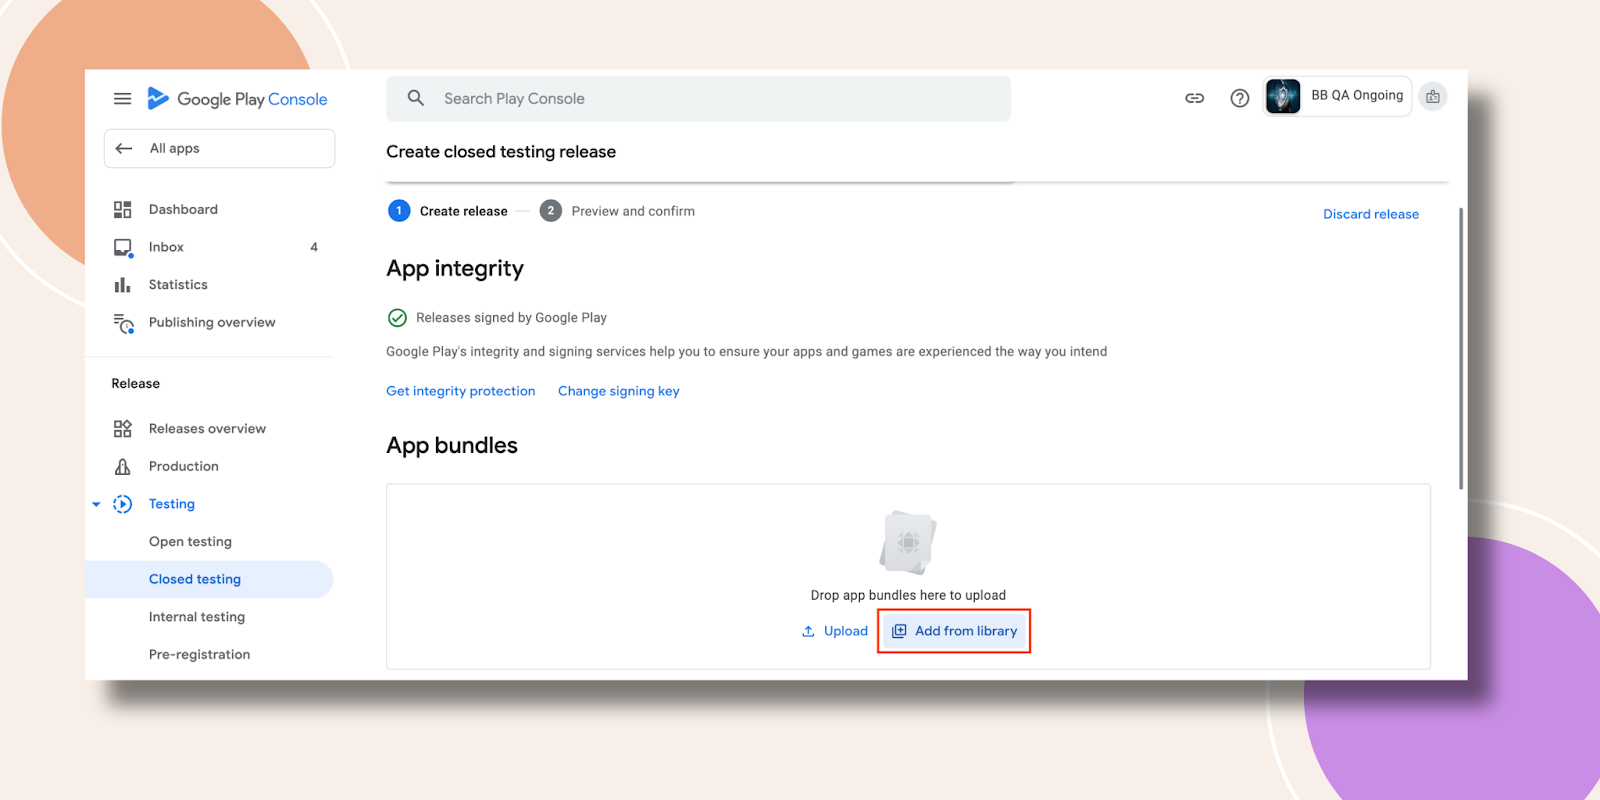
Under App bundles, Upload the App file you downloaded from WordPress or you can Add from Library.
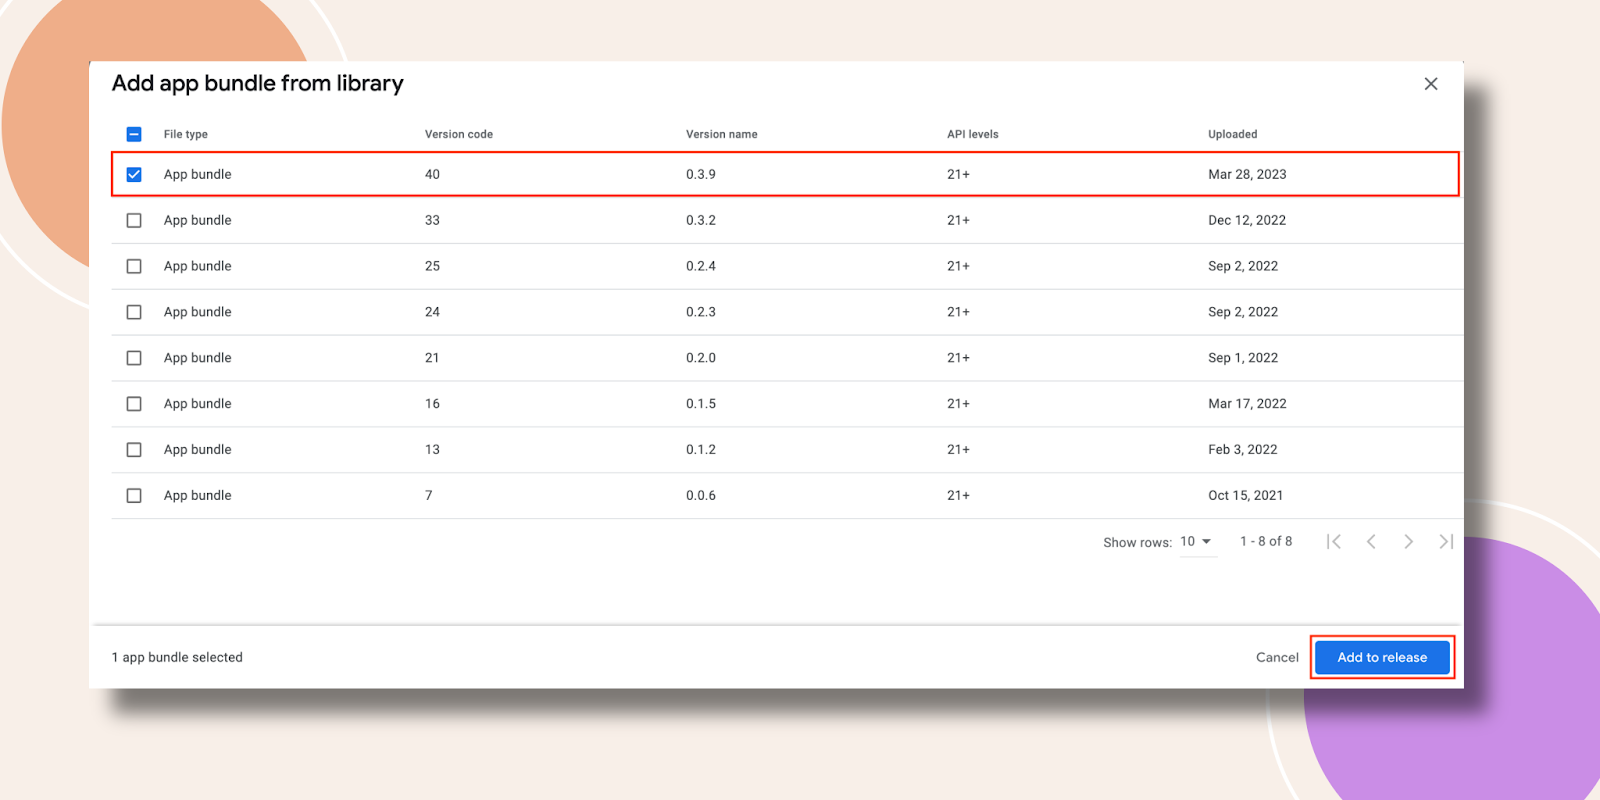
Select and press the Add to release button.
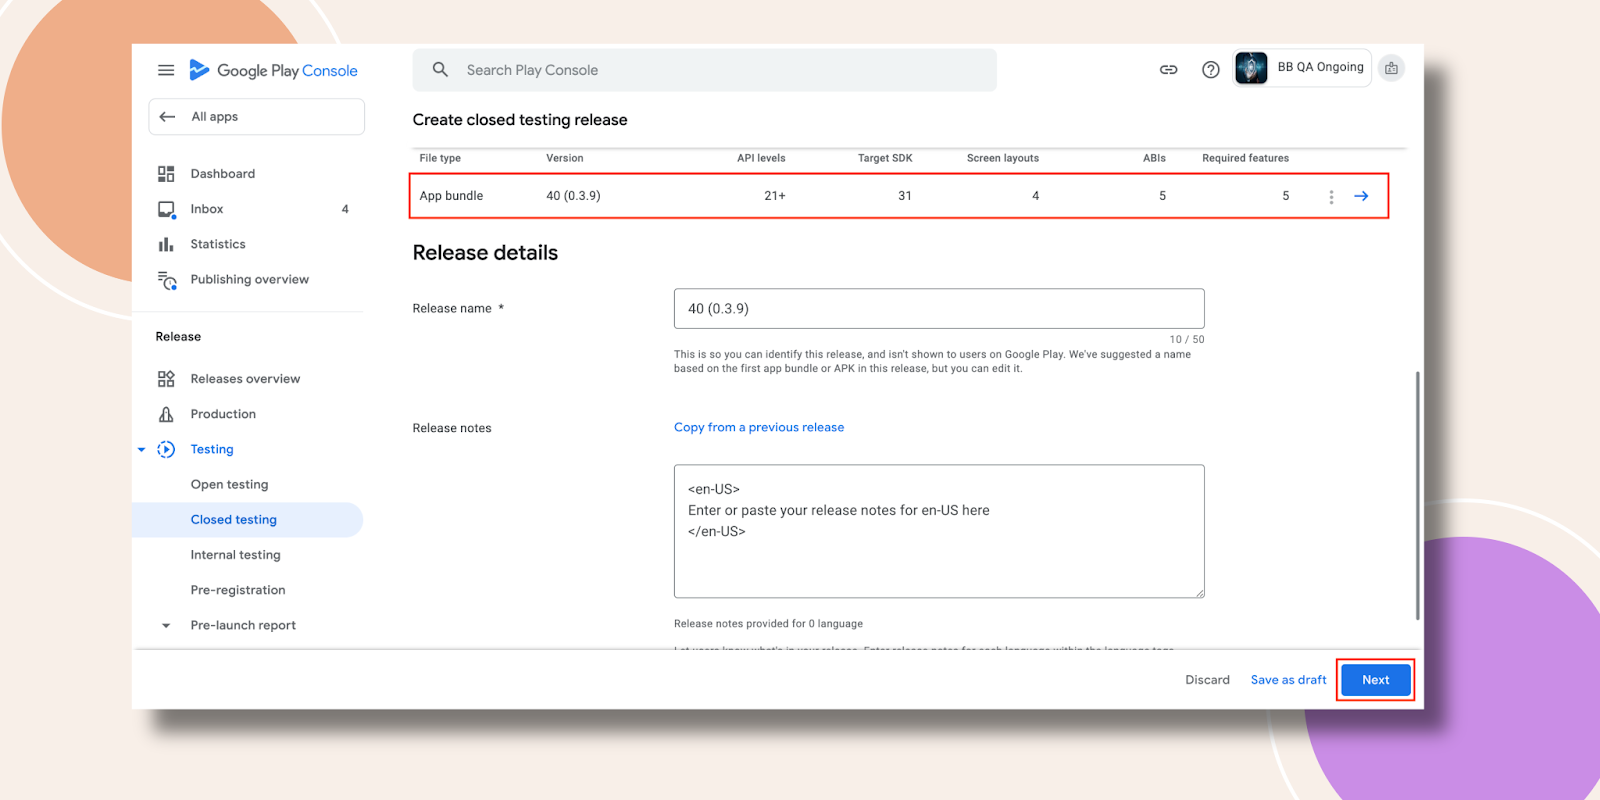
Under Release details, Release name should be auto-filled with the app’s version number. For Release notes, you can add any details you want testers to see. You might want to paste in the official BuddyBoss App release notes for that app version. Then, click the Next button.
Then click the Save button.
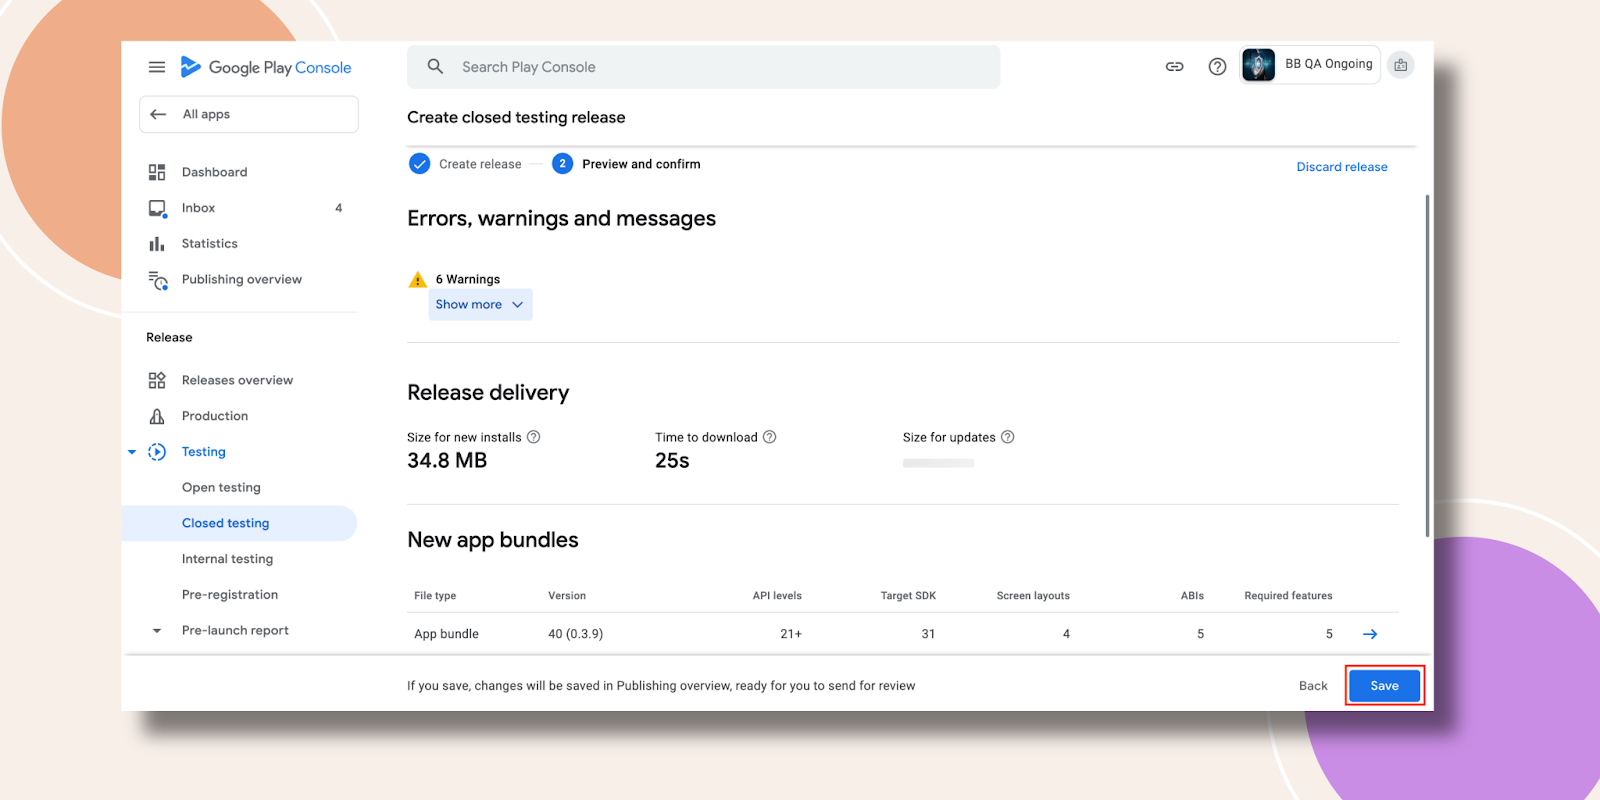
Now in this popup hit the Go to overview button.

Now, click Send 16 changes for review. You may have a different number of changes.
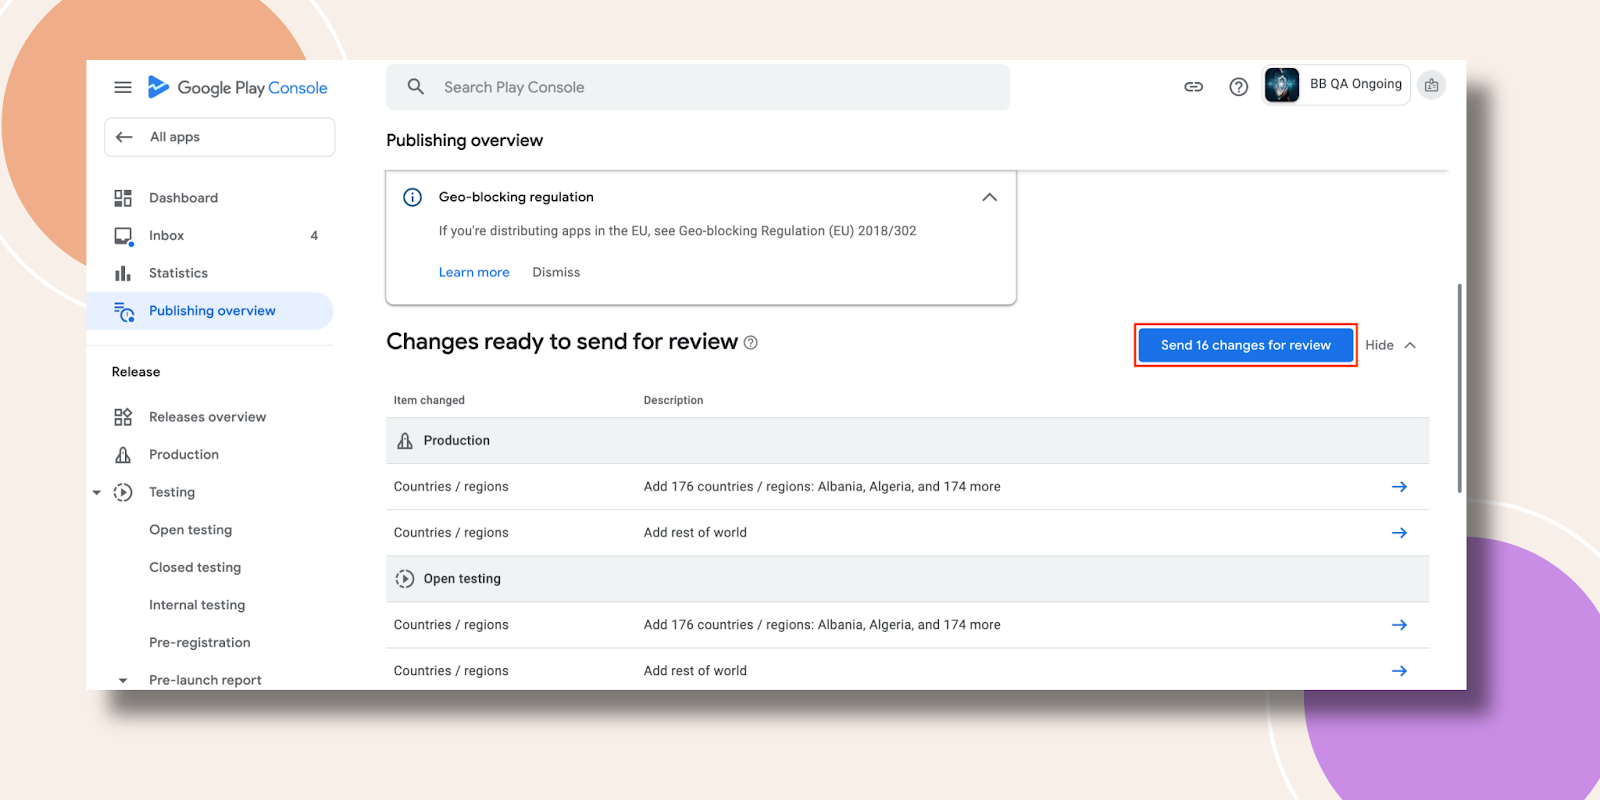
A popup will appear, just press the Send changes for review button. Your app is now submitted to Google for review. Wait 3-5 days for Google’s approval for the app.

Step 5- License Testing
License Testing in Google Play Console is crucial for verifying app licensing, preventing unauthorized use, and protecting revenue and intellectual property. This step ensures that only legitimate users, who have rightfully purchased or downloaded the app, can access it.
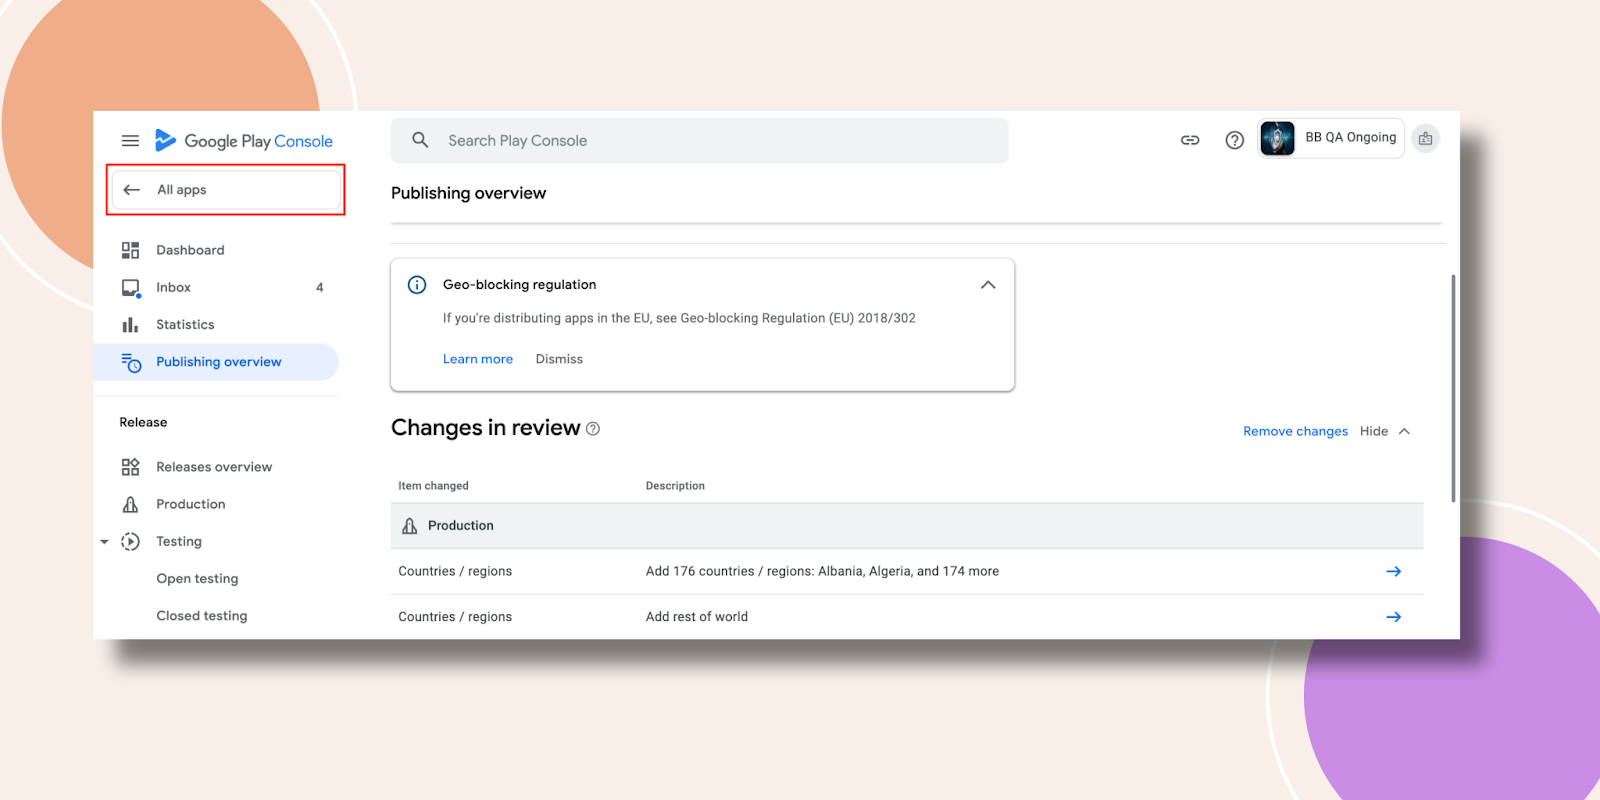
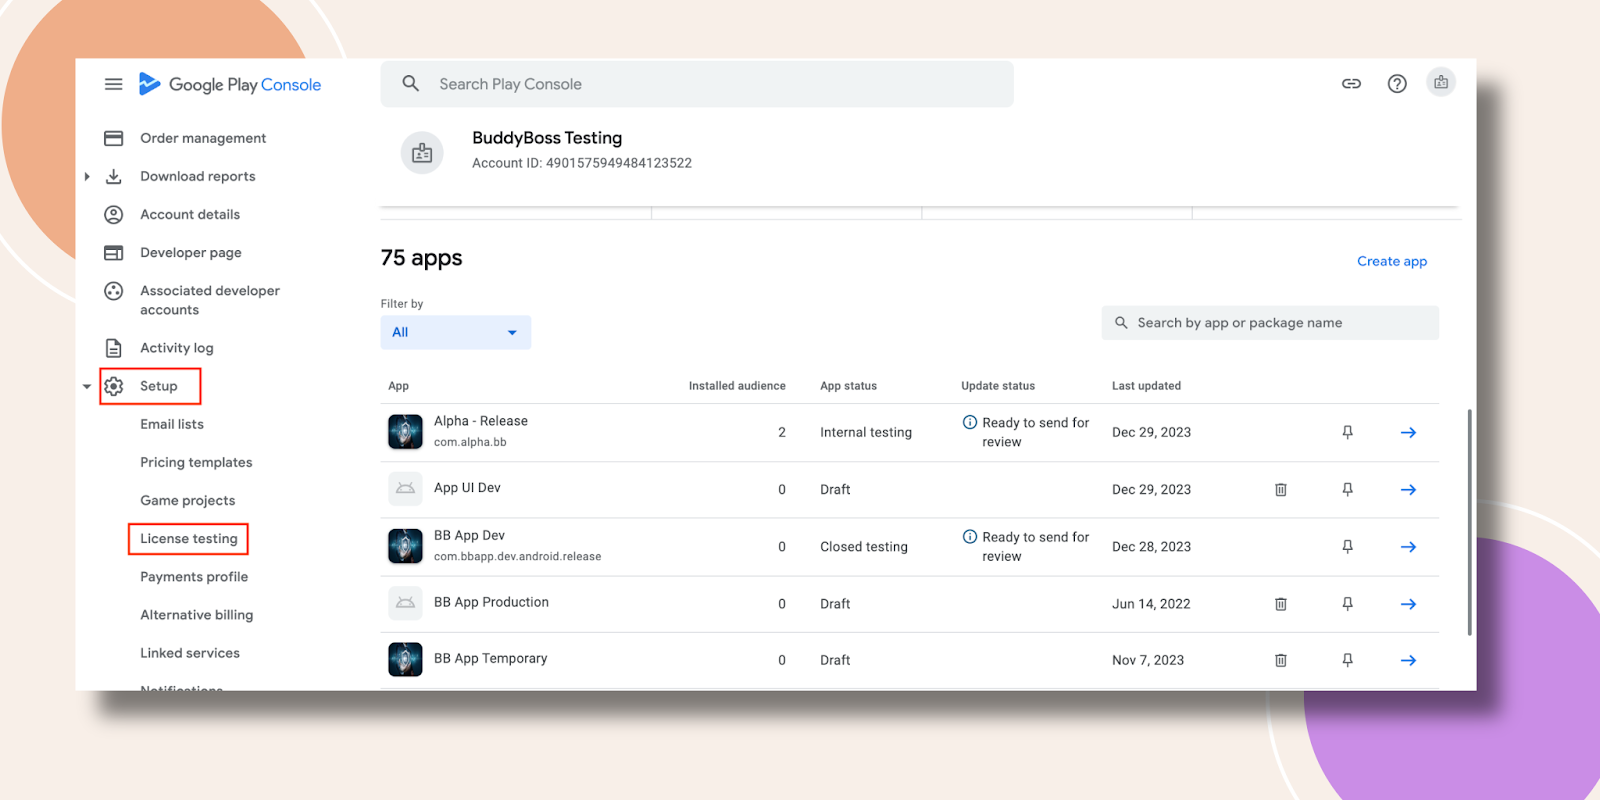
While waiting for the app review, you can proceed to the next steps. At the top of the left sidebar, navigate back to All apps.
Under Setup in the sidebar, click on License testing.
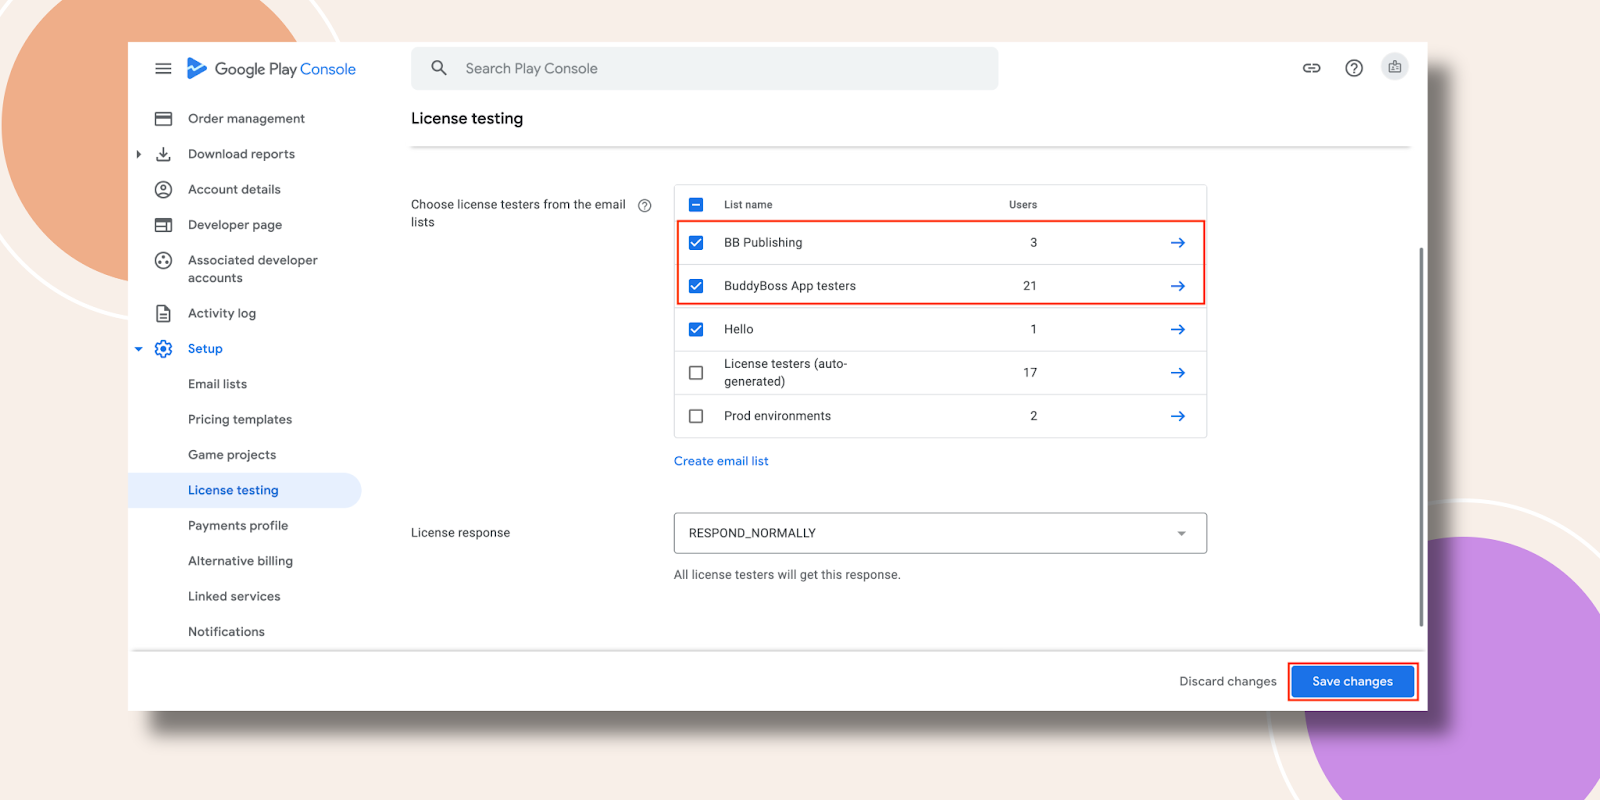
Choose license testers from the email lists and hit the Save changes button.
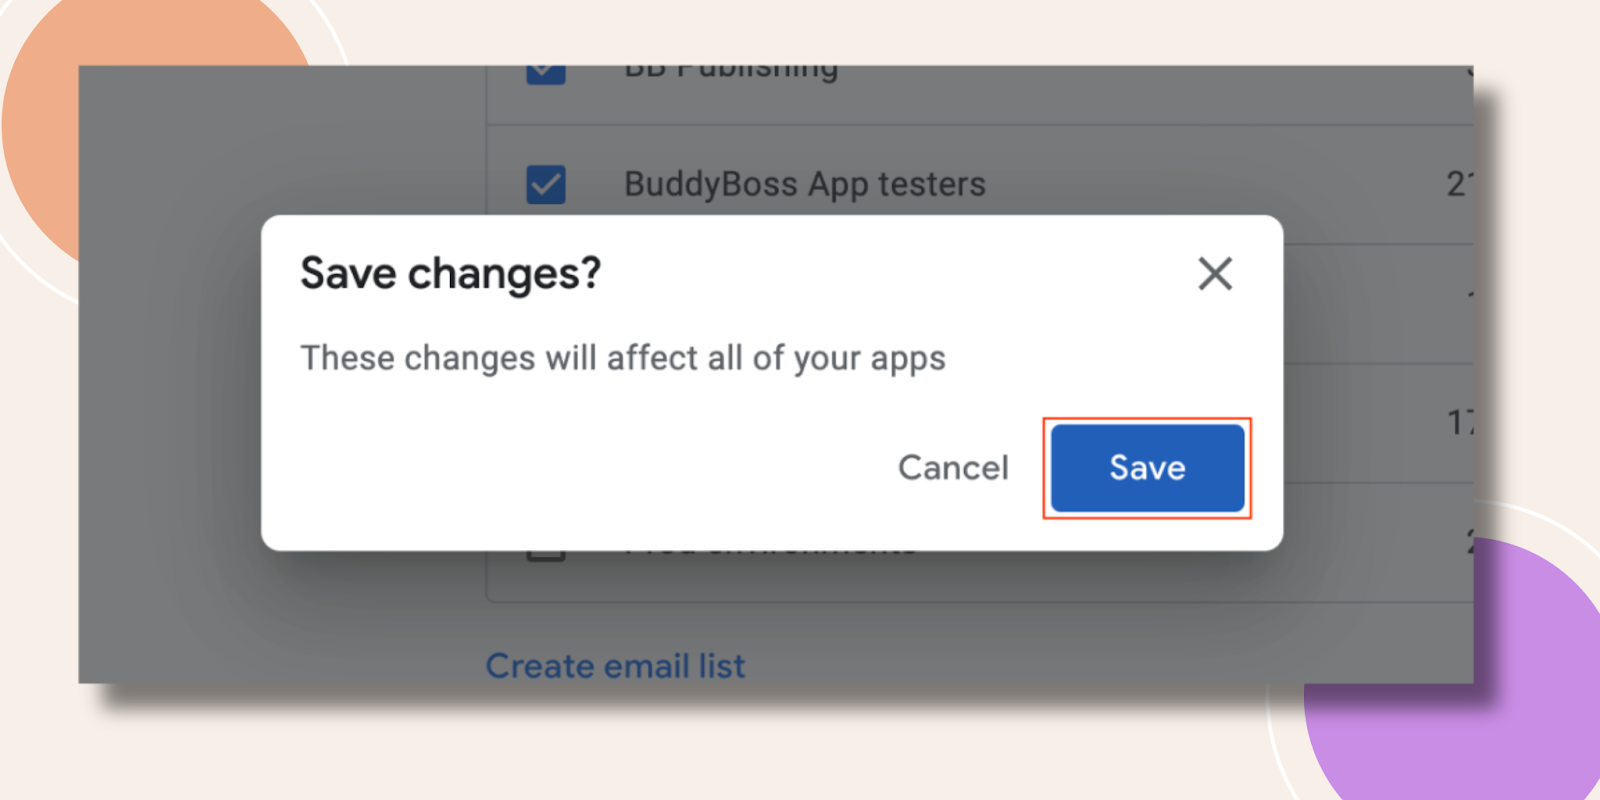
Now click Save.
So this is the way your app can perform Closed Testing by Google.
After the release gets approved, share the link with the testers so they can begin testing. After the 14-day testing, apply for access to Production.
What’s Next After Closed Testing?
Once you’ve met the closed testing requirements, you can apply for Production access. Just go to your Dashboard, and click Apply for production. You must then answer questions about your closed test, your app, and its production readiness. These questions are divided into three sections:
- About your closed test
- About your app/game
- Production readiness
After you’ve completed your request for access to production, Google will review your submission.
When the review is complete, they’ll email the account owner with an update- This usually takes 7 days or less, but may occasionally take longer.
If approved, you’ll then have access to the Production section, where you can add your app build and submit it for Google review and approval
Additional Note: Once you gain access to Production, just create a release inside it and upload/add your build in there. Then, submit a publishing request to the BuddyBoss Publishing team through your WP-dashboard > BuddyBoss app > Publishing service > Google Play Store.
The team will then work on your request and inform you of its status through emails. They will handle your app submission and publishing to the Google Play Store. You may check this article for full step-by-step instructions on submitting an Android publishing request.