
Introduction
Connecting your Google Play Developer account to the BuddyBoss App lets you synchronize in-app products and submit your Android builds through our publishing service. In this tutorial, you’ll create a Google Cloud service account, enable the necessary API, grant Play Console permissions, and upload the credentials to your BuddyBoss App plugin.
Tutorial Video
Creating your App
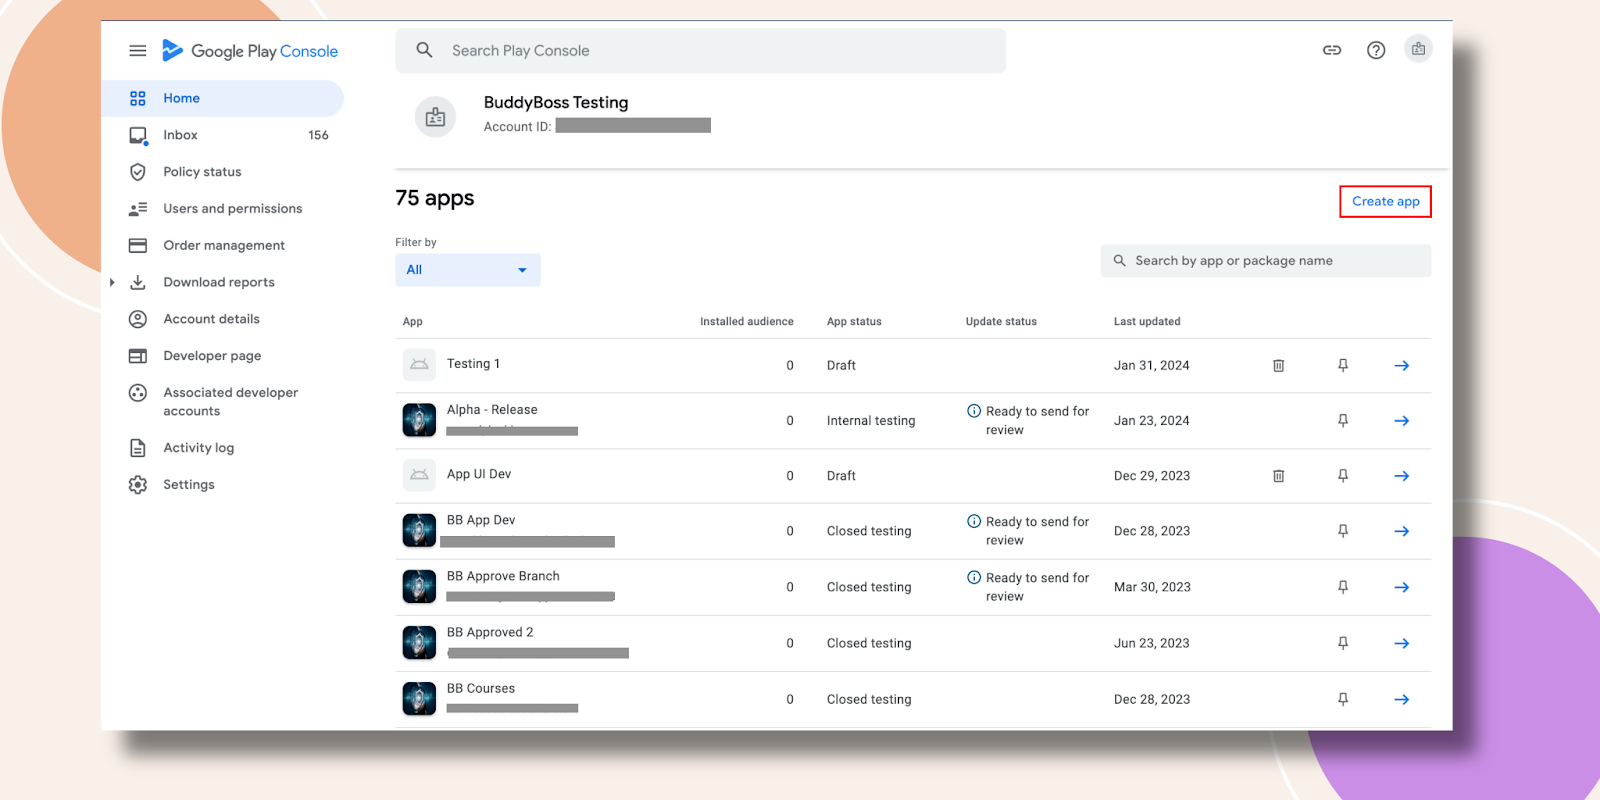
- Navigating Google Cloud Console, click on the Create App button.
- Fill out the App name and Default language. Select App then select if it’s a Free or paid app.
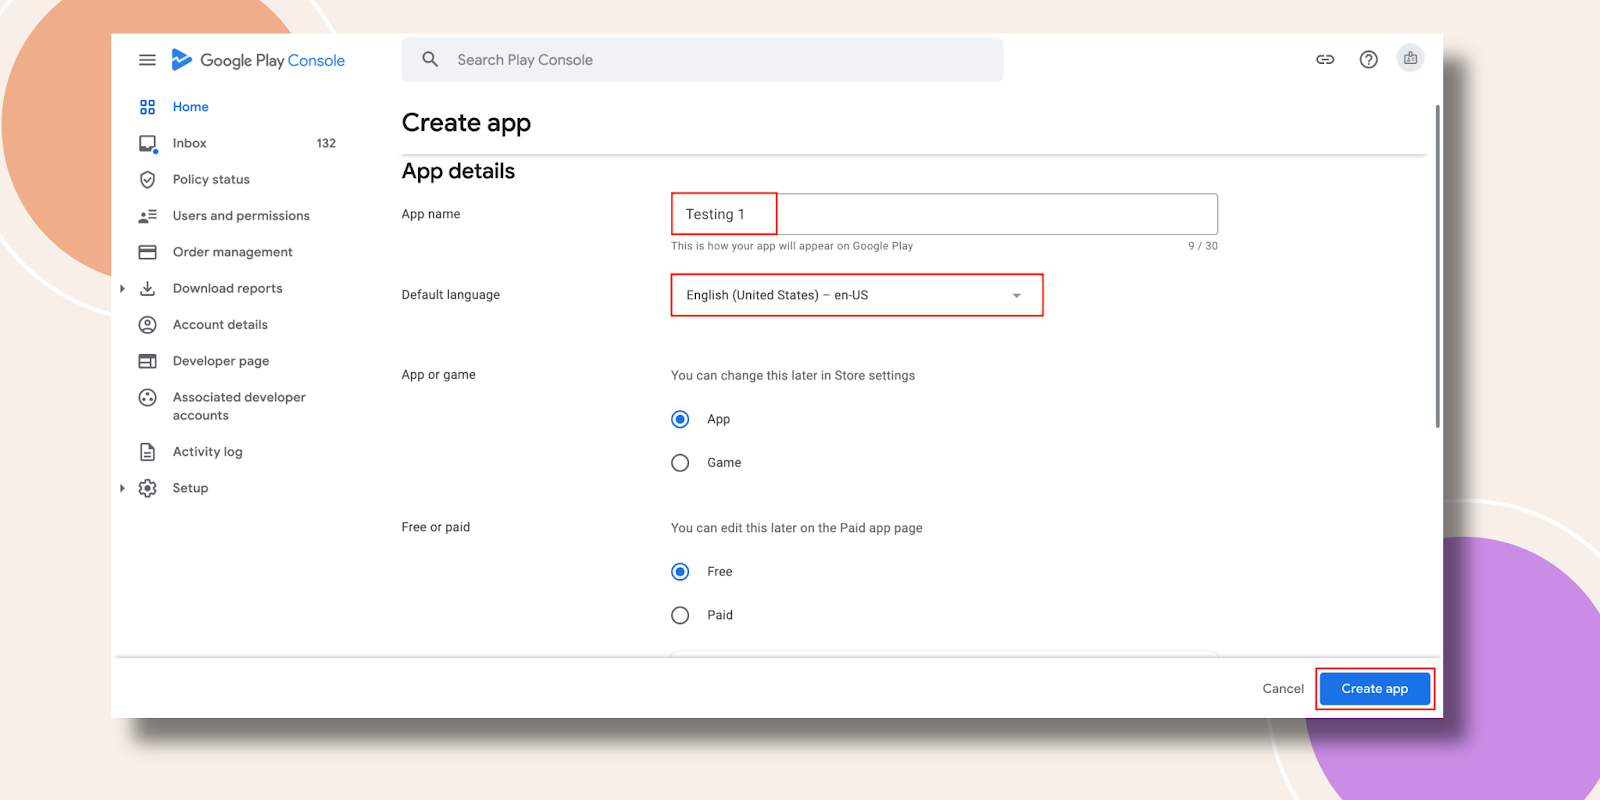
- Scroll down to tick the Developer Program Policies and US report laws options. Now, hit the Create App button.

Creating Your Google Cloud Project and Service Account
- Navigate to Google Cloud Console and sign in with your Google account.
- Click the project at the top and select NEW PROJECT.

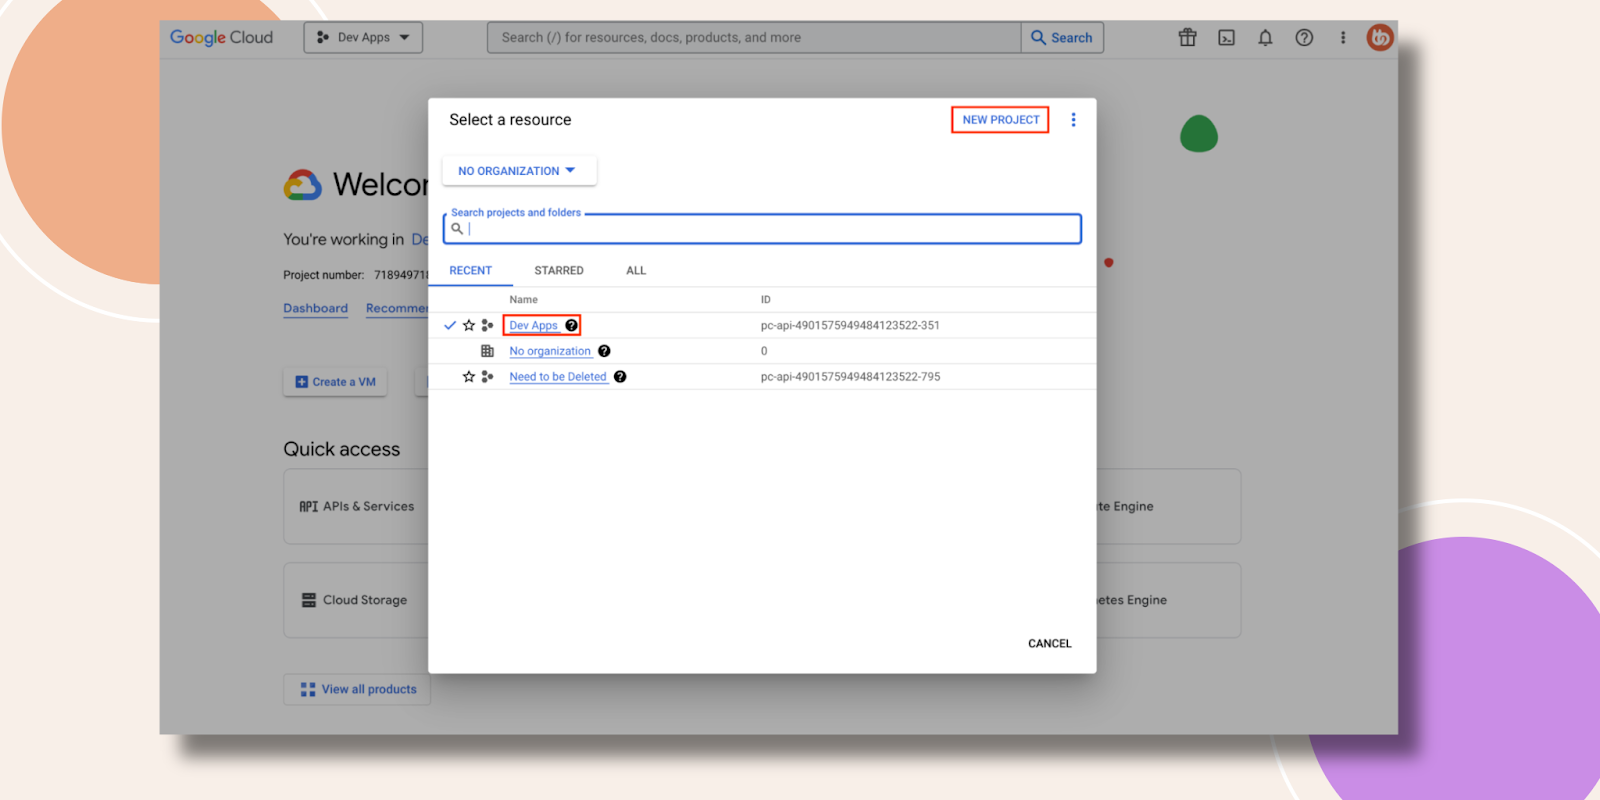
- Enter a Project Name, choose your Organization and Location, then click Create.
- Ensure your new project is selected in the header dropdown.
- From the sidebar, go to APIs & Services > Enable API & Services.

- Click the Library.
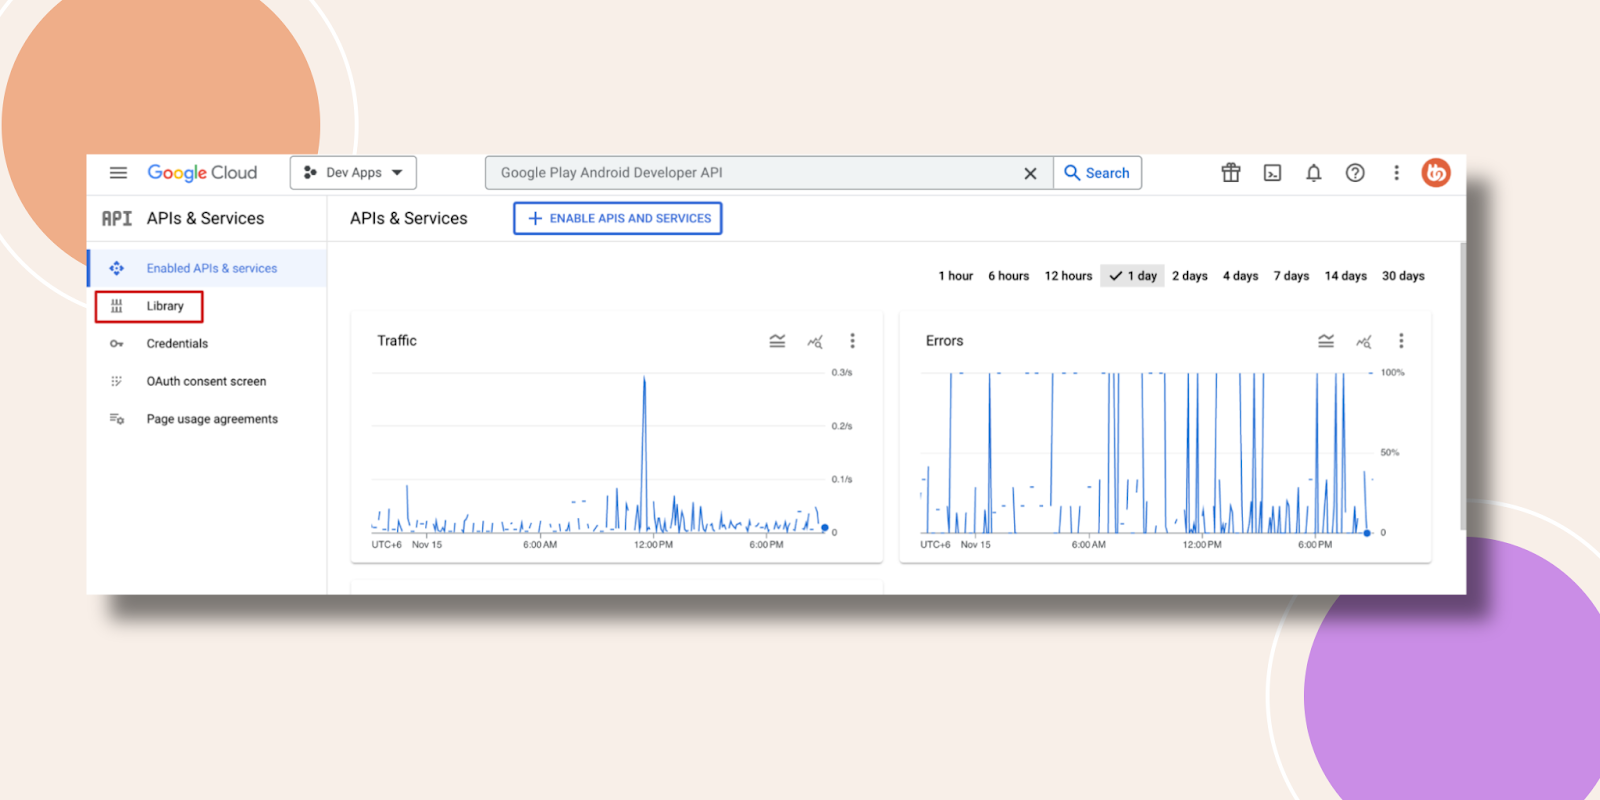
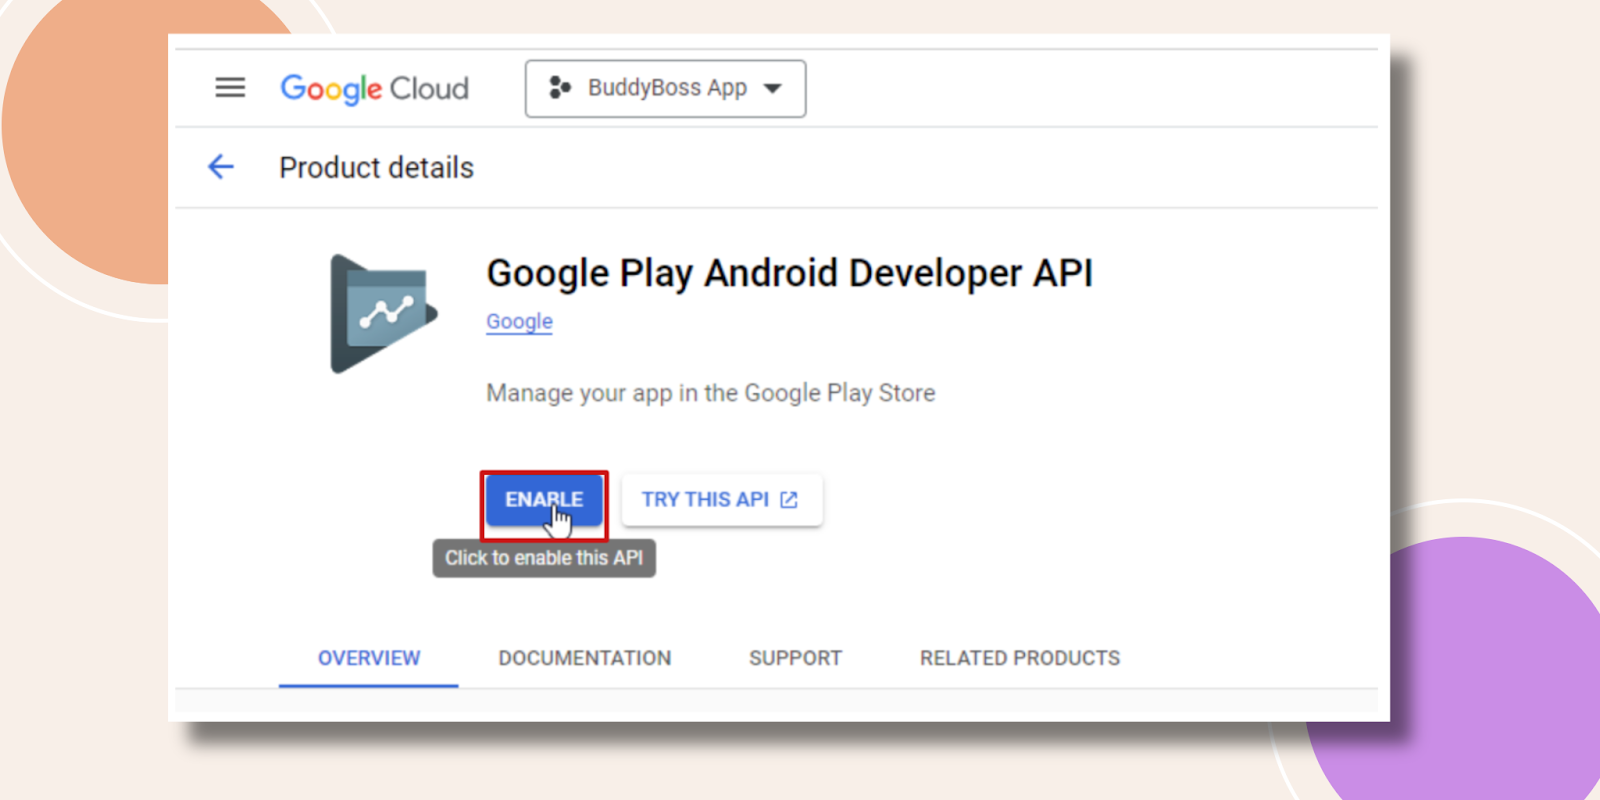
- Search for Google Play Android Developer API.

- Click ENABLE.
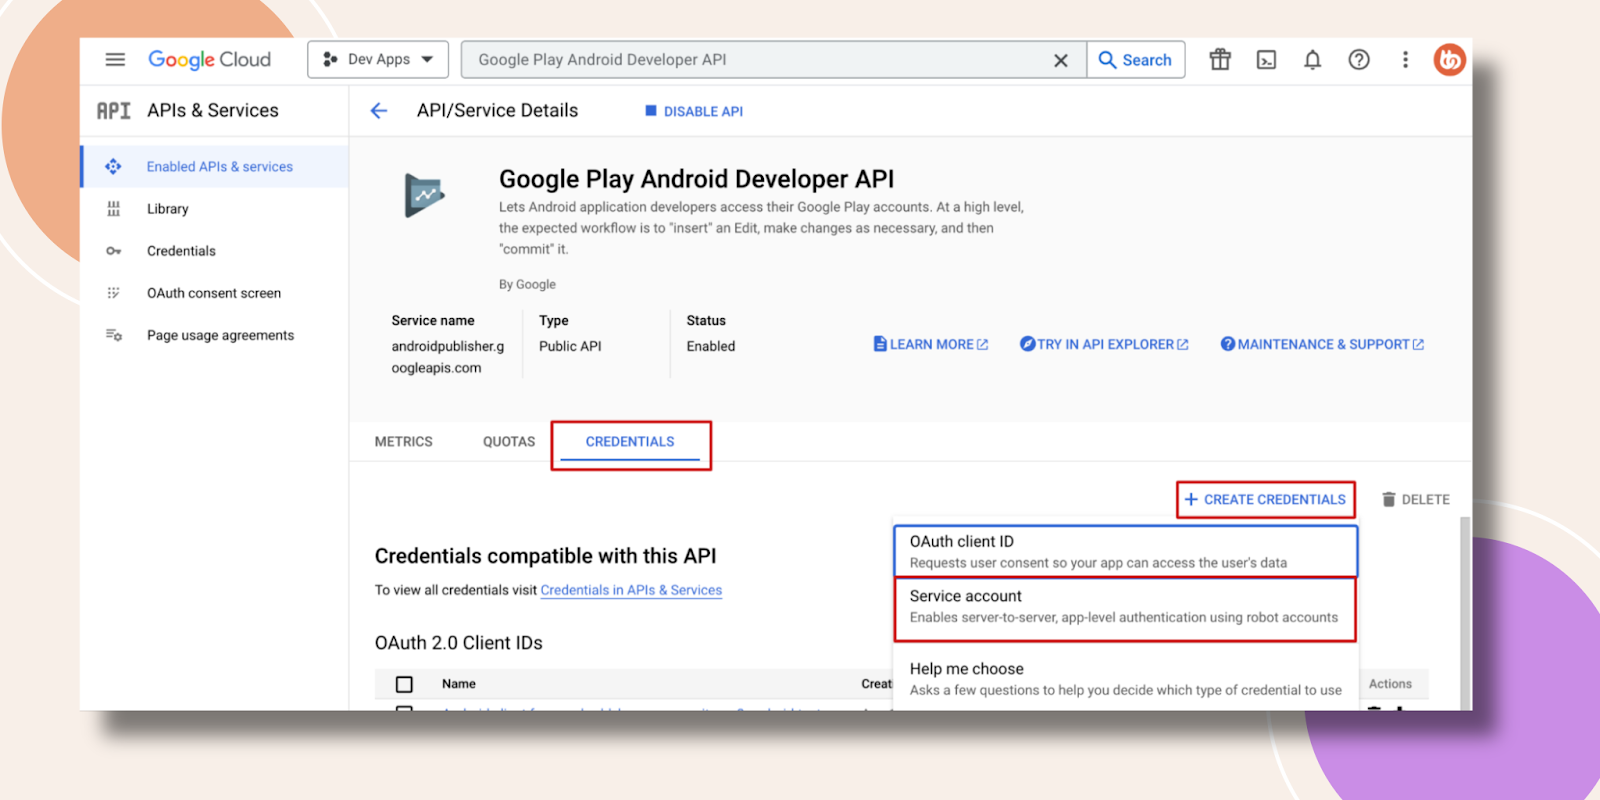
- Click APIs & Services > Credentials, then click Create Credentials > Service Account.
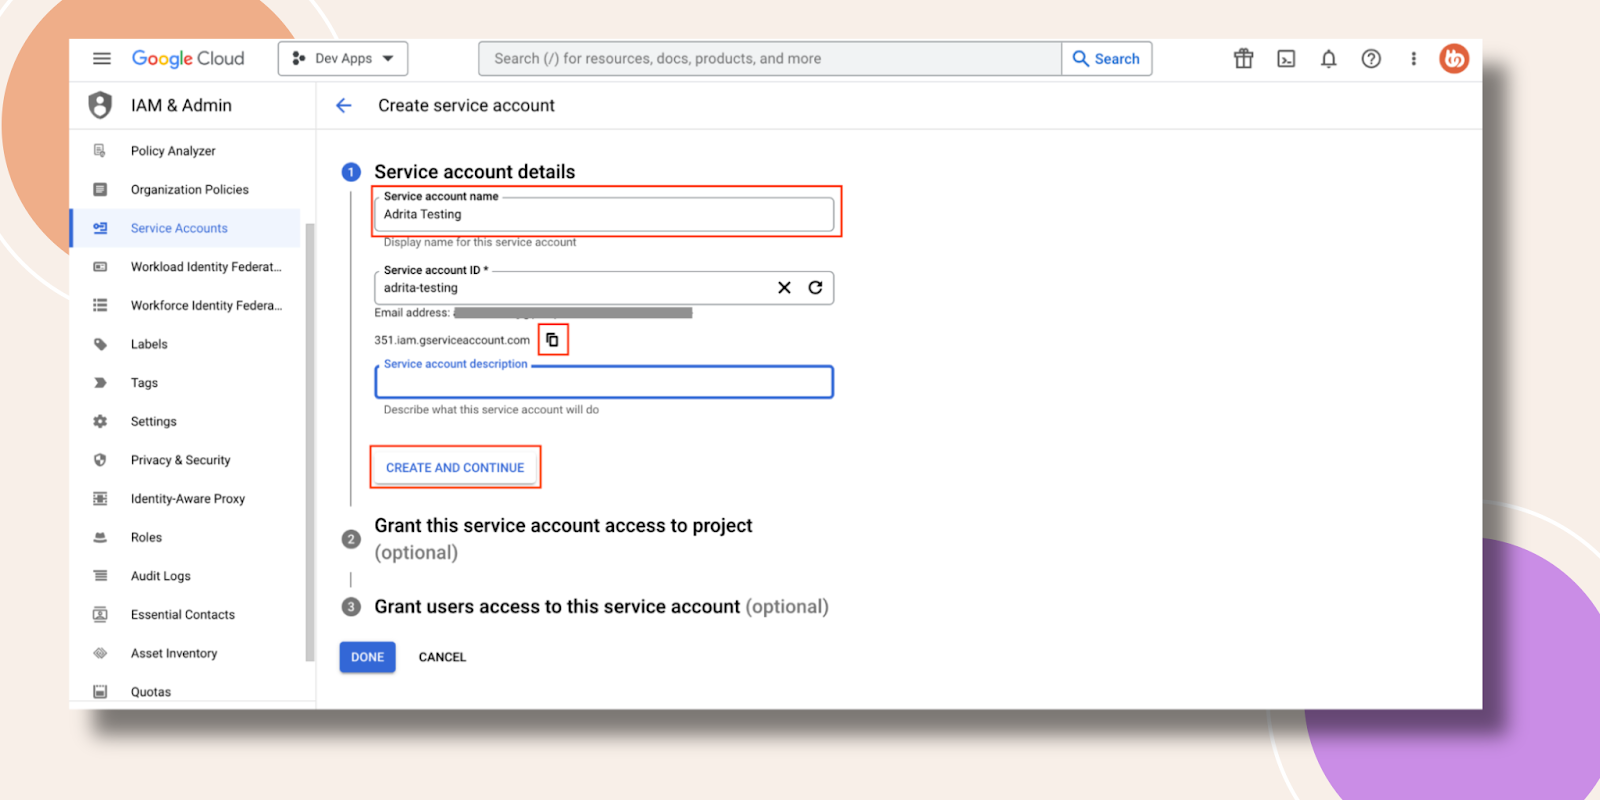
- Enter a Service account name (e.g., “BuddyBoss App Integration”) and click Create and Continue.
- Under Select a role, choose Basic > Owner.

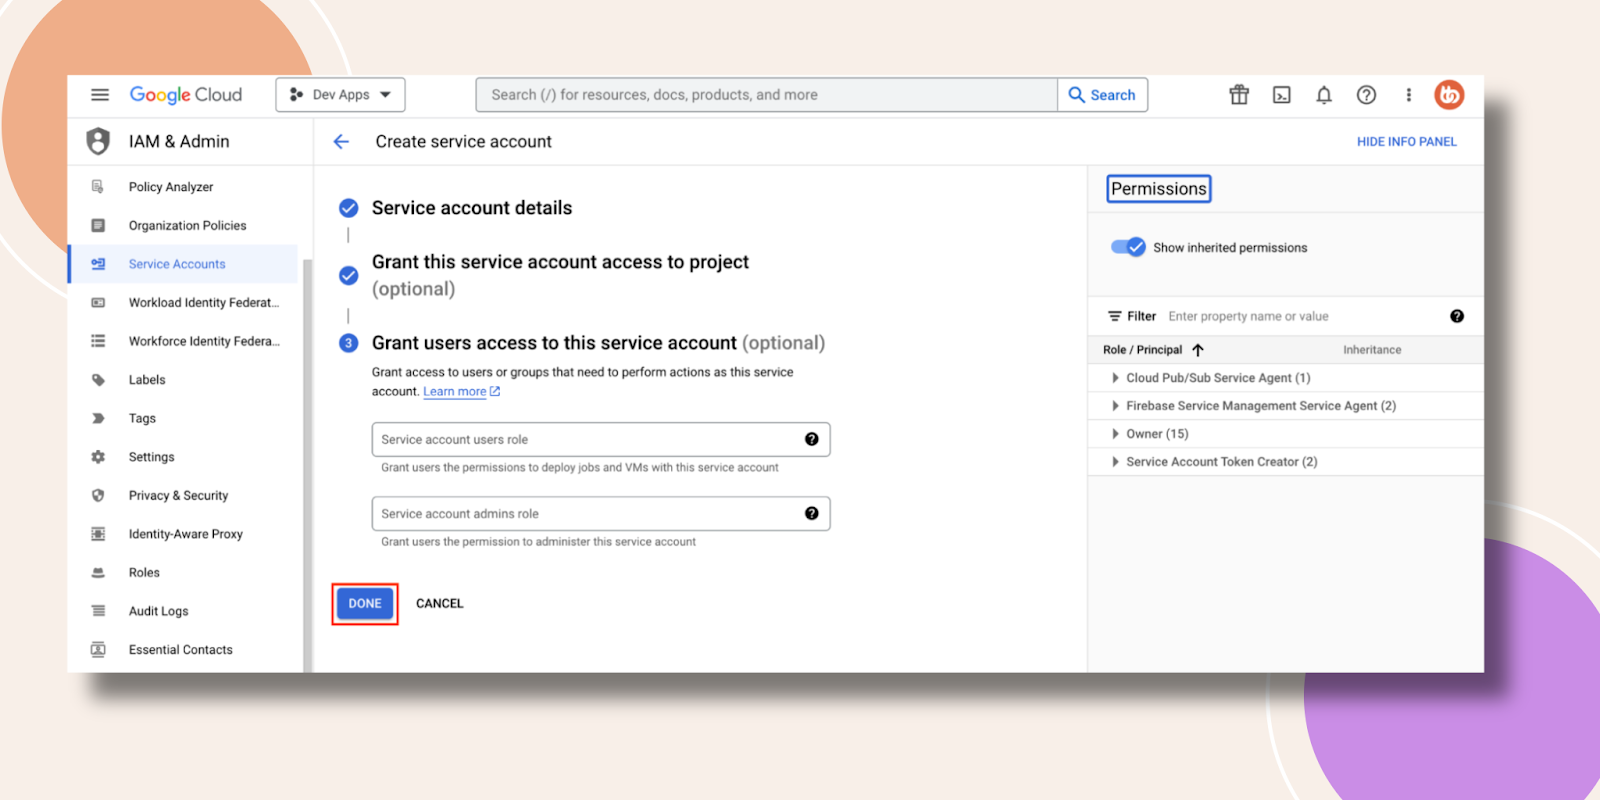
- Then click Continue and Done.

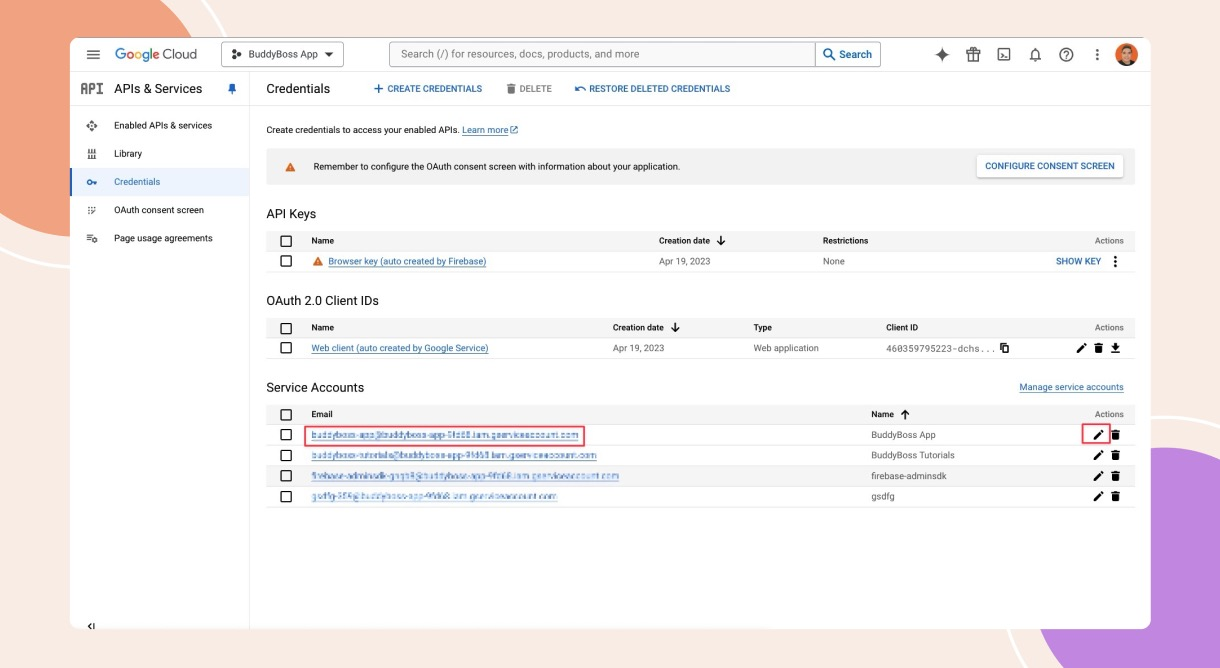
- In the Service Accounts list, click the pencil icon next to your new account.
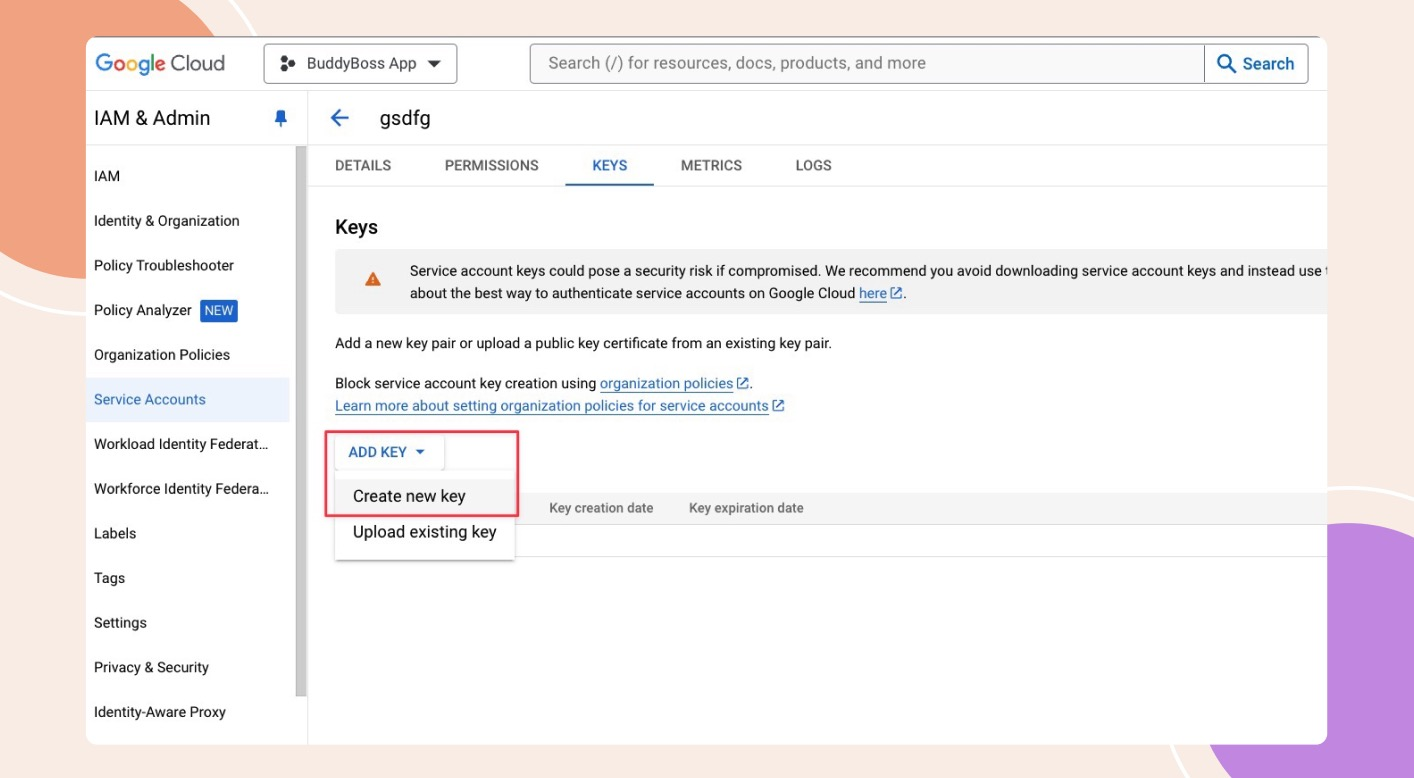
- Go to the Keys tab.

- Select Add Key > Create New Key.
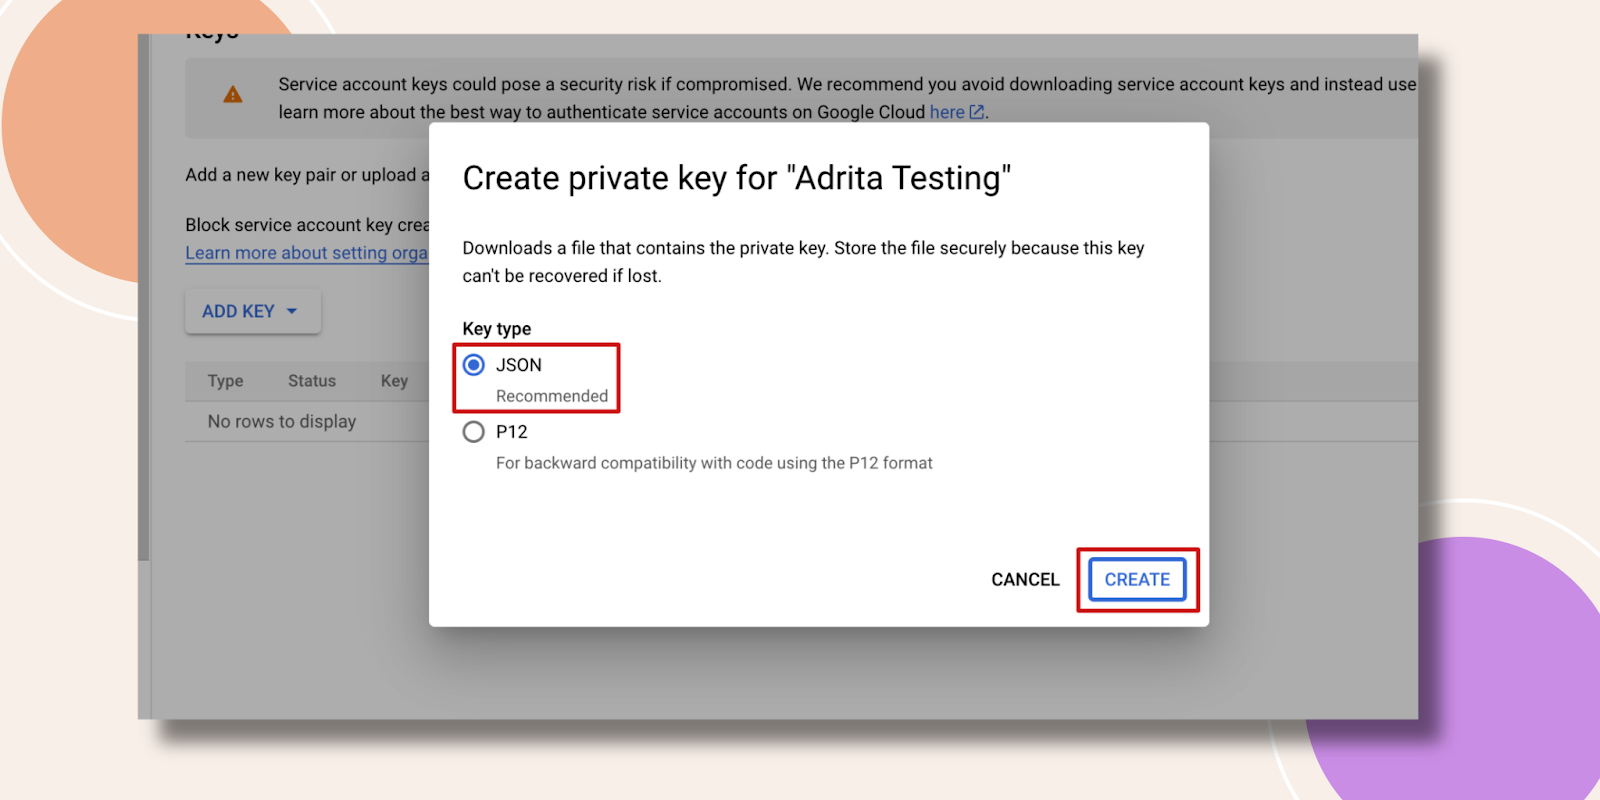
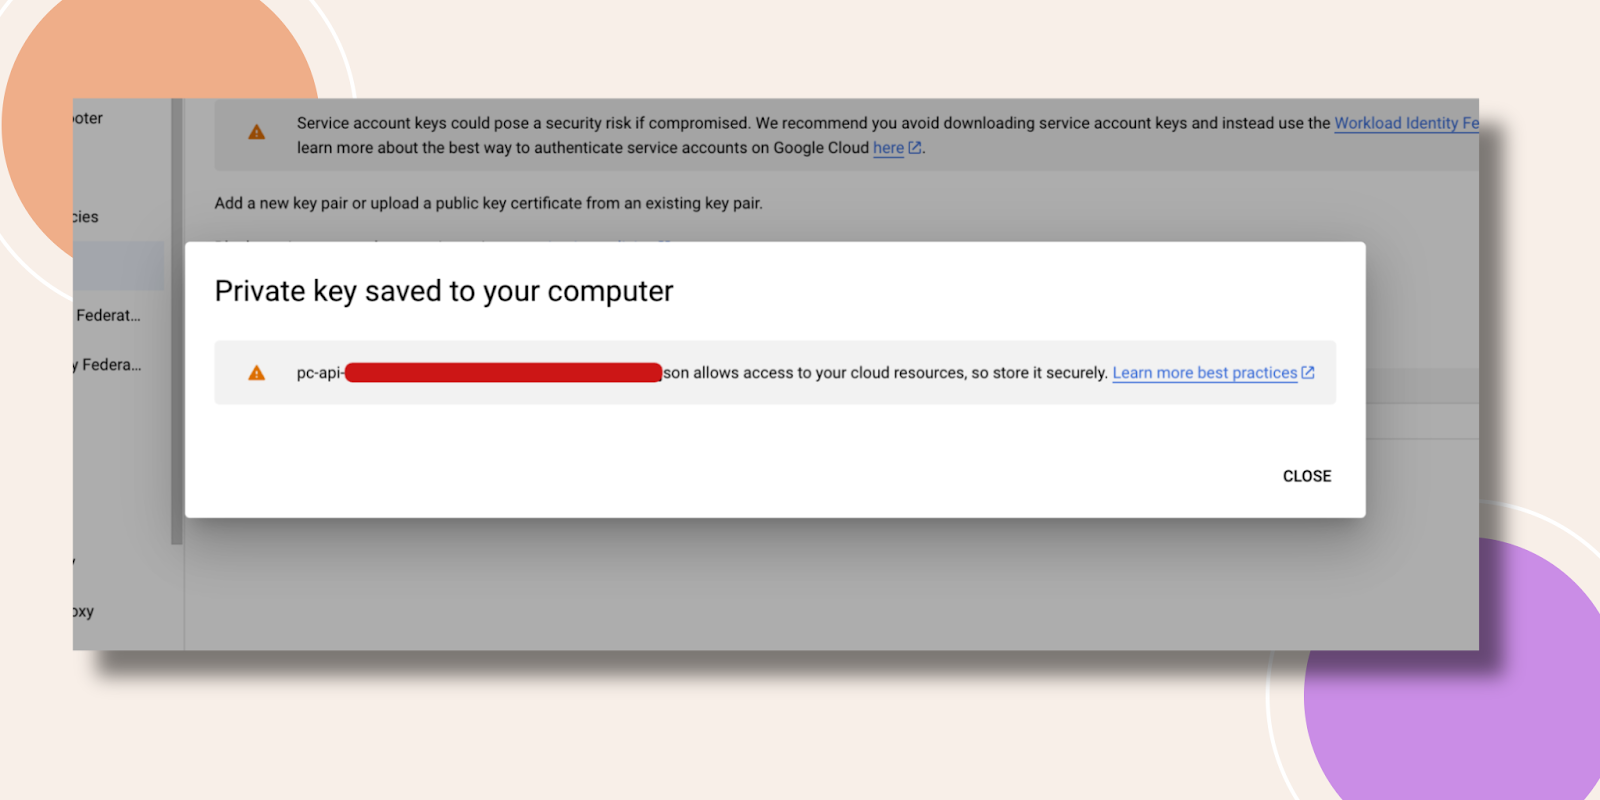
- Choose JSON and click Create the .json file downloads automatically. Store it securely (it can only be downloaded once).
- Copy the Service account email from the list; you’ll use this in the Play Console.
Granting Play Console Permissions to the Service Account
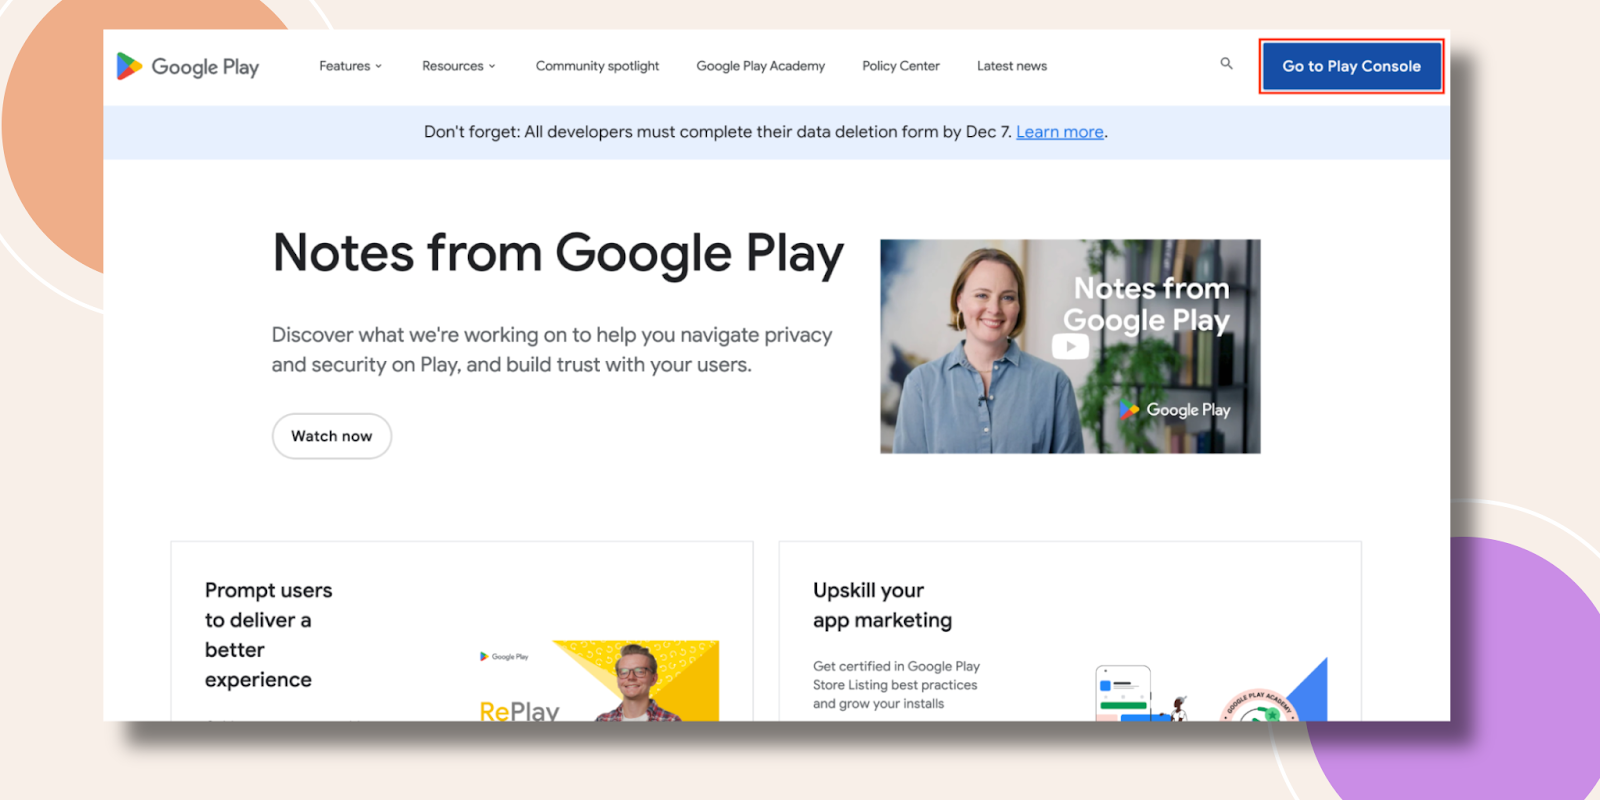
- Navigate to Google Play Console and Go to Play Console Button.
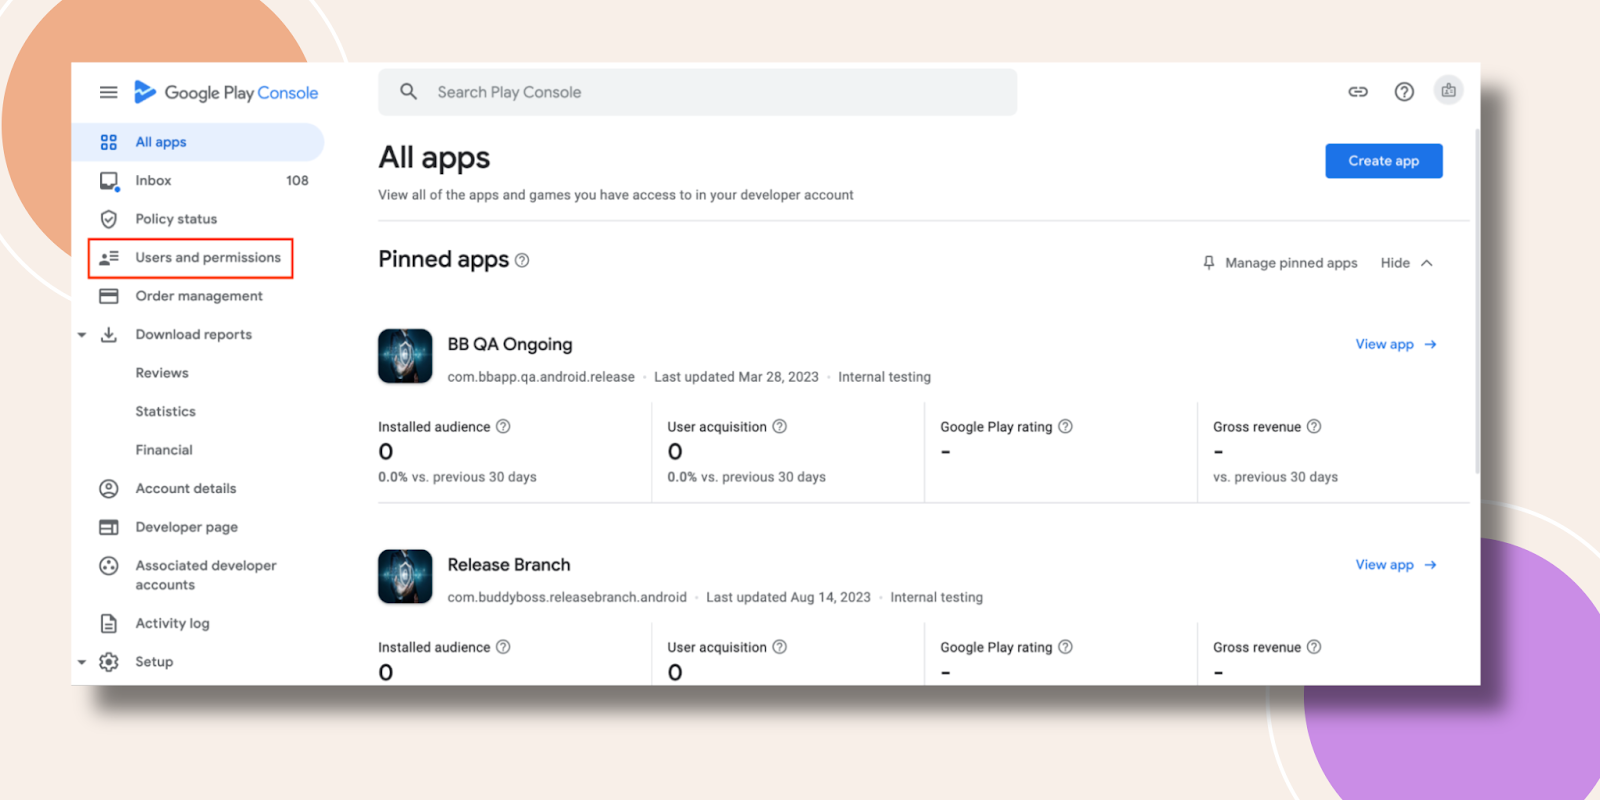
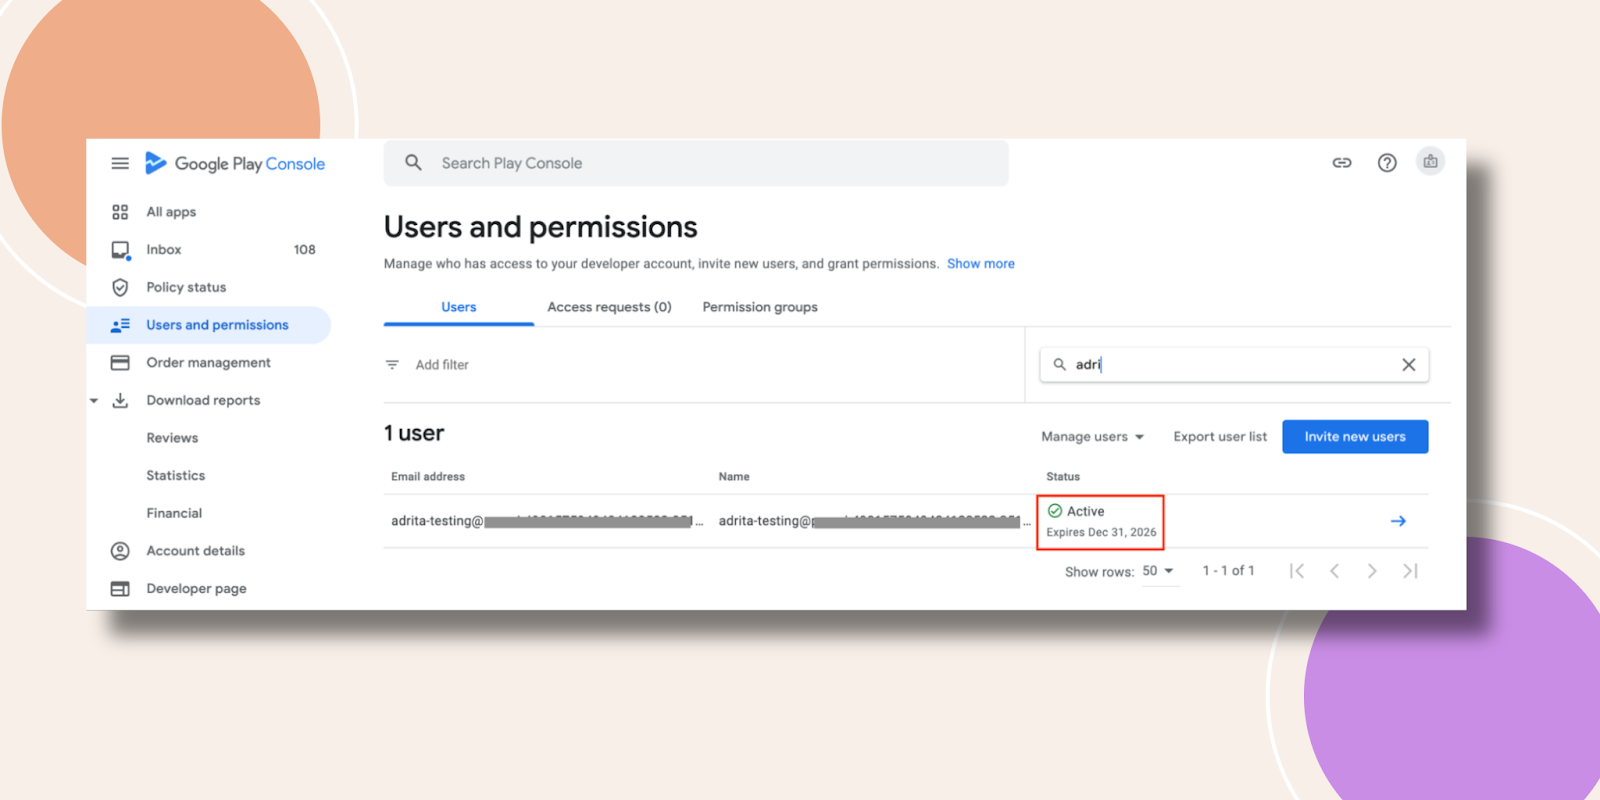
- From the left sidebar, select Users and permissions.
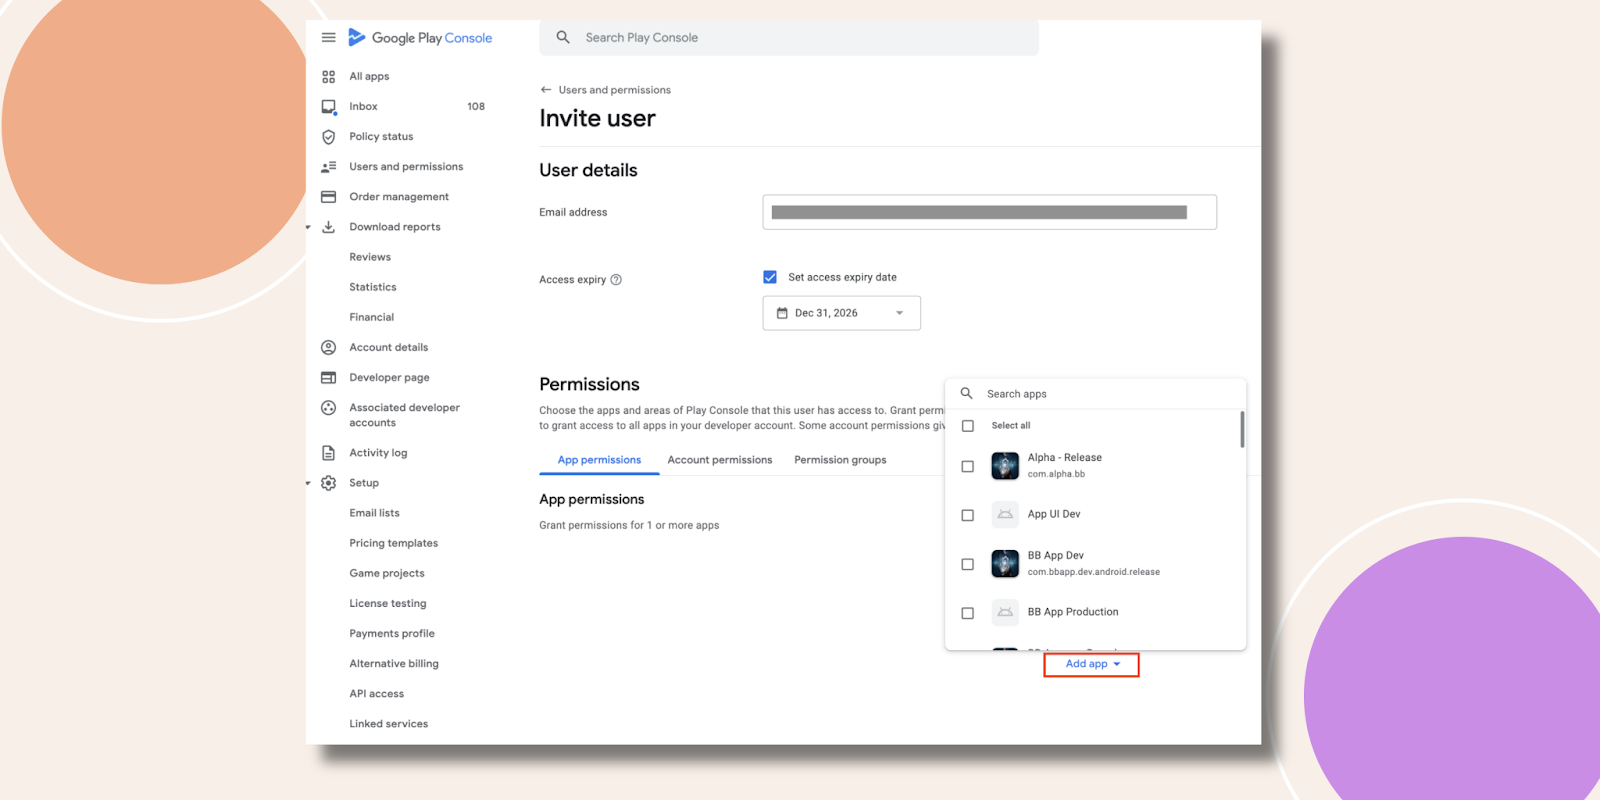
- Click Invite new users.

- Paste the Service account email into the Email address.
- Under App permissions, click Add app, select your app, and click Apply.
- For full access, select Admin under Account permissions (or tick only the scopes you need), then click Invite user.
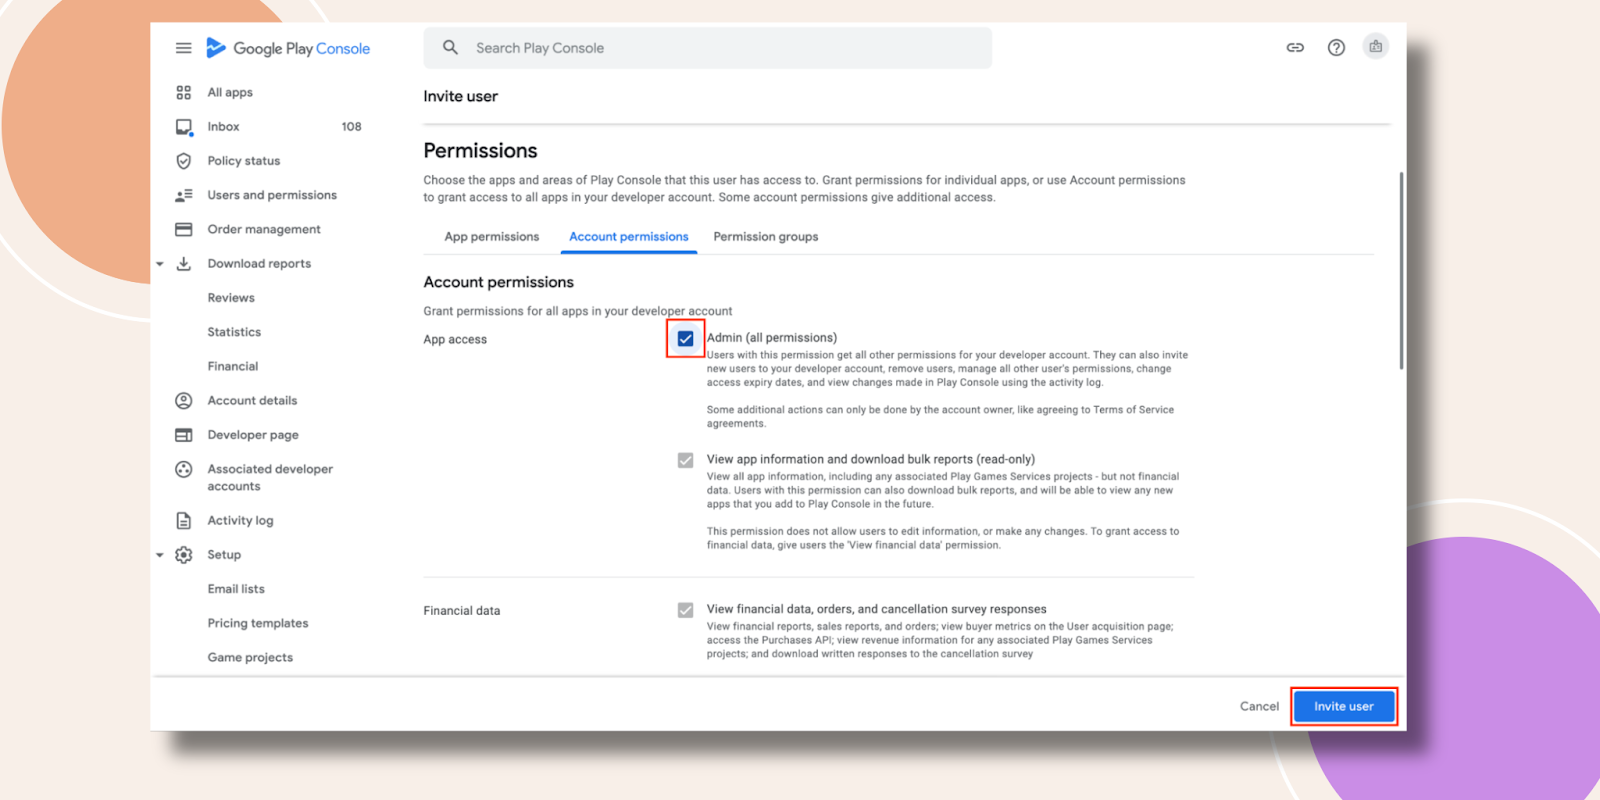
- Confirm by clicking Send invite in the popup.

- Verify the service account appears with status Active in your users list.
Uploading Your Service Account Key in BuddyBoss App
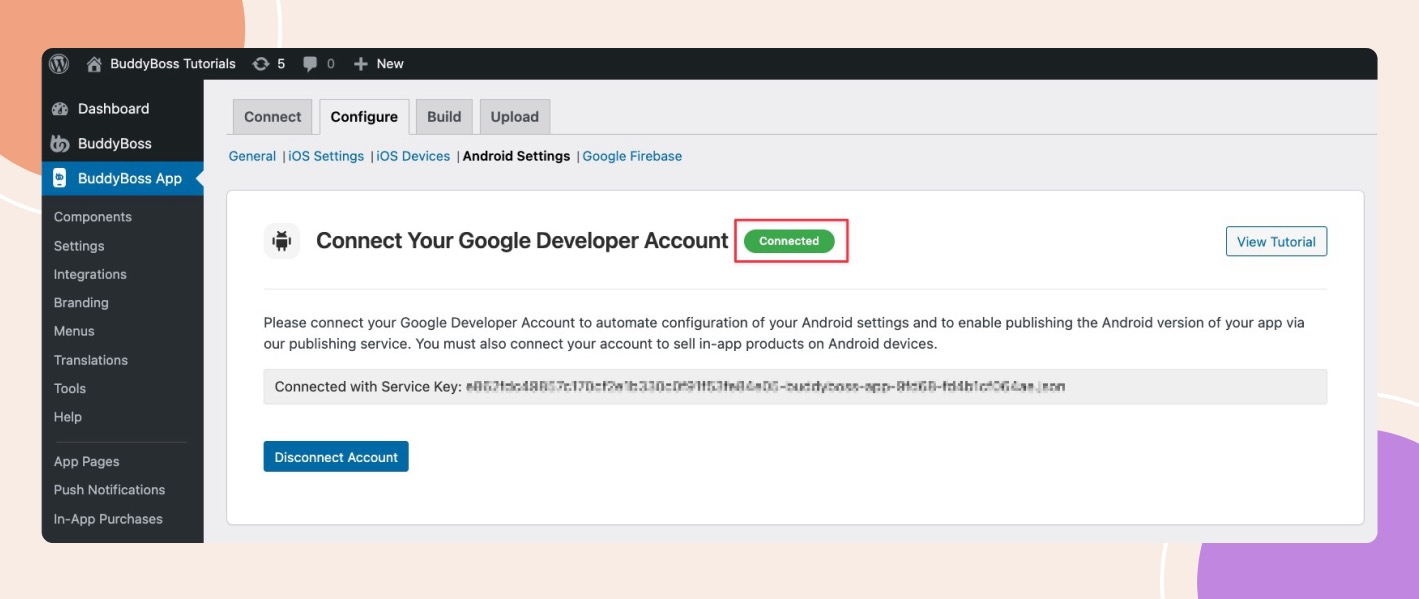
- In WordPress, go to BuddyBoss App > Configure > Android Settings.
- Click Upload File, select the downloaded .json key file, and click Connect Account.

- A green Connected indicator confirms your BuddyBoss App is now linked to your Google Developer account.
- account.
Setting Up Internal Testing for Your Android App
Navigating to Internal Testing
- In the Google Play Console, go to your Home page and select your app.
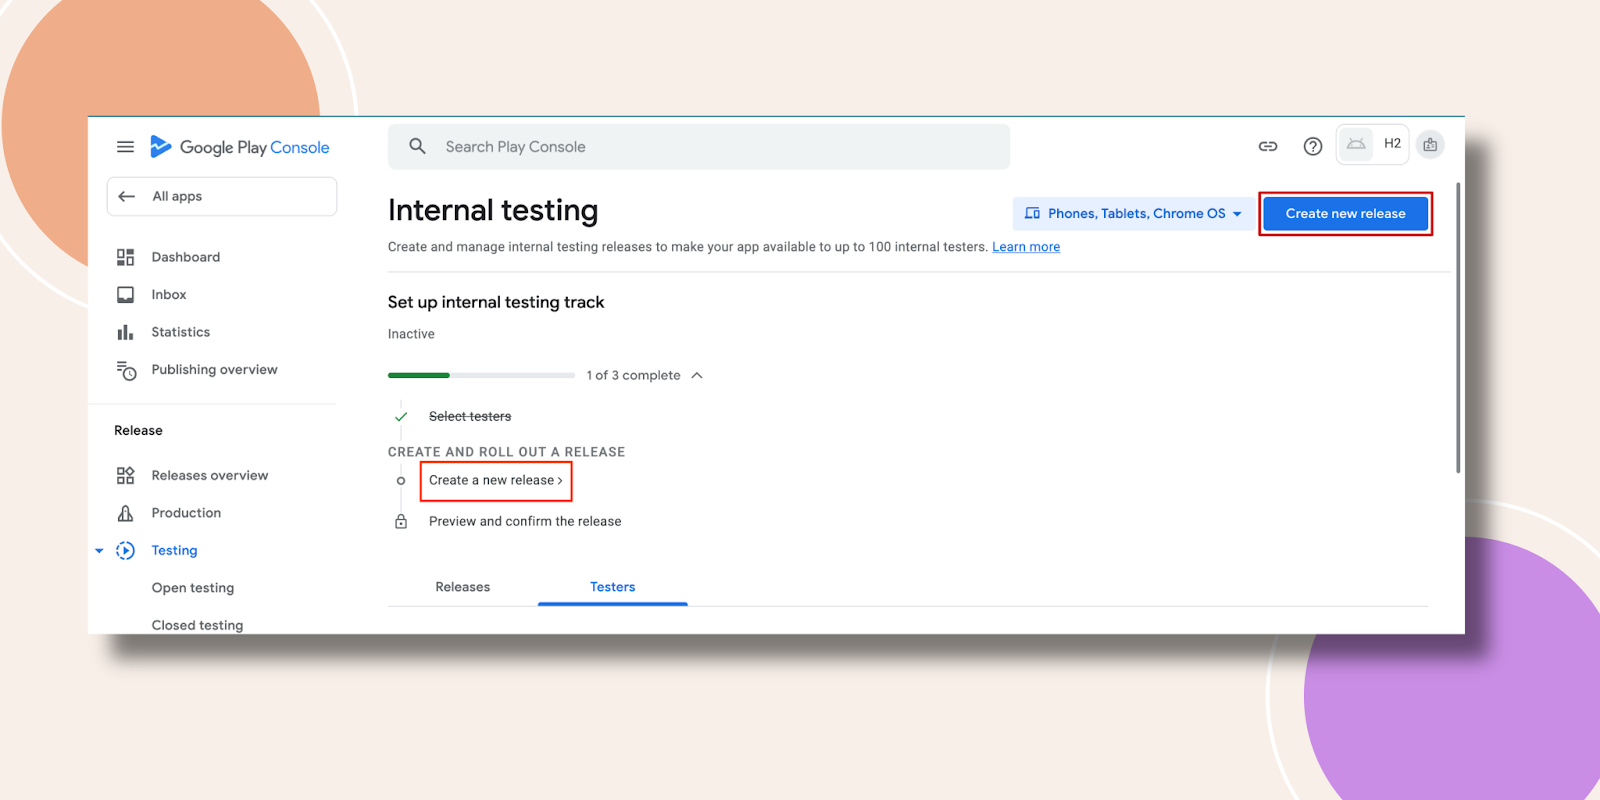
- From the sidebar, click Testing > Internal testing.
- Click Create new track if you haven’t already, then:
- Select testers by adding email addresses or Google Groups.
- Provide a Feedback URL or email address for testers to submit bug reports.
- Select testers by adding email addresses or Google Groups.

- Click Save.
Creating a New Release
- Still under Internal testing, click Create new release.
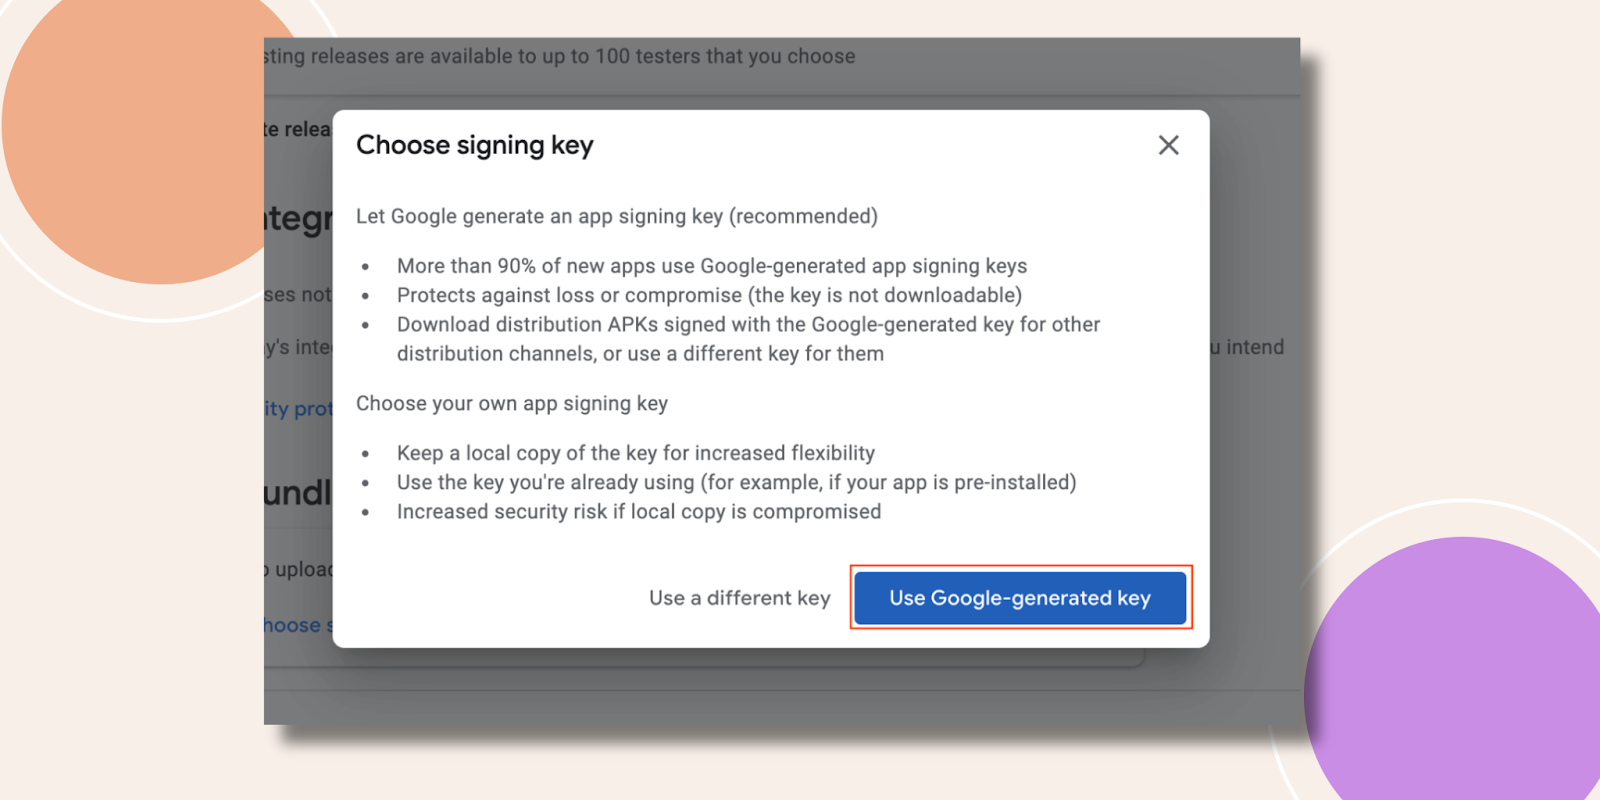
- Under App signing, click Choose signing key.
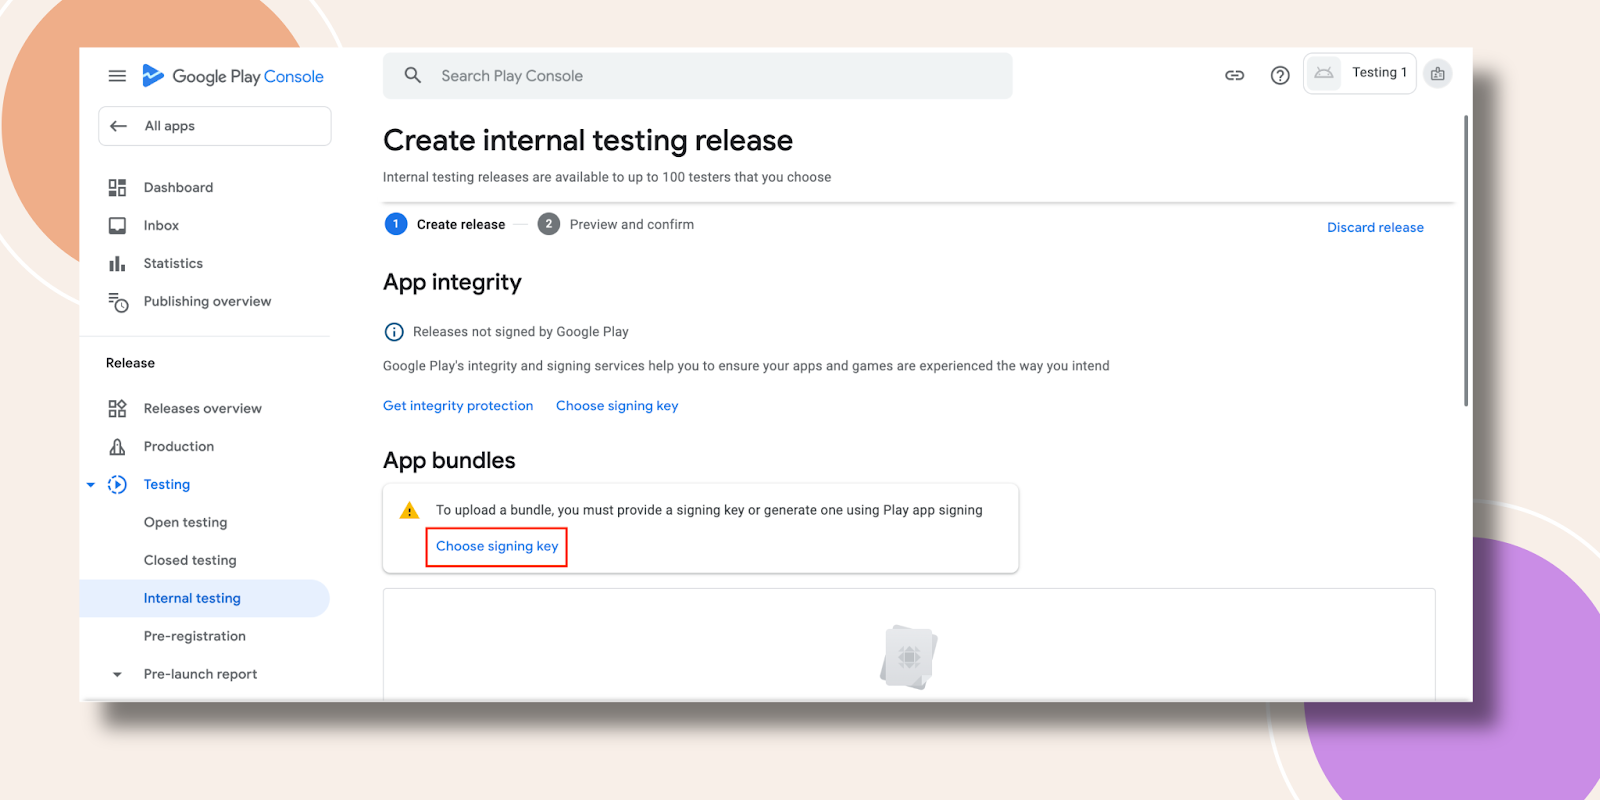
- Select Use Google-generated key, then confirm.
- You’ll see a notification that your releases will be signed by Google Play.
Requesting an AAB Build from BuddyBoss
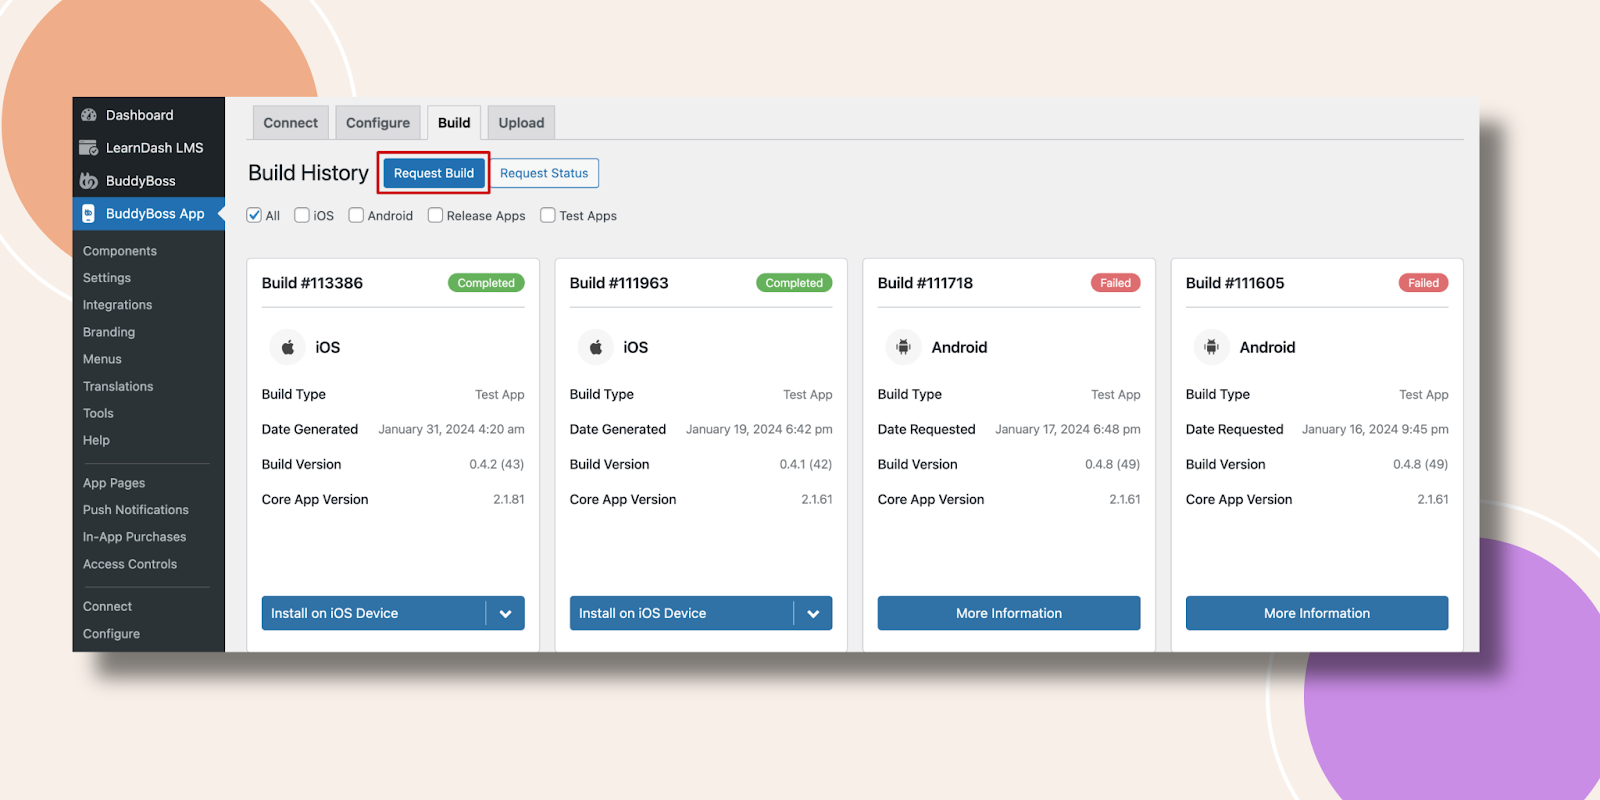
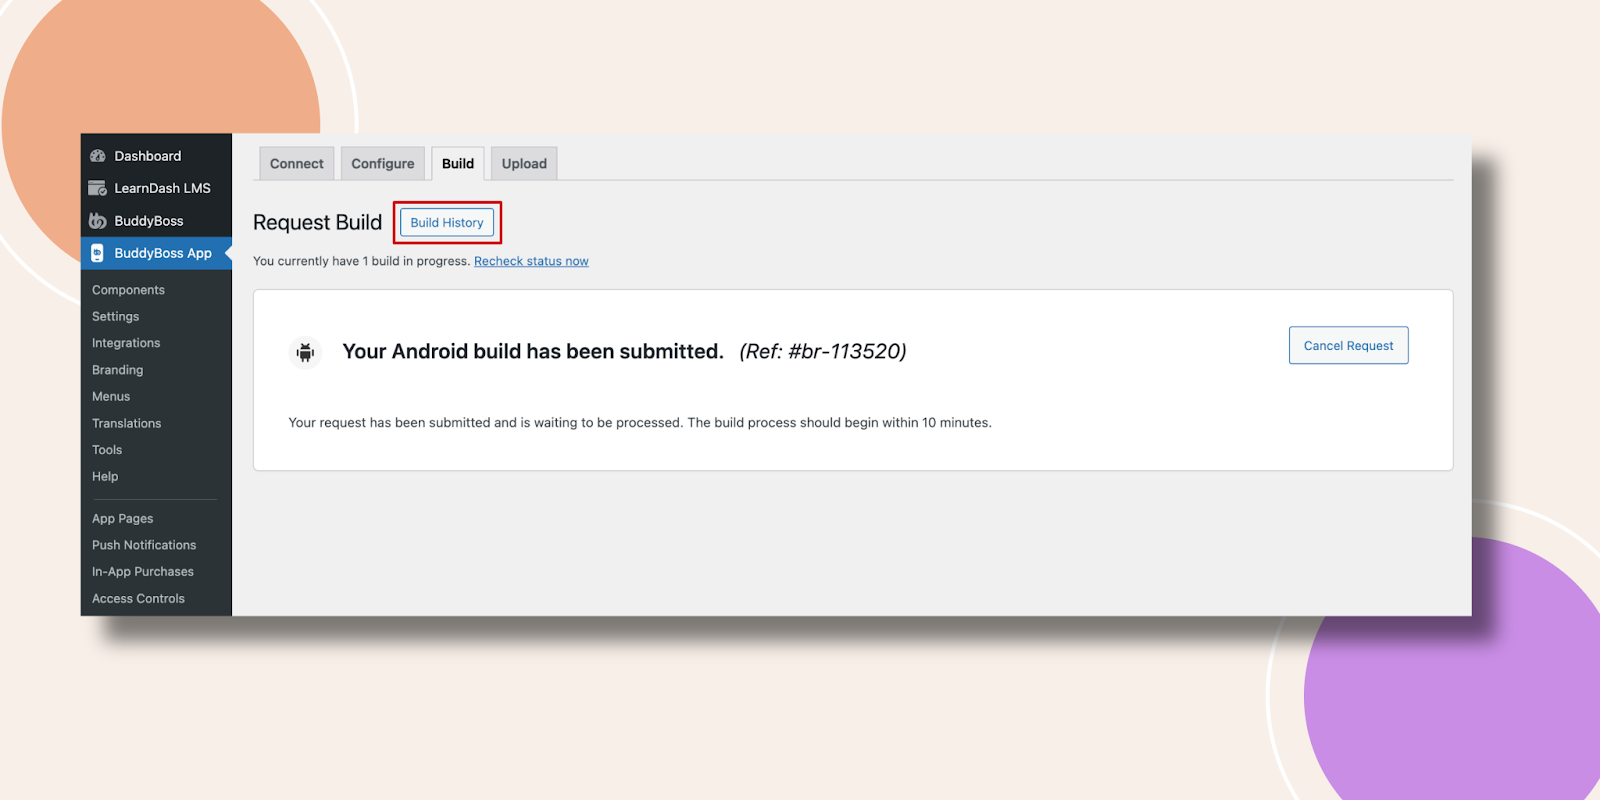
- In WordPress, go to BuddyBoss App > Build.
- Click Request Build.
- Tick Android as the platform and Release App as the build type.
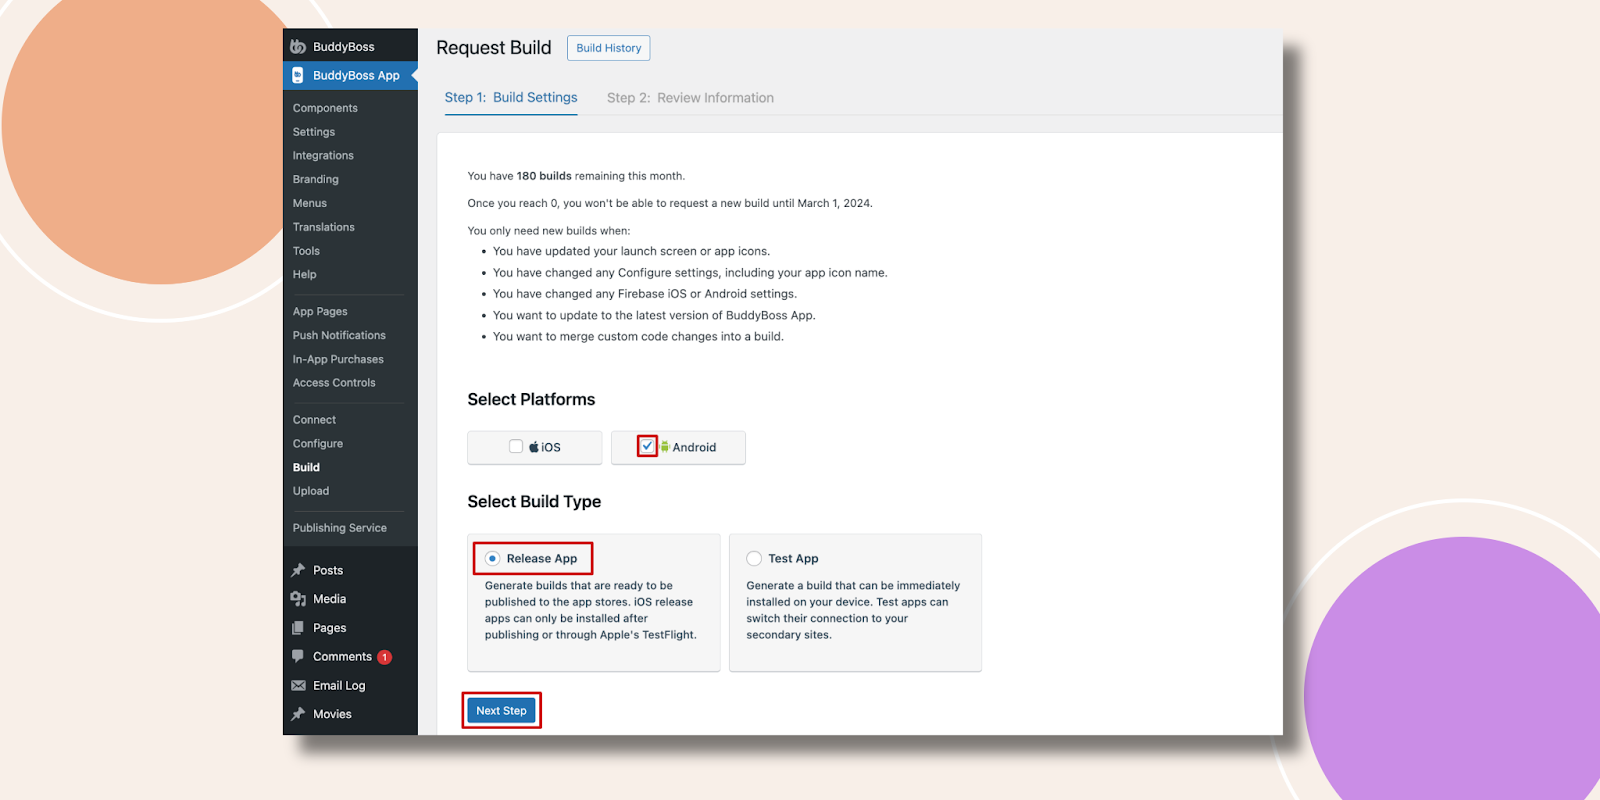
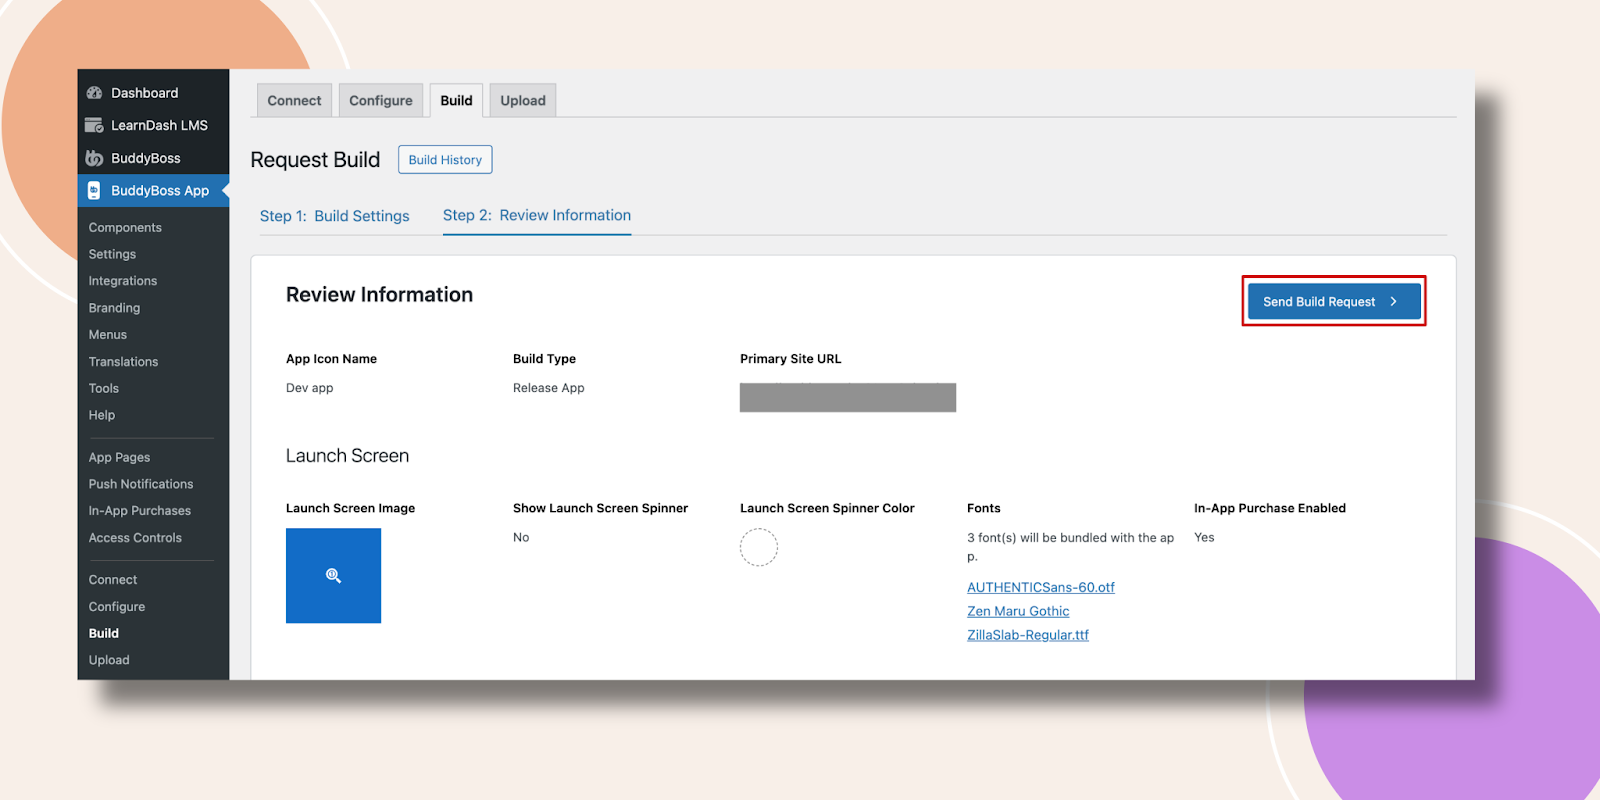
- Click Next, then Send Build Request.
- Monitor your request under Build History, this usually completes in 5–10 minutes.
Uploading the AAB to the Play Console
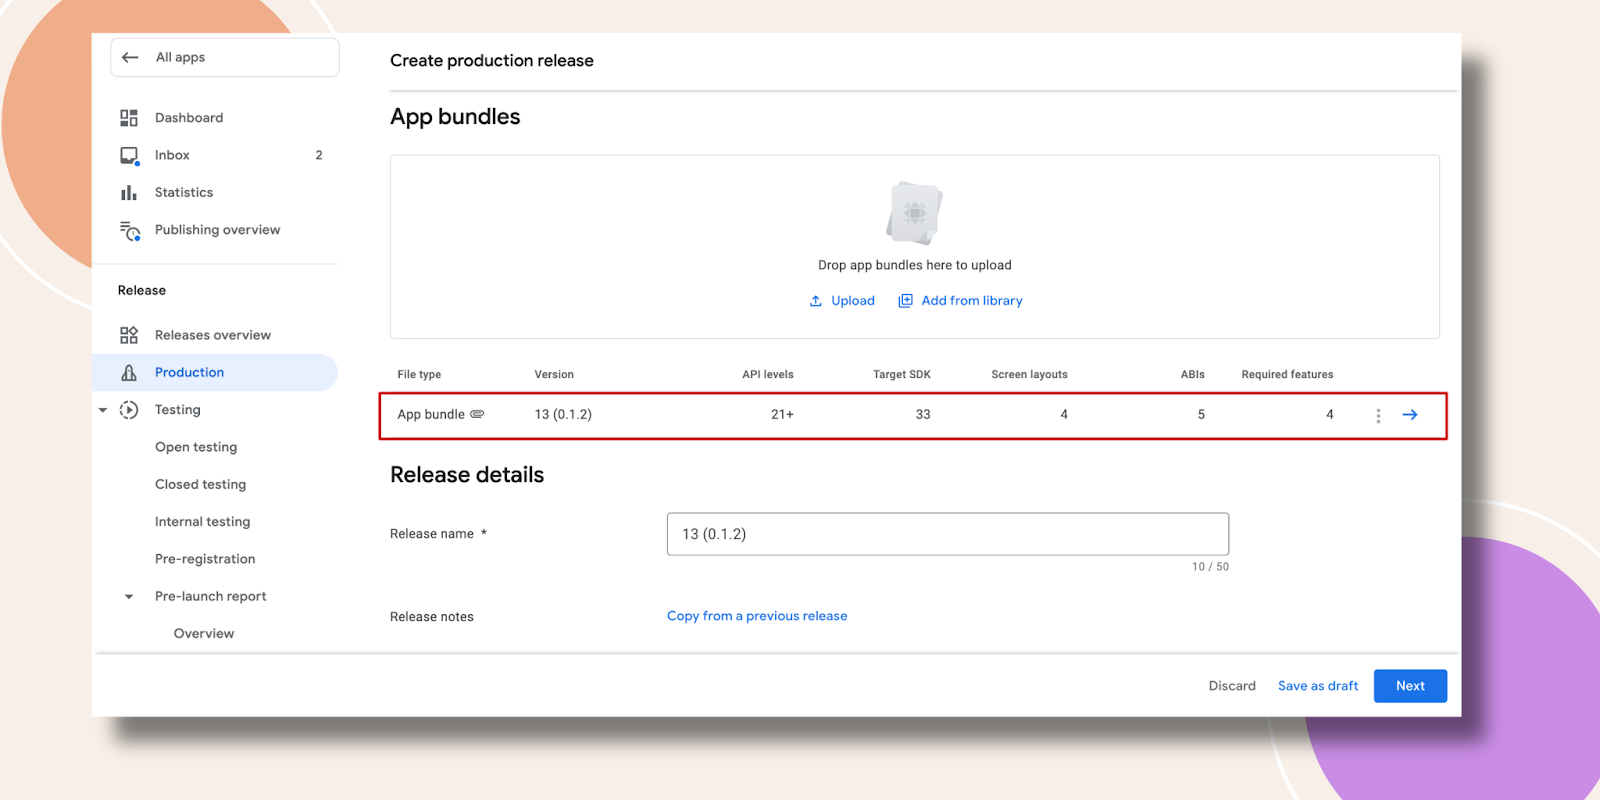
- In the Play Console’s Create release screen, scroll to App bundles and click Upload.

- Download the AAB from your BuddyBoss Build History by clicking Upload to Google Play Console and selecting Download build.
- Choose the downloaded .aab file (required for new submissions since August 2021).
- Wait for the upload to complete.
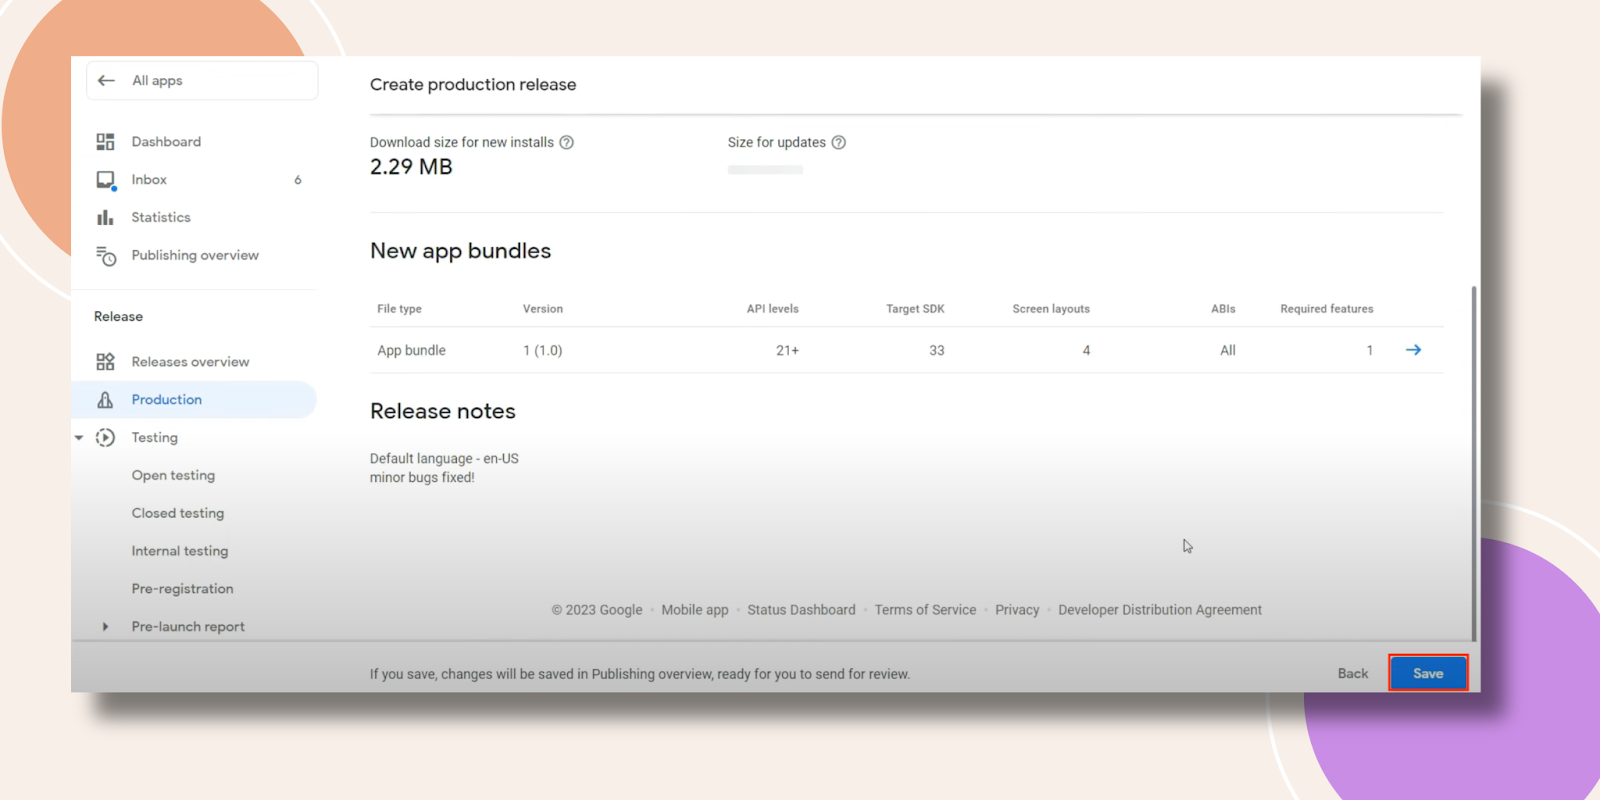
- This is how your uploaded App bundle will look.
Adding Release Notes and Completing Declarations
- Scroll down to Release notes, enter a brief description of changes or features.

- Click Next.
- If you encounter a metadata error, click Complete declaration.
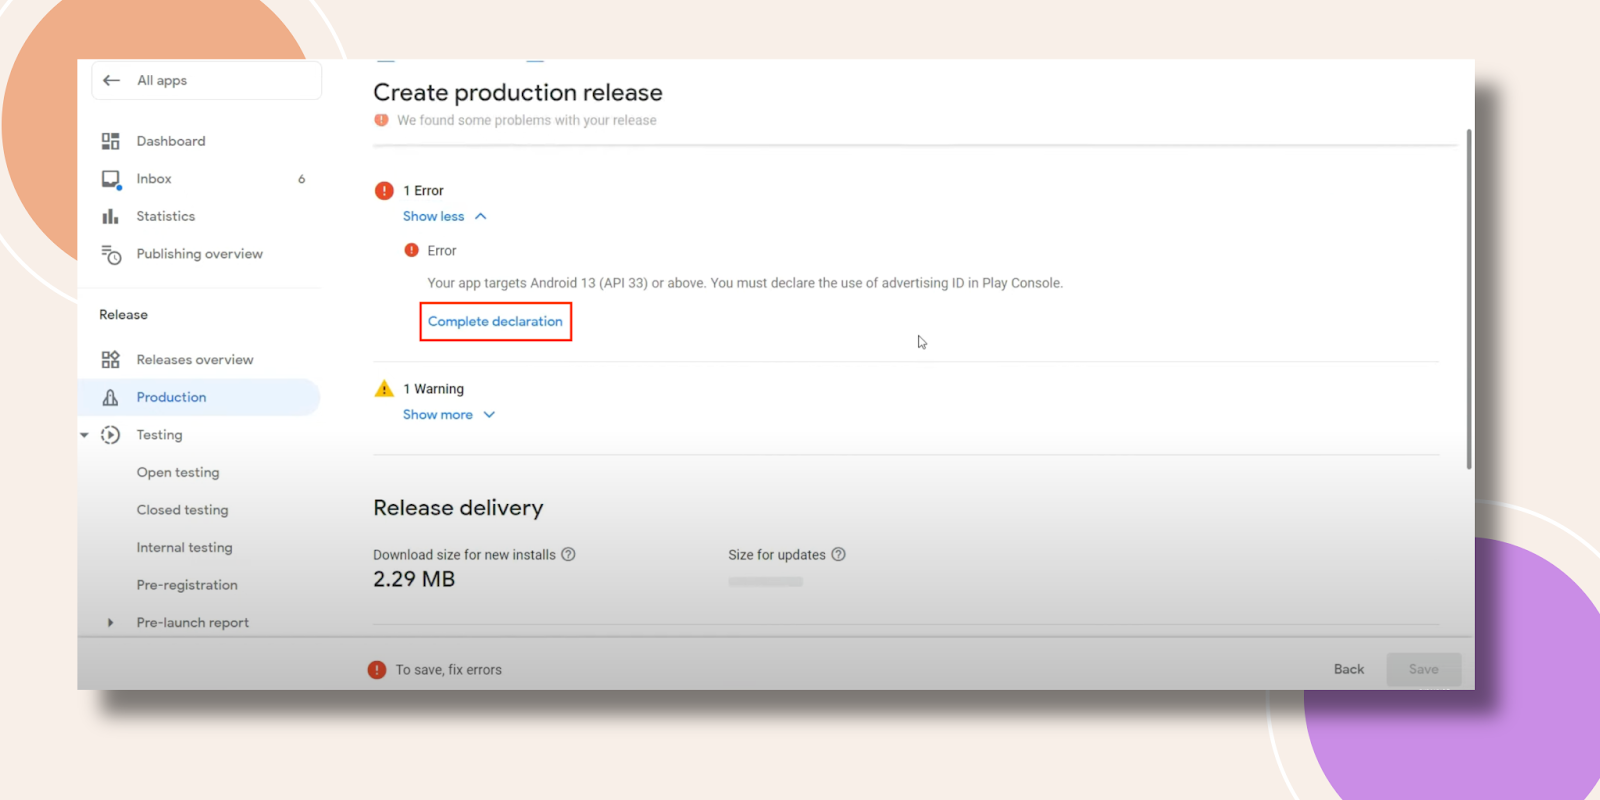
- On the Advertising ID page, answer Yes to “Does your app use advertising ID?” and click Save.
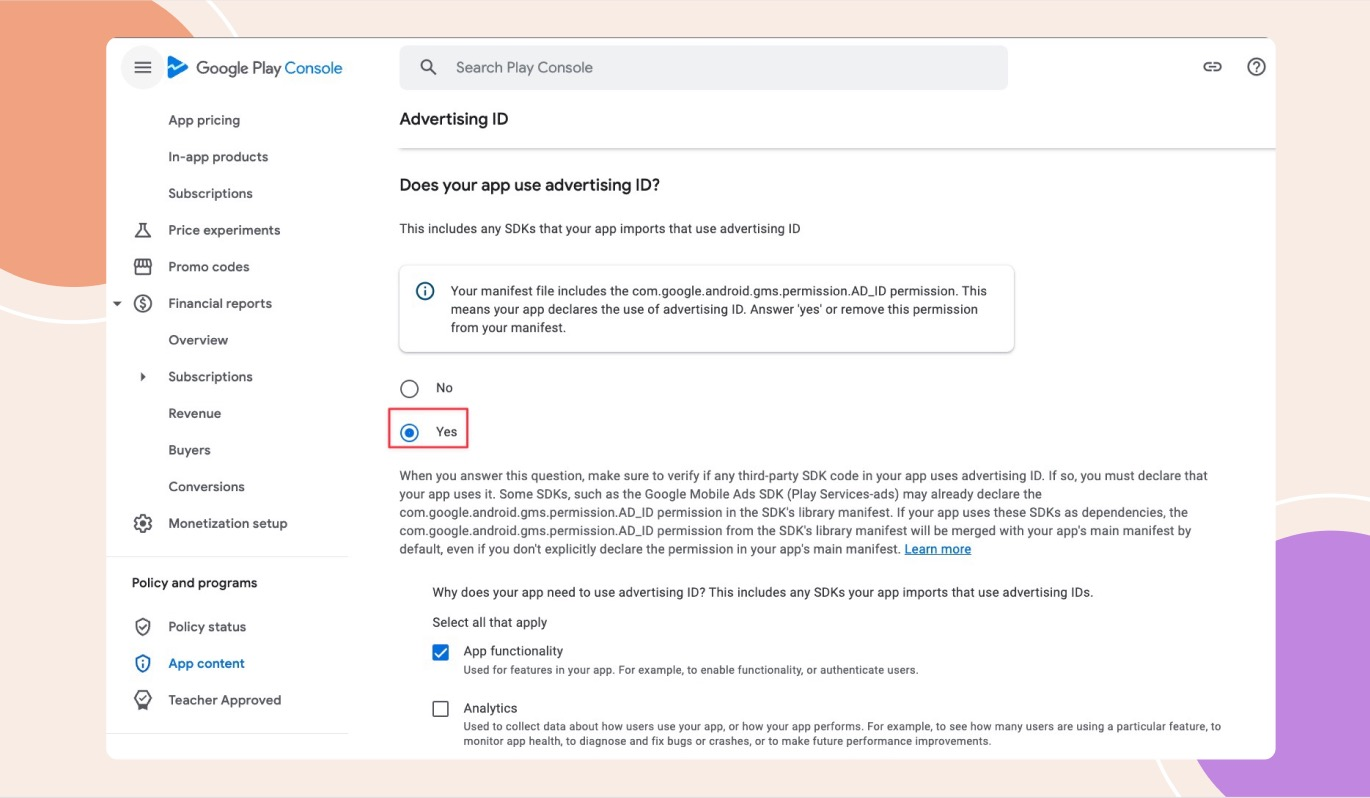
- Return and click Save again to finalize the release.
Troubleshooting and FAQs
Q: Why can’t I download my JSON key again?
A: Google Cloud only allows one download per key. Create a new key if you’ve lost the file.
Q: My service account invite isn’t accepted in Play Console.
A: Check that the email is correct, resend the invitation, and ensure Admin privileges in the Play Console.
Q: Uploading the JSON file fails in WordPress.
A: Verify you’re using the correct .json key file, clear your browser cache, or try another browser.
Q: I don’t see the Internal testing option.
A: Ensure you’ve created at least one release in the Internal testing track; then the option appears in the sidebar.