In this tutorial I will teach you how to quickly install the BuddyBoss theme (version 3.0+). Before you start, make sure to install and set up WordPress, and optionally BuddyPress and bbPress as well. You can always download the most recent version of BuddyBoss by clicking “My Account” under your profile icon at the top of this site while logged in.
Easy install via WordPress dashboard
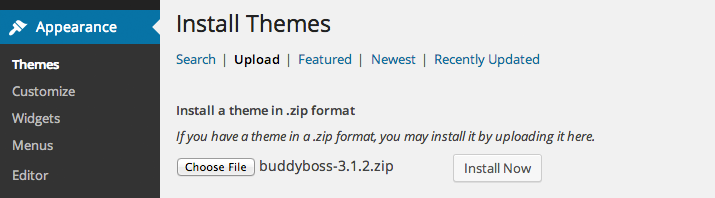
- Log in to your WordPress dashboard and go to Appearance > Themes.
- Click Add New. Click Upload.
- Find the theme file “buddyboss-[version].zip” from your computer and upload it. Click Install Now.
- Find the theme file “buddyboss-child-[version].zip” from your computer and upload it. Click Install Now.
- Activate the “BuddyBoss Child Theme” as your main theme.
- You can now access theme settings at Appearance > BuddyBoss and Appearance > Customize.
Or: Manual install via FTP
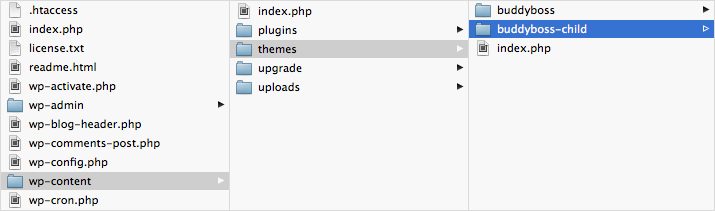
- Unzip “buddyboss-[version].zip” and “buddyboss-child-[version].zip”.
- Upload both theme folders via FTP to your
wp-content/themes/directory. Make sure the parent theme folder is titled “buddyboss” and not any other variation for child themes to work. - Log in to your WordPress dashboard and select Appearance > Themes.
- Activate the “BuddyBoss Child Theme” as your main theme.
- You can now access settings at Appearance > BuddyBoss.
Minimum Server Requirements
BuddyBoss should work on the vast majority of server setups. If you run into server issues, contact your web host to make sure your server has the following standard technologies installed.
- PHP 5.6+
- php5-gd
- php5-mbstring
- php5-mysql
- php5-exif
- MySQL 5.6+
- The mod_rewrite Apache module