Today, videos are primarily used to create courses for almost all niches.
While it is not too hard to set up the equipment for recording your courses, it is helpful to know some basic rules for video creation for your courses.
Let the camera start rolling!
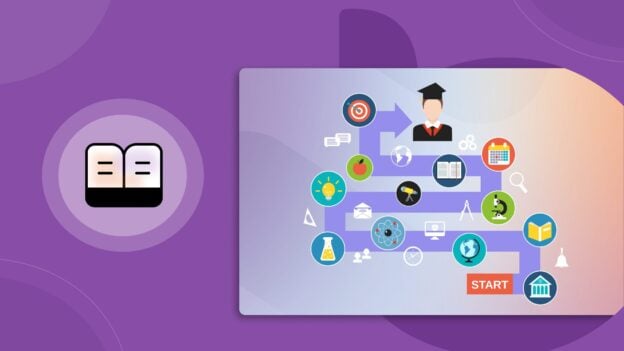
1. Prepare your content
To boost your progress, choose a topic for an online course, plan your modules, and write a summary of what the module is going to be about as part of your video.
The summary can include scripts, points, tips, discussions, and so on. These will help you to plan or film yourself for your course.
You also want to keep your video content alive with images, examples, diagrams, and even memes to lighten up the course.
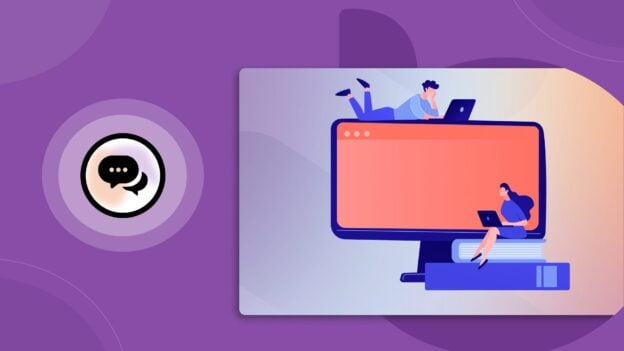
2. Plan your slides
The content preparation affects your video. Slides are the biggest form of content preparation.
Using slides will aid you with scripting and the presentation of your videos such as introduction, theory, important points, and conclusion.
Your course videos should not be too long. One way to know how long your course is by checking the slides. Too many slides mean you need to trim your content.
Always use ready-made slides to save time. Ready-made slides are visually appealing and easy to follow. You can use slides from Canva and Google slides to speed up your progress.
3. Be confident and welcoming to your learners
When preparing your content, prepare it with enthusiasm. Your approach to your course development will affect the quality of your course.
You need to keep your tone cheerful, clear, and friendly. Remember, there are other courses out there whose presentation is better than yours. The best instructors are those who are conversational and use easy-to-understand explanations with examples.
Body language matters too. You do not want to be stiff and formal. Relax. It is ok to move your hands while explaining your topic. Appearance matters too. Wear clean clothes depending on the occasion and niche of your course. Since you will be spending a long time recording yourself, wear clothes that are acceptable but comfortable to wear.
Your facial expressions matter too. Remember to always smile and make eye contact with your audience.
4. A Quiet room
You will eventually need a separate quiet room especially as you expand your videos. This room will help you to film and edit your work without distraction.
Course creators who work full-time tend to allocate a room with all their recording equipment and course materials.
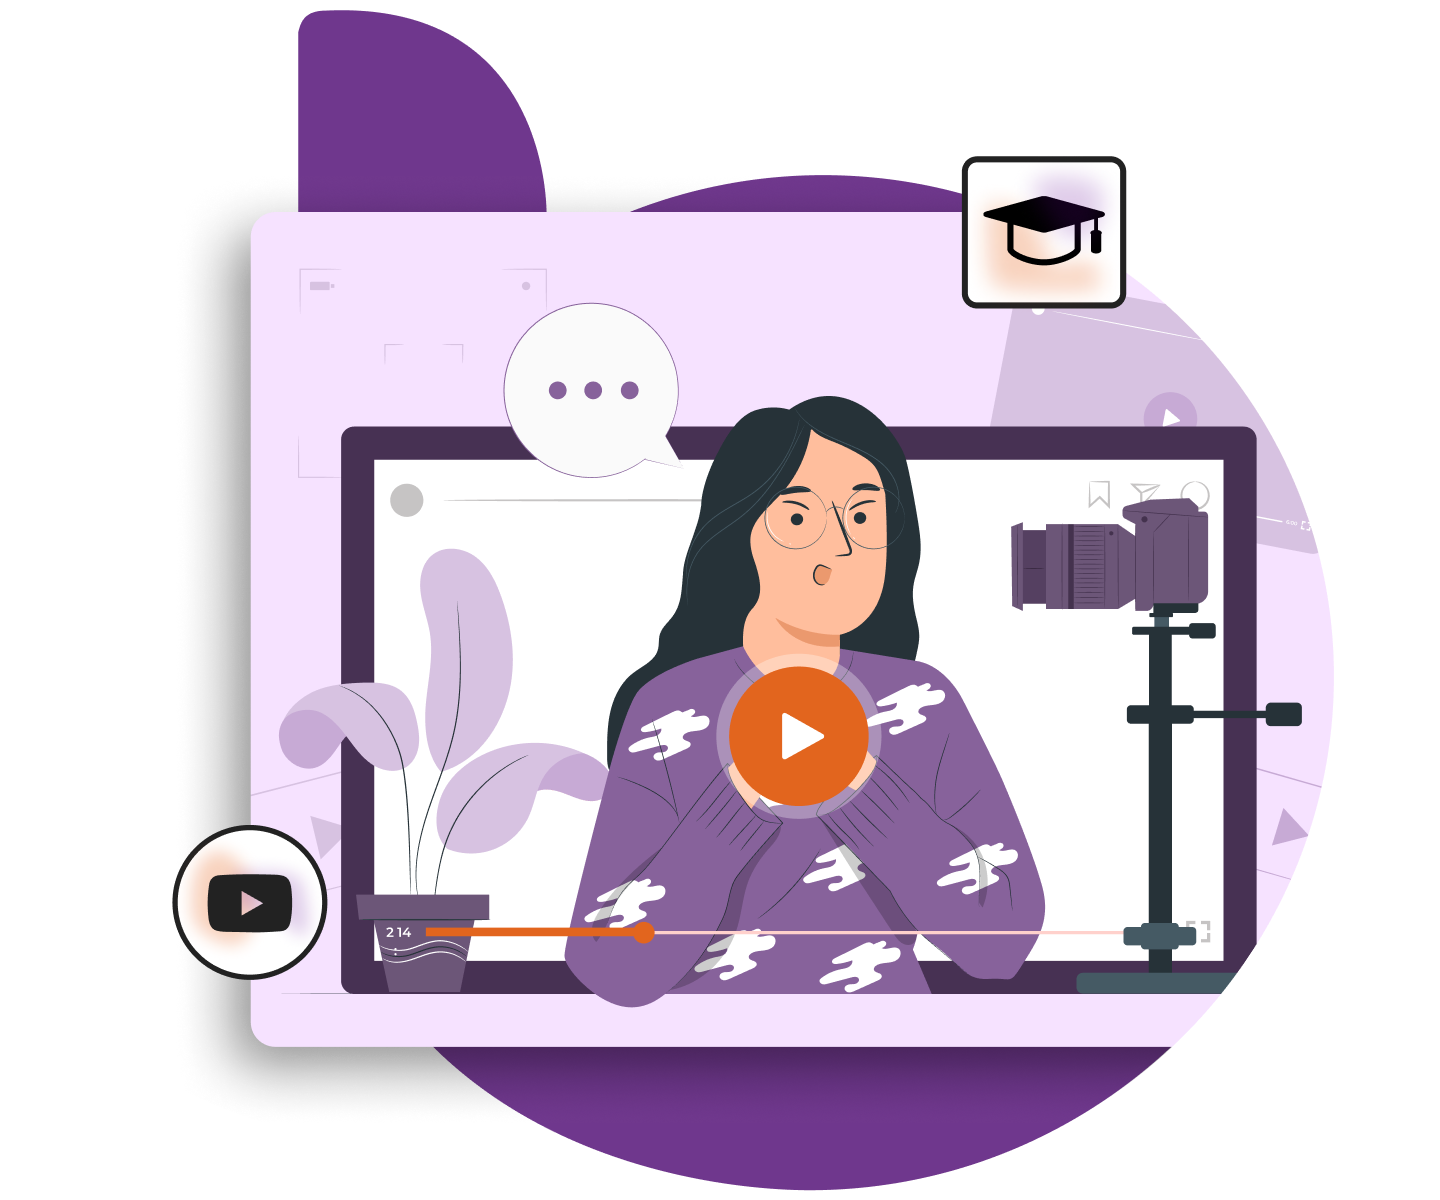
5. Set up your recording equipment
Now comes the most important part. You can use only your laptop’s recording camera to film yourself. Most laptop cameras are of acceptable quality. If you think you need to invest in a camera then you can definitely do so.
What is most important though, is your microphone. You need to have a quality microphone to ensure your audience listens to you.
Having both a proper microphone and camera will boost the filming quality of your course. You can use the Blue Snowball Microphone to record your instructions. This microphone works great for any tutorial or conversational videos.
You can also use your smartphone as a camera. Smartphones have their own DIY video editing
software included making your home video production quick to edit and publish online.
It is possible to build a video camera by using smartphone accessories such as microphones,
smartphone holders to enhance your smartphone’s performance for filming.
6. Use video editing software for editing and recording
Video editing software is a must for recording videos of your course.
We recommend using Camtasia as a beginner to create your course. You can also look at other software tools such as Final Cut Pro and Adobe Premiere.
But using Camtasia is more than enough.
Once you’re ready to start recording, open your chosen software and click on the “record” button. Follow your script or outline and speak clearly and confidently.
Take your time and feel free to review your recording. And don’t forget to save your progress.
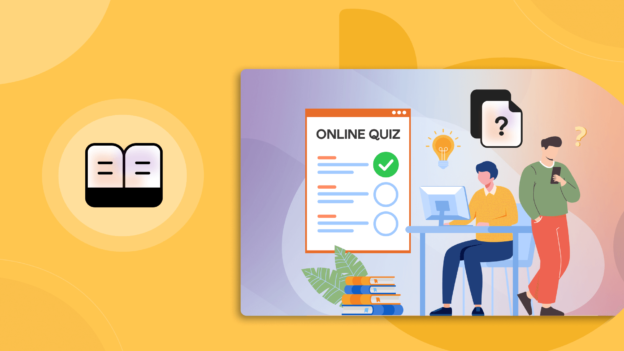
7. Test, revise, and edit.
Video recording requires patience. Not just for recording, but for editing and even repeating parts of your video that didn’t come out too well.
Video recording is the easiest part of course development. But it does require you to get to know how to use the tools.
Just knowing how to record and save will take you a long way.
After completing your video recording, get someone to watch your course videos. You will get valuable feedback including any mistakes that you may have overlooked.
You will be able to see your mistakes better if you use a large monitor screen to edit your video work.
Large monitors reduce eye strain and make video editing work faster to progress. It also helps to focus on the details of your videos.
What happens after setting up an online course?
- Choose a platform
It is better to choose your own platform to start your own site. We recommend using BuddyBoss to start your own course site. This will help you to publish your course without any fear of your competitors displaying their courses on your site.
With your own course site, you can list only your own courses.
Once you have your own site ready, all that is left is to market and bring traffic to your site.
- Publish your videos wisely
Once your video is edited and ready to go, you can publish it on a platform like YouTube or Vimeo to share it with your audience.
But if you are looking to sell your course, you should avoid public platforms like YouTube. You can opt for course platforms such as Udemy, or Pluralsight.
Although the above-mentioned sites will help you to reach a large audience, they are platforms loaded with competitors which will distract your users to buy courses from elsewhere.
Therefore, it is best to opt for the platform mentioned below in the next point.
Last Thoughts
Recording an online course video can be a great way to share your knowledge with others or create content for your own online course.
If the planning is done well, you will be able to get your videos recorded and edited within your deadline.
However, remember that you can always get help to record and edit your videos to boost your progress.

-
 Article
- Researching Your Online Course