Introduction
A clear, consistent site name strengthens your brand identity and improves SEO. With this guide, you’ll learn how to Set Site Name in ReadyLaunch, ensuring your brand is easily recognizable and consistent across your site.
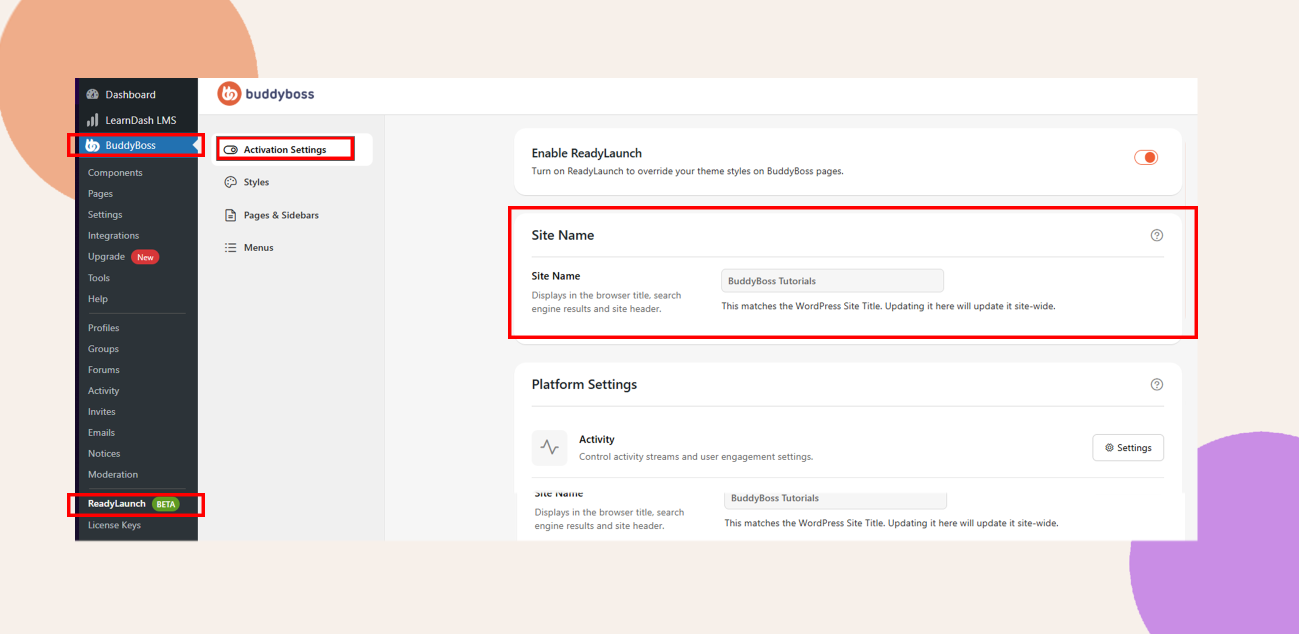
Accessing Site Name Settings
- In your Dashboard, navigate to ReadyLaunch > Activation Settings.
- Scroll down to the Site Name section.
Entering Your Site Name
- Click the Site Name field and enter your preferred name (for example, ReadyLaunch Demo).
Troubleshooting and FAQs
Q: I don’t see the Site Name section under Activation Settings.
A: Verify that the ReadyLaunch plugin is installed and active under Plugins > Installed Plugins, then reload the settings page.
Q: Why did my site name change everywhere on my site?
A: The Site Name setting in ReadyLaunch syncs with the WordPress Site Title, updating it globally for consistency.
Q: How can I revert to my previous site name?
A: Return to ReadyLaunch > Activation Settings, update the Site Name field with your previous title, and click Save Changes.