Introduction
Customizing Branding and Appearance in ReadyLaunch helps you maintain a polished, consistent look across light and dark modes while reinforcing your brand identity. With BuddyBoss ReadyLaunch, you can select appearance modes, upload optimized logos, and define a primary theme color. This guide walks you through configuring these settings to match your brand and enhance user experience.
Choosing Your Site’s Appearance
You can choose between light, dark, or user-controlled appearance modes to match your brand’s identity. To do this:
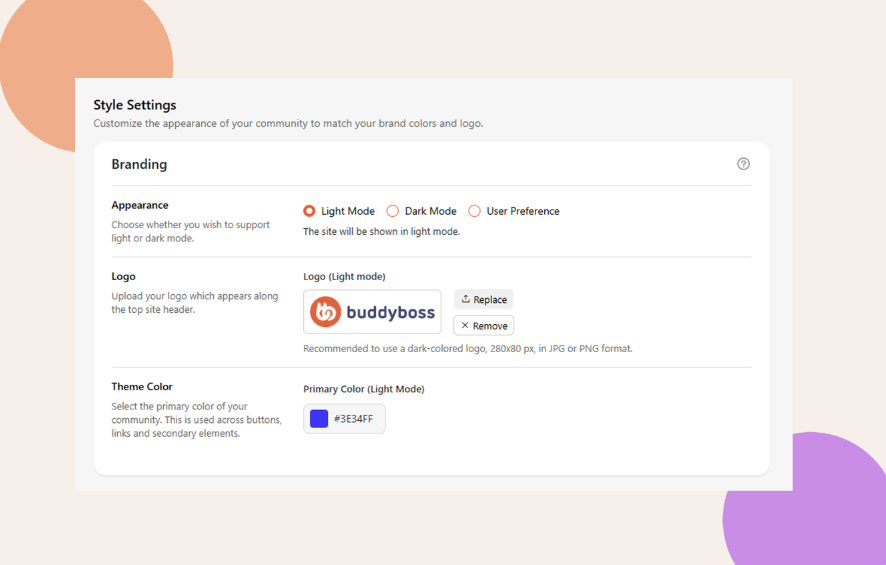
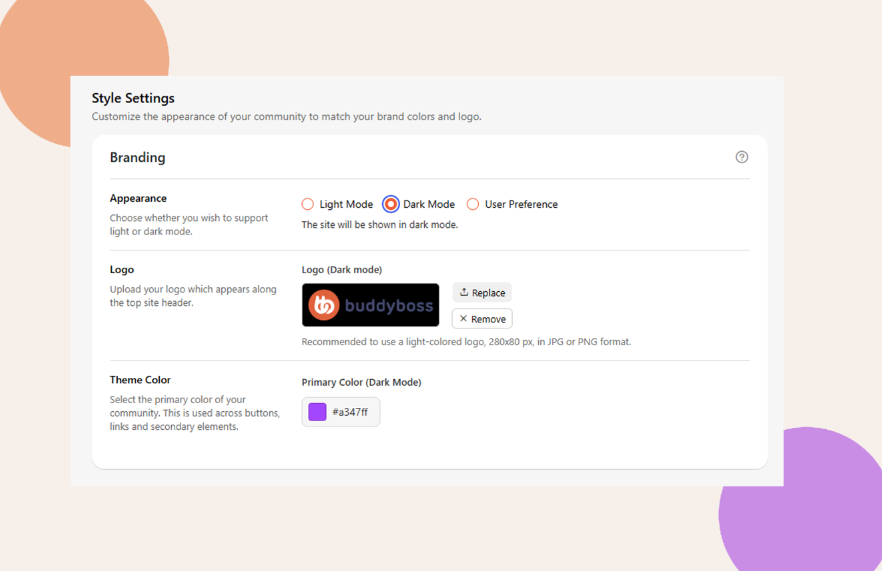
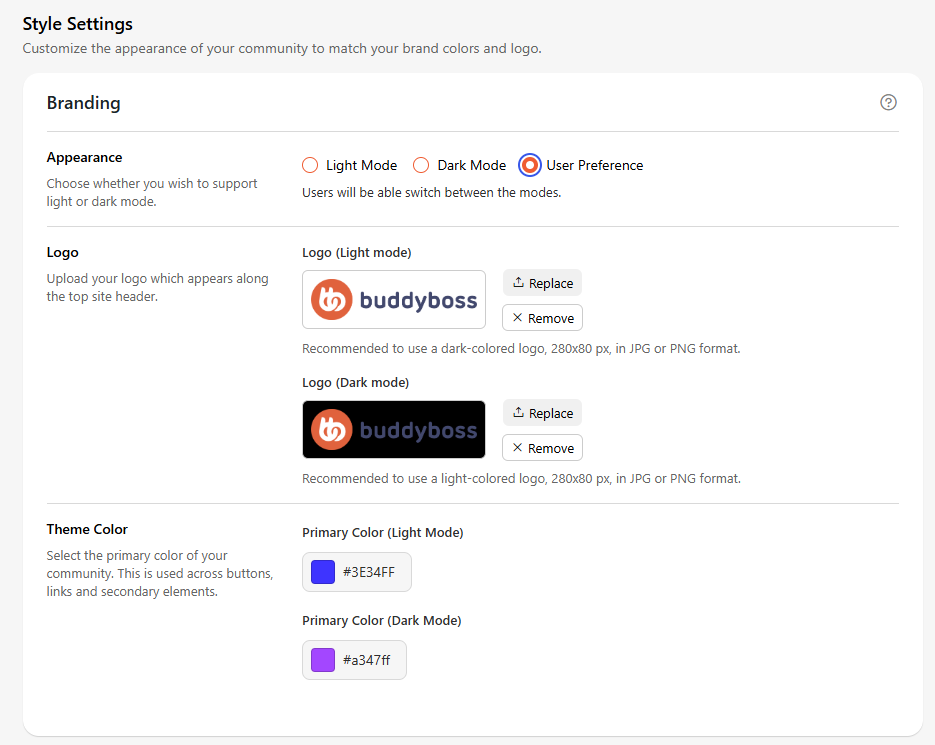
- Go to ReadyLaunch > Styles > Branding > Appearance.
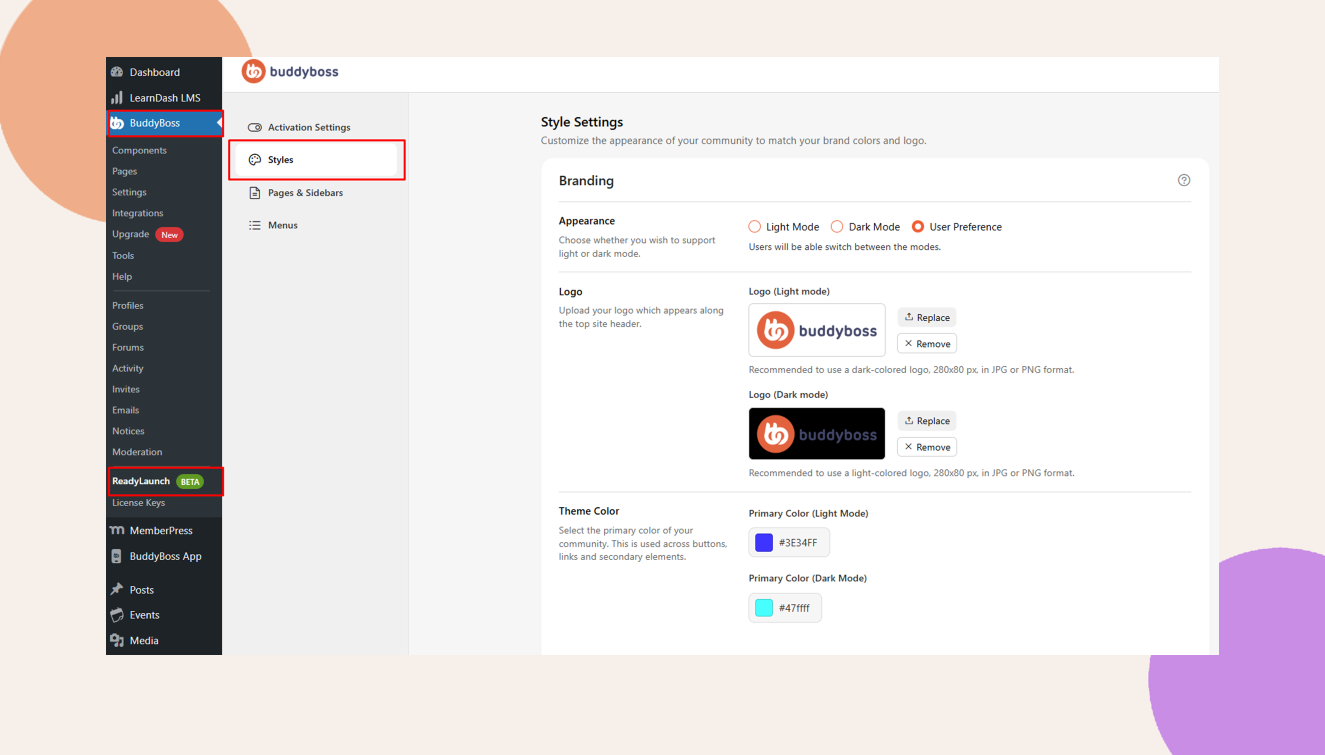
- Select from:
- Light Mode – Enables you to upload a dedicated logo optimized for light-themed interfaces. You can also configure a primary color specifically for Light Mode to maintain visual consistency.
- Dark Mode – Allows you to upload a logo tailored for dark-themed interfaces. Additionally, you can define a primary color for Dark Mode to enhance readability and aesthetic alignment.
- User Preference – When this option is selected, you can upload separate logos for both Light and Dark Modes. It also enables the configuration of distinct primary colors for each mode, allowing the interface to adapt dynamically based on the user's system preferences.
When User Preference is enabled, site members can choose their preferred appearance mode by following these steps:
- On the site’s frontend, click the profile image to open the profile dropdown menu.
- Select Theme from the dropdown options.
- Choose between Light Mode or Dark Mode.

This setting allows users to personalize their visual experience based on individual preference.
Uploading the Site’s Logo
You can easily upload your site’s logo by doing the following:
- In the ReadyLaunch > Styles > Branding > Logo section, you may upload the following depending on the Appearance style that you have chosen.
- Light mode logo – It is recommended to use a dark-colored logo,
- Dark mode logo – It is recommended to use a light-colored logo,
- Use Replace to change the file or Remove to delete it.
Choosing Theme Color
Define your site’s color scheme with a single primary color to unify button and link styles. This will be applied to buttons, links, and interactive elements. To do this:
- Go to the ReadyLaunch > Styles > Branding > Theme Color
- Select the color of your brand or enter its hex color (e.g., #3E34FF).
Troubleshooting and FAQs
Q: Where does the Theme Color apply?
A: The Theme Color you set under ReadyLaunch > Styles > Branding > Theme Color affects buttons, links, and other interactive elements across your site.
Q: Can I revert to the default branding settings?
A: Yes. Return to each Branding section, remove or replace your custom values, and click Save Settings to restore defaults.