Introduction
The ReadyLaunch Header Block in BuddyBoss ensures a consistent navigation menu across all your community pages. By replacing your theme’s default header with the ReadyLaunch Header Block, you create a seamless, site-wide experience that aligns with your branding. This guide shows you how to add, configure, and customize it.
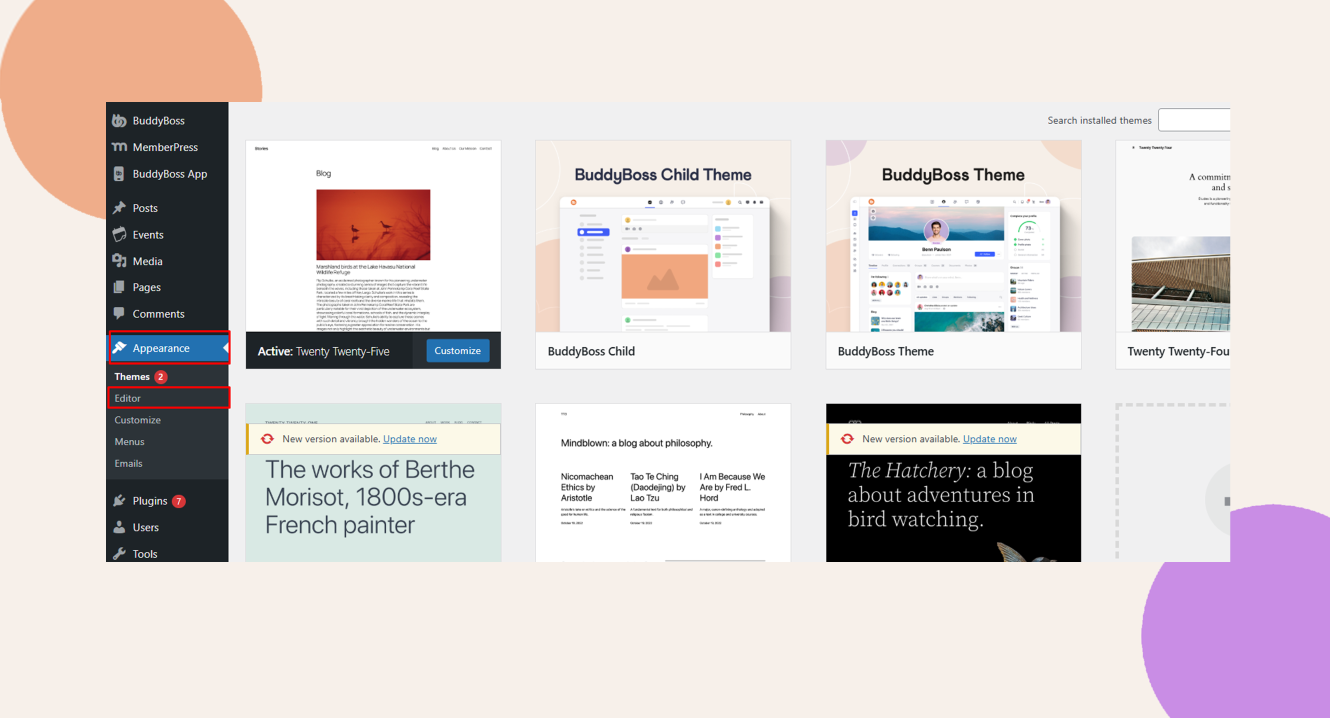
Opening the Site Editor
- In your Dashboard, go to Appearance > Editor.

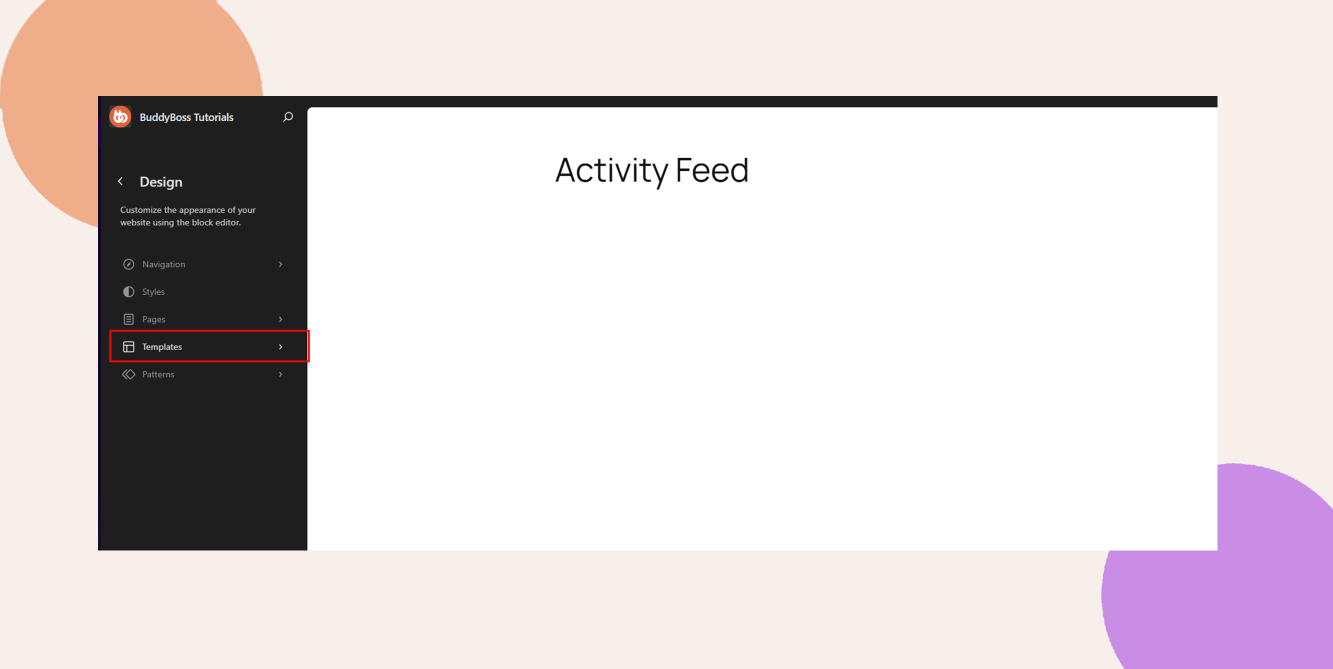
- Select Templates from the sidebar.
Deleting the existing header block
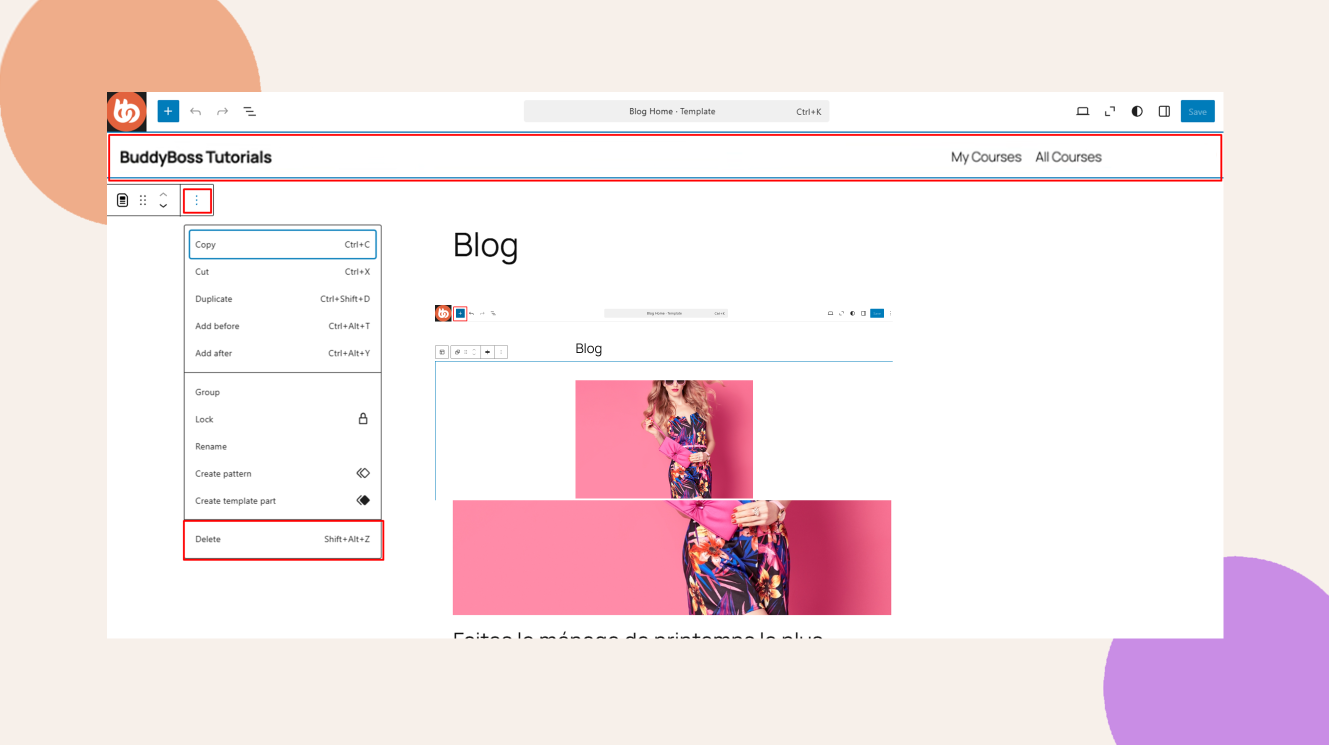
- Choose Blog Homepage (or another template).

- Click the template to edit and open it in the block editor.
- Locate the existing Menu block at the top of the template.
- Select the block and click the ellipsis icon (⋮)
- Click Delete
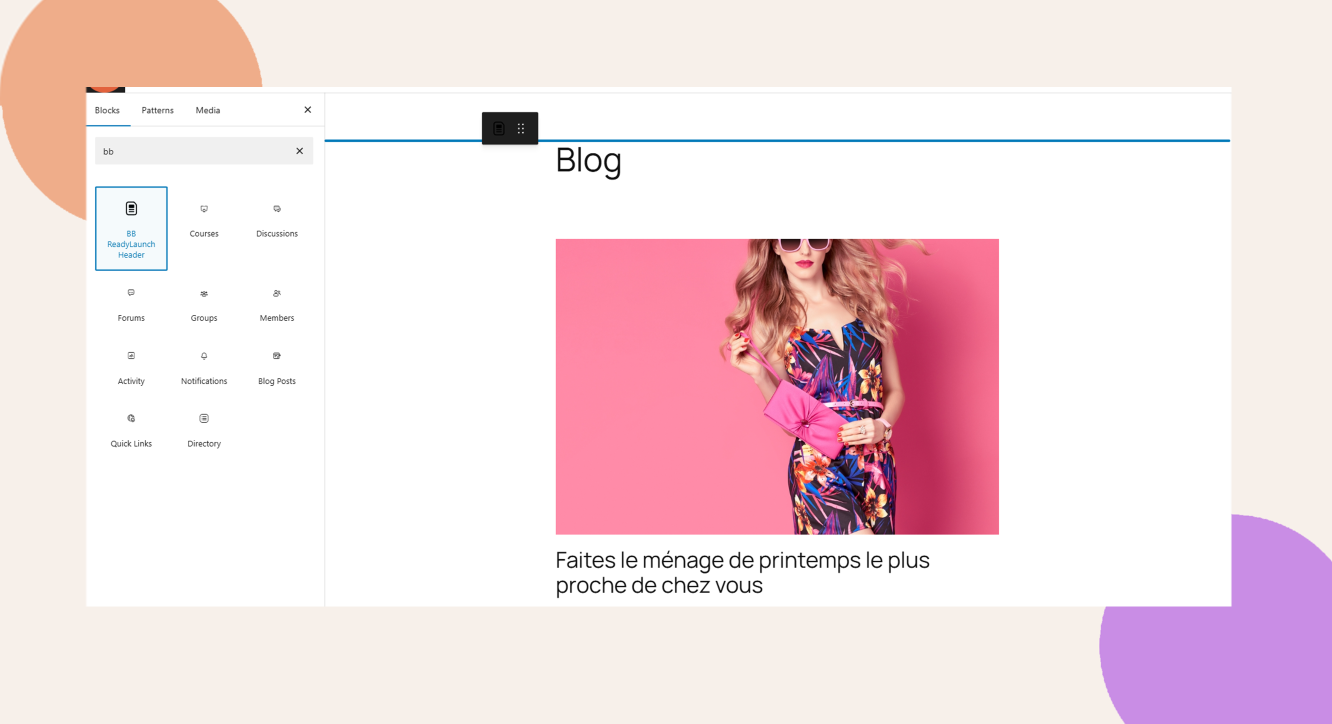
Adding the ReadyLaunch Header Block
- Click the + icon to open the block inserter.
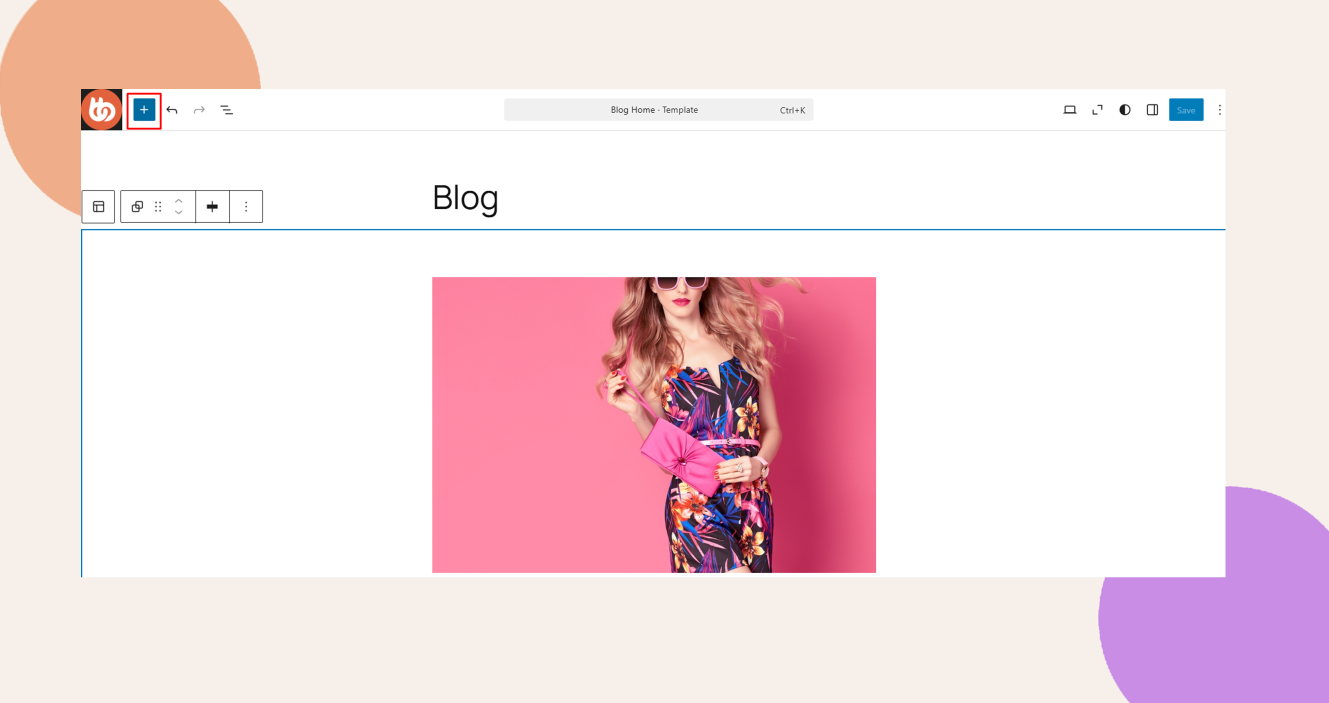
- Search for BB ReadyLaunch Header.
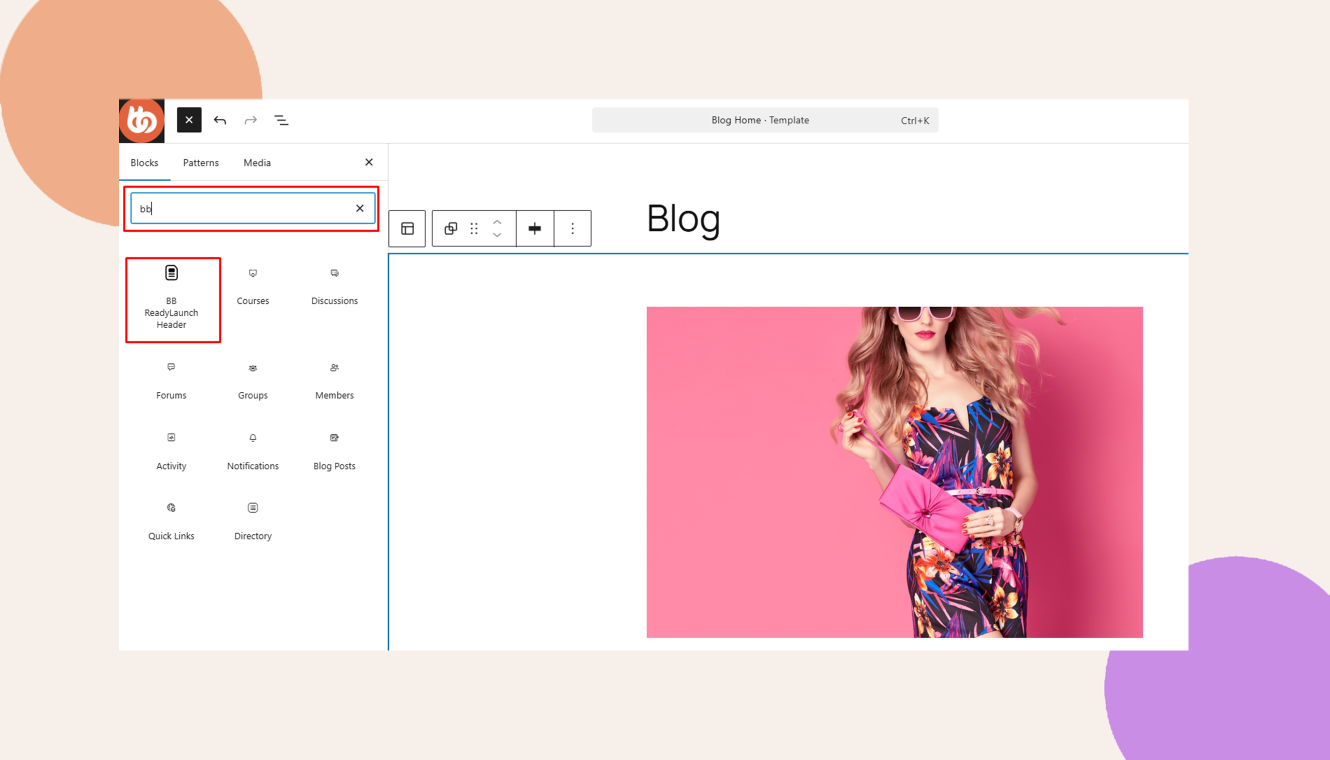
- Drag the BB ReadyLaunch Header block to the top of the template.
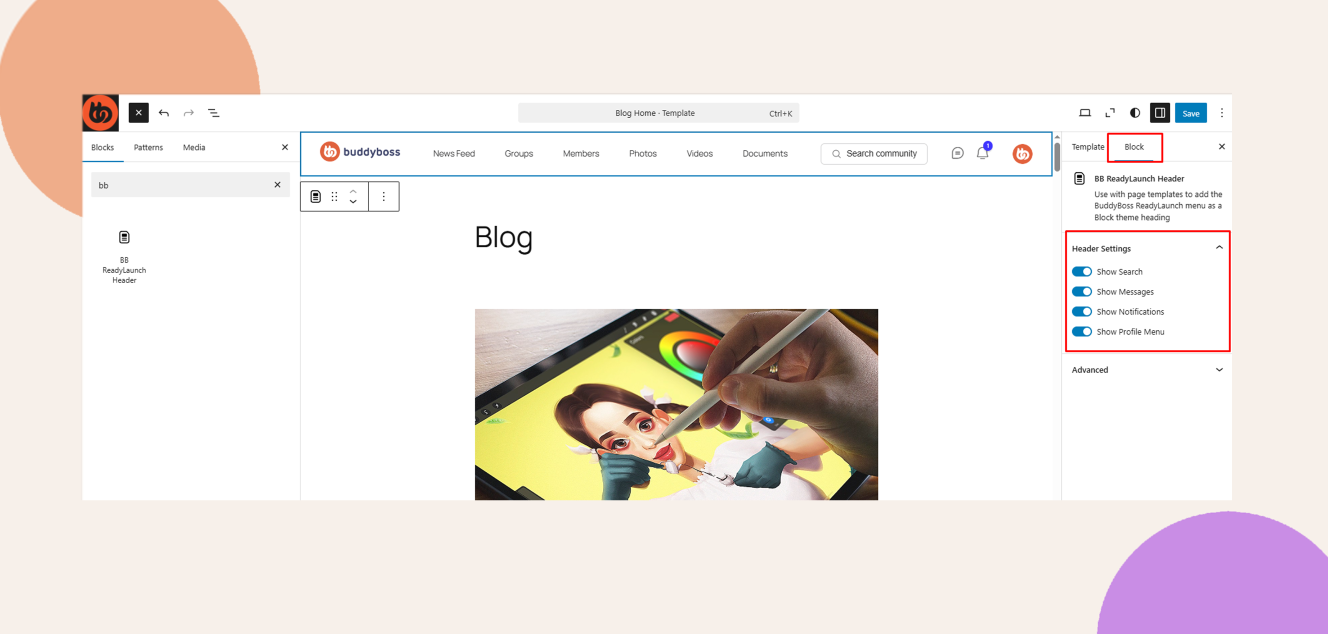
Customizing the ReadyLaunch Header Elements
- With the header block selected, click the block toolbar.
- Choose which elements should appear in the BuddyBoss ReadyLaunch Header block..
Saving Changes
- Click Save at the top right to apply your changes.
- Refresh your site’s front end, and see that all of your site’s header matches the ReadyLaunch style.
Troubleshooting and FAQs
Q: The header still shows the old menu after saving, what should I do?
A: Clear any caching plugins and refresh your browser. Confirm you removed the original Menu block and saved the template.
Q: Why can’t I access the Appearance > Editor section in my WordPress Dashboard?
A: The Appearance > Editor section is only available for block-based themes (e.g., Twenty Twenty-Five). If you’re using a classic theme like the BuddyBoss Theme, this section will not be visible.