In this tutorial I will teach you how to set up the optional Featured Slider on your homepage (requires BuddyBoss 3.1+).
After installing BuddyBoss 3.1+, you will see a new menu section in your WordPress dashboard titled Slides. If you add slides they will automatically display in a slideshow on your homepage.
Adding slides
You need to add at least two slides for the slideshow to work properly.
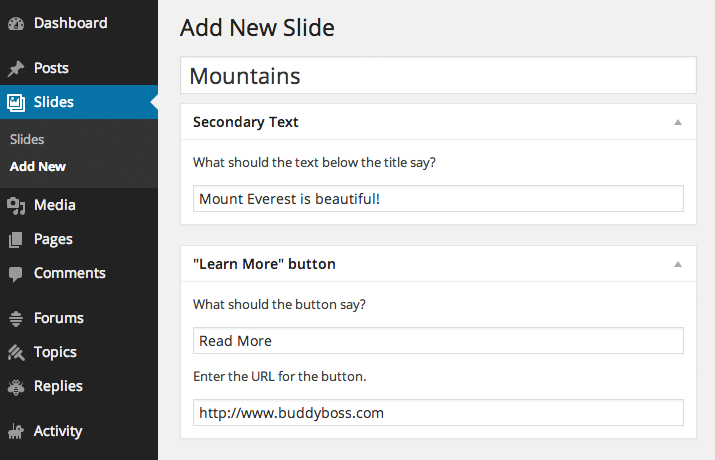
- Go to Slides > Add New.
- Add the primary slide text as the post title.
- Add the secondary slide text into the Secondary Text section.
- If you want a button on the slide, add the text and URL destination for the button into the “Learn More” button section.
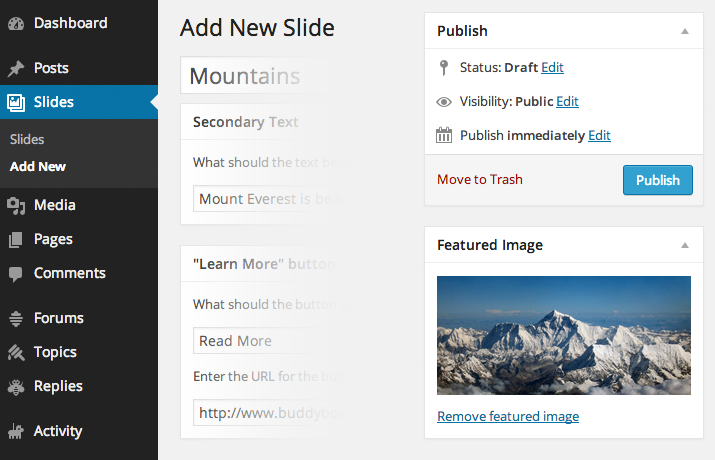
Next, you need to upload an image for your slide. The image must be at least 1040px wide by 400px tall, otherwise the slideshow will get distorted as you scale it.
- Find the Featured Image section, by default in the right column of the editor.
- Click “Set featured image” and upload your image at 1040px by 400px.
- Once you see your image successfully uploaded, click “Set featured image”.
- You can now “publish” your slide.
Your new slide should now be visible on your homepage. Remember, you need at least two slides for the slideshow to function correctly.

Putting your slideshow on a different page
Want to add your slideshow to another page besides your homepage? You will have to edit some code, but this is a relatively simple edit.
In your child theme, create a page template that you plan on using for the page that will contain your slideshow. In the page template, add the following code snippet just below the header call to display the slider.
<?php get_template_part( 'content', 'slides' ); ?>